Configuring Junos OS on the SRX380
The services gateway is shipped with the Juniper Networks Junos operating system (Junos OS) preinstalled and ready to be configured when the device is powered on. You can perform the initial software configuration of the services gateway by using any one of the following methods:
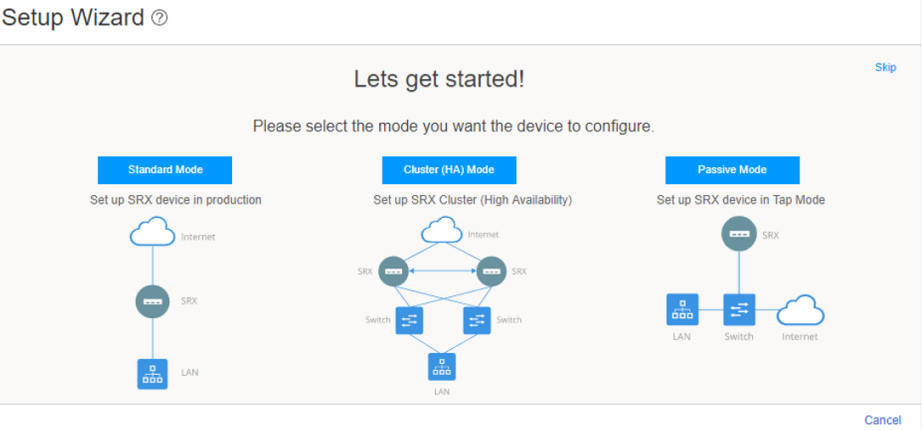
J-Web Setup wizard
Command-line interface (CLI)
Understanding SRX380 Firewall Factory-Default Settings
The SRX380 device is shipped with the with the factory-default settings listed in Table 1, Table 2, Table 3, and Table 4.
|
Source Zone |
Destination Zone |
Policy Action |
|---|---|---|
|
trust |
trust |
permit |
|
trust |
untrust |
permit |
|
Source Zone |
Destination Zone |
Policy Action |
|---|---|---|
|
trust |
untrust |
Source NAT to untrust zone interface |
|
Port Label |
Interface |
Security Zone |
DHCP State |
IP Address |
|---|---|---|---|---|
|
0/0 and 0/19 |
ge-0/0/0 and xe-0/0/19 |
untrust |
Client |
Unassigned |
|
0/1 to 0/18 |
VLAN Interface irb.0 (ge-0/0/1 to ge-0/0/15) (xe-0/0/16 to xe-0/0/18) |
trust |
Server |
192.168.2.1/24 |
|
MGMT |
fxp0 |
Server |
192.168.1.1/24 |
|
Interface |
Security Zone |
IP Address |
|---|---|---|
|
cl-1/0/0 |
N/A |
N/A |
|
dl0 (logical) |
untrust |
ISP assigned* |
|
*Only if the LTE Mini-PIM is present |
||
The SRX380 device is shipped with the following services and protocols enabled by default:
|
Services |
Protocols |
Device Startup Mode |
|---|---|---|
|
SSH HTTPS |
RSTP (all interfaces) |
Switching |
Starting in Junos OS Release 25.2R1 the factory-default device configuration does
not include the netconf ssh statement at the [edit
system services] hierarchy level.
To provide secure traffic, a basic set of screens are configured on the untrust zone.
Initial Configuration
You can configure the device using either the J-Web or CLI:
Initial Configuration Using J-Web
To configure root authentication:
Configuring the SRX380 Firewall Using CLI
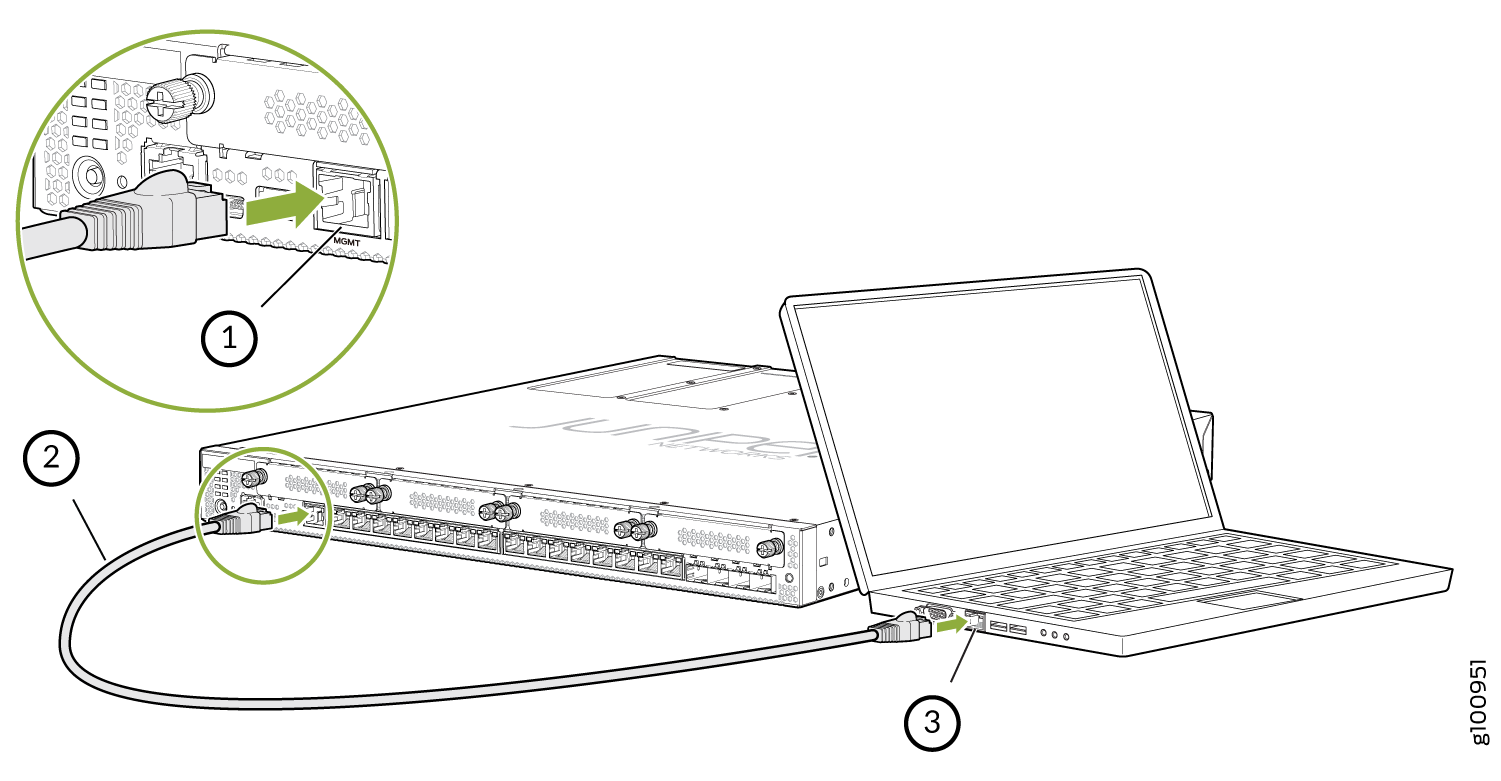
To configure Junos OS on the SRX380 using CLI:
Plug and Play
The SRX380 already has factory-default settings configured to make it a plug and play device. So all you have to do to get the SRX380 up and running is connect it to your LAN and WAN networks.
- Connect the WAN network to port 0/0.
- Connect the LAN network to any of the ports from 0/1 through 0/18.
- Check to see if the SRX380 is connected to the Internet. Go to http://www.juniper.net. If the page does not load, check the Internet connection.
After you complete these steps, you can start using the SRX380 on your network right away. You can go back and customize settings at anytime. The J-Web Setup wizard is always available to you.
Configure the SRX380 Using J-Web
You can modify the configuration using J-Web. Have the following information ready before you start the configuration process:
Hostname
Root authentication password
IP address for the NTP server
IP address for the DNS server
IP address for the management interface
To modify the configuration using J-Web:
Viewing Factory-Default Settings
To view the factory-default settings on your services gateway:
When you commit changes to the configuration, a new configuration
file is created, which becomes the active configuration. If the current
active configuration fails, you can use the load factory-default command to revert to the factory-default configuration.


