Configuring a Data Center Overlay - EBGP

How to configure a data center overlay using EBGP
In this informative edition of Juniper Learning Bytes with the always excellent educator Zach Gibbs, you’ll learn step by step how to configure a data center overlay with EBGP. This video is most appropriate for users who are familiar with data center technologies. It’s relevant to OS Releases Junos 21.3R1.9 or later and to Juniper Platforms QFX Series, MX Series, and EX Series.
You’ll learn
The topology for the demo, which includes five devices and each device has its own autonomous system number
Why the loopback addresses for each device are important
The whole idea is to configure EBGP to pass EVPN routes that can then be used in the overlay network by something like VXLAN
Who is this for?
Host
Transcript
0:00 [Music]
0:12 hello my name is zach gibbs and i'm a
0:15 content developer inside education
0:17 services within juniper networks
0:20 and today we will be going through the
0:22 configuring a data center overlay with
0:24 ebgp learning byte
0:29 all right so here is our topology and in
0:32 here we have five devices we have spine
0:34 one spine two leaf one two and three and
0:37 each device has its own autonomous
0:39 system number as you can see here spine
0:41 one uses six four six six one spine two
0:44 uses six four six six two leaf one uses
0:47 six four five five one leaf two uses six
0:50 four five five two and leaf three uses
0:52 six four five five three and you can
0:54 also see on the left here the loopback
0:56 addresses for each device and that is
0:59 important because we will be peering
1:02 the ebgp sessions using those loopback
1:05 addresses so keep that in mind and so
1:07 the whole idea here is to configure ebgp
1:10 to pass evpn routes that then can be
1:13 used in the overlay network by something
1:15 like uh vxlan and so with that being
1:18 said let's go ahead and jump to the cli
1:20 and get this started
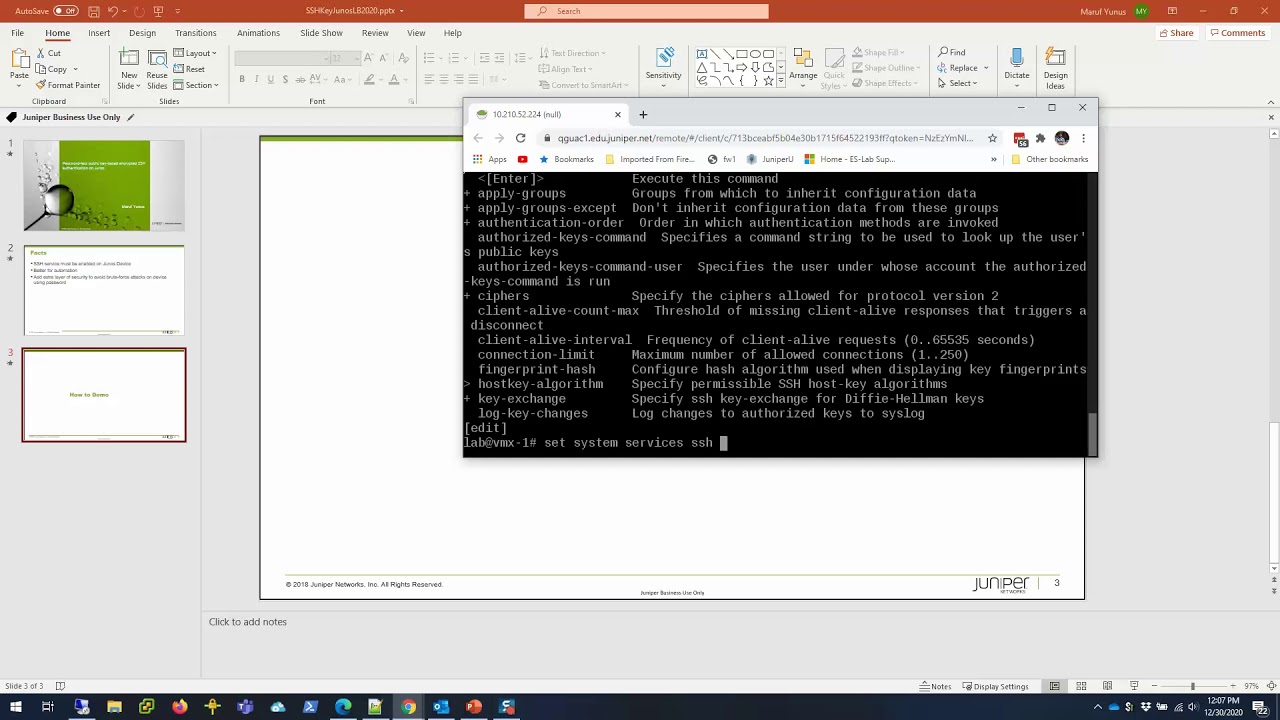
1:22 all right so here is the cli we're
1:24 currently logged into spine1 so let's go
1:27 to protocolsbgp and you can see here we
1:30 already have the underlay bgp
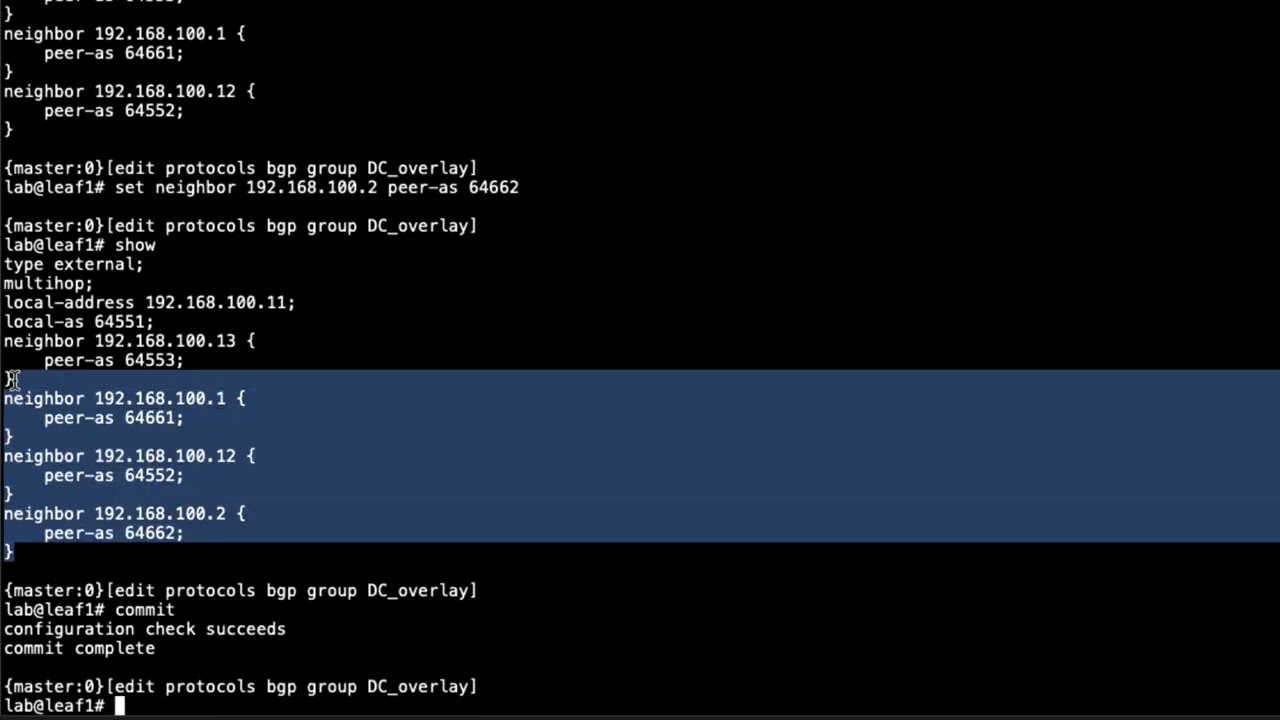
1:32 configuration set up and so let's go
1:34 ahead and create a new group we'll call
1:36 this dc
1:38 underscore overlay
1:40 and we need to set the type to external
1:42 because we're using ebgp and then we
1:44 also have to use the multi-hop
1:46 uh configuration parameter since this is
1:49 ebgp
1:50 remember that with ebgp the by default
1:53 it's set to a ttl of one it only will go
1:55 one hop and so we need to set the
1:57 multi-hop parameter here so it will go
1:59 to the loopback addresses of the other
2:02 devices in the data center
2:05 so we'll set multihop then we need to
2:07 set the local as of 64661
2:13 for spine1 then we also have to set the
2:15 local address
2:17 for the loopback address because this is
2:18 what we'll be using to source the
2:20 peering sessions from and the other
2:22 devices in the data center will be using
2:24 this address to form the bgp connections
2:27 too so that's gonna be
2:29 192.168.100.1 for spine1 and then we
2:32 have to set the neighbor configurations
2:35 and it's going to be all the other
2:37 devices and that's going to be
2:40 182.168.100.2 for spine2 we have to
2:43 configure their peer as and that's going
2:45 to be 64662
2:48 and then set neighbor
2:51 192.168.100.11 that's going to be leaf
2:53 one
2:54 their pras is gonna be six four five
2:56 five one
2:59 and then
3:00 for
3:02 leaf two
3:03 pris is going to be 6 4 5 5 2
3:08 and then finally leaf 3
3:12 and we're going to use pier as64553
3:17 you can see the configuration here let's
3:19 go ahead and commit that configuration
3:21 and then we'll jump to spine 2 and do a
3:24 similar configuration and what i'm going
3:26 to do to help save some time is i'm
3:27 going to copy this configuration paste
3:29 it into spline 2 and make some
3:31 adjustments
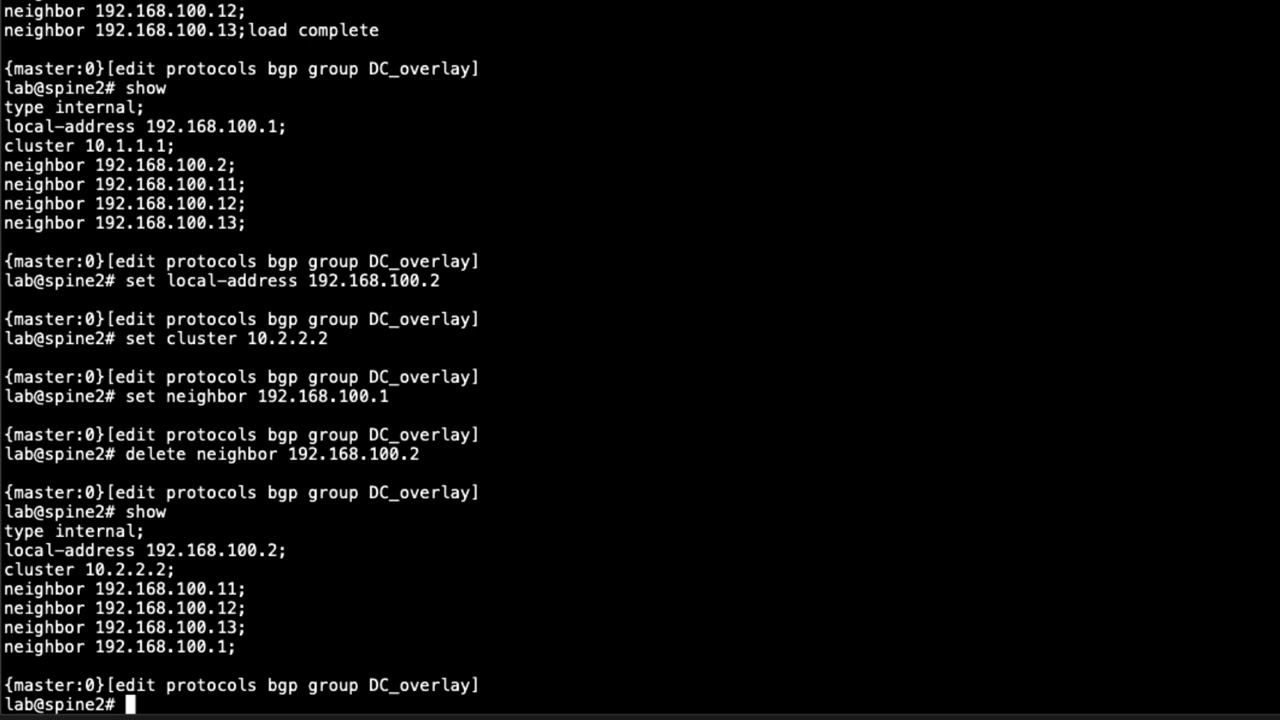
3:43 and so we can see the configuration
3:44 that's pasted here if we just commit it
3:47 it's not going to work since this is the
3:48 configuration for spine1 so let's make a
3:50 few changes first we need to change the
3:52 local
3:53 address you change that to
3:57 the dot 2 address here that is the
3:59 loopback address for spine2
4:01 and then we need to
4:04 get rid of the
4:07 spine 2 neighborship since we don't need
4:09 it when we're configuring spine 2 and
4:10 then when you configure
4:12 spine 1
4:15 neighborship and that pier as is six
4:17 four
4:18 six six one
4:21 and then we also need to configure the
4:22 local as it's currently set the
4:24 configuration is currently set to the
4:25 local as of spine1 we don't want to do
4:28 that we want to set that as 64662
4:31 and then we can look at that
4:31 configuration we can see it's type
4:33 external multi-hop local address is set
4:35 to the correct local address of spine2
4:37 the local ais is set to the correct
4:39 local as of
4:41 and then you can see the neighbor
4:42 configuration for
4:44 leaf one leaf two leaf three and then
4:46 spine one let's go ahead and commit that
4:49 and i'm going to again just copy this
4:52 probably don't need to here but
4:54 i since probably still have the uh the
4:56 last configuration still on the
4:58 uh
4:59 in the buffer on the clipboard that is
5:02 but just want to make sure so i'm not
5:04 copying nothing in
5:16 okay so we copied that in and we need to
5:18 change a few things again set
5:20 the local address
5:22 to the local
5:24 loopback address of leaf one which is
5:26 dot 11
5:28 and then we need to delete the leaf one
5:30 neighborship configuration
5:32 and technically you could just leave it
5:34 there and you would just have a bgp
5:36 session that would never actually form
5:38 but it's for the sake of uh cleaning up
5:41 the configuration i like to remove any
5:43 sort of extra configuration but if you
5:45 were doing something like an expert
5:47 level exam where time is of the essence
5:50 it's very time sensitive maybe it would
5:52 be worth deleting that extra
5:54 configuration that's not going to do
5:56 any sort of problems for you it's not
5:58 going to cause any sort of problems for
5:59 you so just something to keep in mind
6:01 there and now we need to set the local
6:03 as
6:05 to the local as of spine 2 which is 6 4
6:08 or sorry leaf
6:10 1 which is 6 4
6:12 5 5 1.
6:15 then we need to delete the neighbor
6:18 of leafed the neighborship configuration
6:20 for leaf two since we are on leaf two
6:22 and actually i made a mistake there i
6:24 wanted to keep leaf two we're not on
6:25 leaf two we're on leave one so uh yeah
6:28 let me set that uh neighbor back up
6:30 again
6:34 and uh six four five five two for that
6:37 okay so we want to delete the neighbor
6:38 for neighborhood for leaf one
6:43 since we don't need that or we already
6:45 did that that's right man where's my
6:47 head okay so we did do that already
6:50 correct okay so
6:52 what do we need to do let's look at that
6:53 configuration again
6:54 okay so we have what do we have here we
6:56 have spine one and uh leaf two and leaf
6:59 three we need to set the neighborship
7:00 for spine two
7:03 and pris there is six four six six two
7:08 okay so that looks a lot better
7:10 let's go ahead and commit that
7:12 configuration and then we'll jump to
7:14 leaf two and configure what we need
7:16 there
7:18 here is leaf two
7:29 okay so we got the uh the configuration
7:32 pasted in let's make the adjustments
7:35 local address
7:37 and we'll set that to 192.168.100.112.
7:41 set the local as to 65
7:47 and then we're going to delete
7:49 the neighbor for leaf two since we are
7:52 on leaf two that's the correct one to
7:54 delete this time and then we're going to
7:55 set the neighbor leaf one
8:00 here as for leaf one is six four
8:03 five five
8:04 one
8:05 and that configuration looks good there
8:07 let's go ahead and commit it
8:09 and then let's go ahead and copy this
8:12 again
8:12 go to leaf three
8:14 and repeat the process
8:22 place this in
8:26 and then make our adjustments
8:32 one three four leaf three for the local
8:34 address
8:35 and then the as is 64553
8:40 and then we need to delete
8:43 the neighbor of
8:45 leaf 3 since we are on leaf 3
8:48 and set the
8:50 neighbor of leaf 2.
8:57 and the
8:58 prs64552
9:00 then we look at that configuration
9:01 everything looks good
9:02 we have local address set correctly
9:05 local as set correctly
9:07 and then we have
9:09 the leaf two pairing address leaf one
9:12 uh spine wall two that is spine two
9:15 and then spine one so let's go ahead and
9:17 commit that configuration
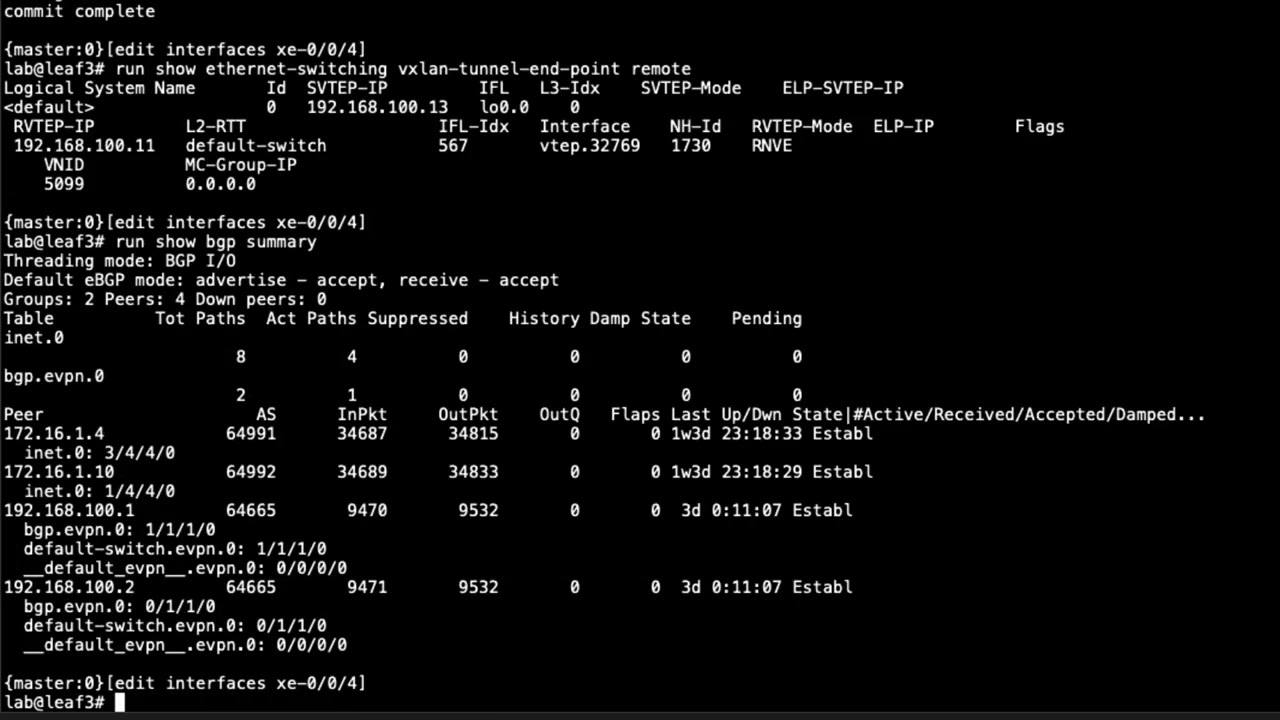
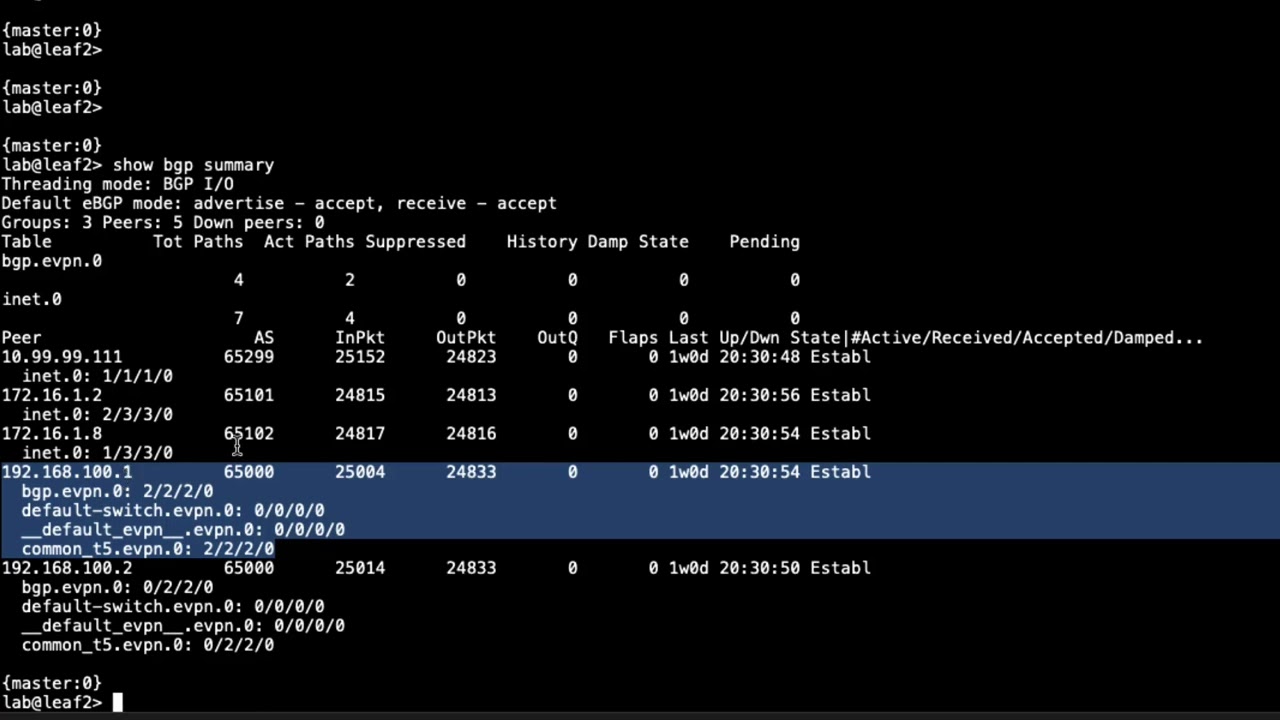
9:19 and then let's take a look at the bgp
9:21 sessions
9:24 and great all the bgp sessions that is
9:26 the ebgp sessions are up and established
9:29 that looks great right
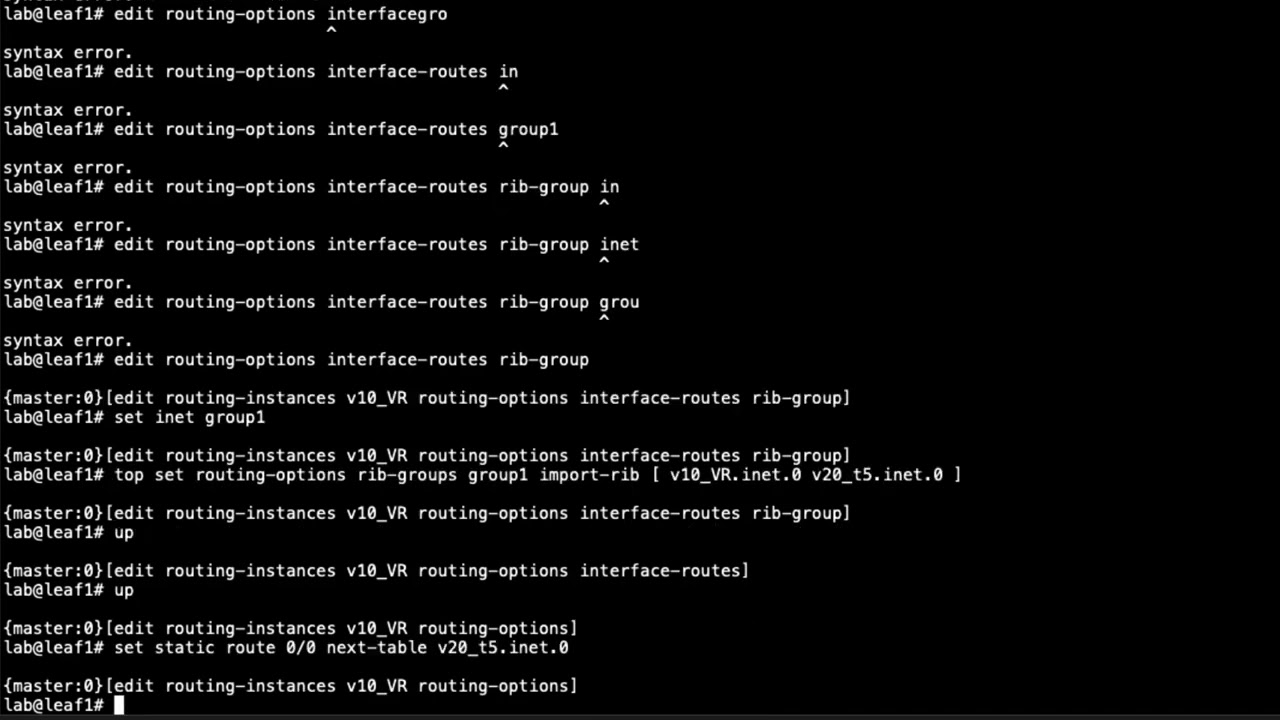
9:31 well actually no there is a problem
9:34 notice here that we're using inet.0 or
9:37 we're passing inet routes we're not
9:40 passing evpn routes we need to be
9:42 passing evp and routes or at least be
9:44 able to pass evpn routes so right now
9:46 this
9:47 ebgp overlay is not functioning as it
9:50 should so what we need to do there is we
9:52 need to set the family to evpn signaling
9:56 i'll commit that let's jump back to leaf
9:57 two and the rest of the devices and do
9:59 that
10:07 so that's leaf one and then let's do
10:09 spine two
10:15 and then jump to spine one do the same
10:17 thing
10:21 and then let's check those bgp sessions
10:27 and that looks a lot better you can see
10:29 here that we do have
10:30 the four sessions established now this
10:33 might be a little concerning
10:35 that there's no routes being passed and
10:37 that's okay because we haven't actually
10:39 set up vxlan or anything like that and
10:41 so that's normal this learning byte is
10:43 just focusing on setting up ebgp in an
10:46 overlay network in a data center so
10:48 uh this is what we want to see here the
10:50 next step would be to configure vxlan
10:52 and different vlan parameters or whatnot
10:55 but that i'll save for another learning
10:58 byte and we could look at this output
11:00 for the other devices in the network but
11:01 since spine1 is showing that all the
11:03 sessions are established and working
11:05 it's safe to assume that everything else
11:07 is as well
11:09 so that does bring us to the end of this
11:11 learning byte and in this learning byte
11:12 we demonstrated how to configure and
11:14 verify ebgp in a data center overlay
11:17 network
11:18 so as always thanks for watching
11:21 visit the juniper education services
11:23 website to learn more about courses
11:26 view our full range of classroom online
11:30 and e-learning courses
11:32 learning paths
11:33 industry segment and technology specific
11:36 training paths
11:38 juniper networks certification program
11:40 the ultimate demonstration of your
11:42 competence
11:43 and the training community from forums
11:46 to social media join the discussion