WAN Edge Provisioning
To facilitate the ZTP (zero-touch provisioning) process of onboarding an SSR into the Mist Cloud, it is a best practice to create the topology and configuration where the SSR will be adopted before adding the SSR to the Mist Cloud. The process described here allows you to create a basic configuration to be loaded onto the SSR during onboarding.
This process assumes that you already have an account on the Mist Portal.
Site Creation
Create one Site for each physical location for onboarding the SSRs.
- Create a unique site for each physical (or logical) location in the network. For example, the spoke and hub should be onboarded to different sites. Other devices from the Juniper stack such as Mist APs, Switches, SRX, etc., should be onboarded and assigned to their respective sites. This provides a clean topology view of all devices running within a site.
- Spoke Site is typically the location where a full stack solution is deployed. The location field is required for creation. Site variables are assigned after the network is defined.
Conductor-Managed Sites
If you are creating a site for a conductor-managed SSR deployment, it is a best practice to configure the IP address of the conductor as part of the site creation. Use the following procedure to retrieve and assign the conductor IP address to the Mist site.
On the Configuration Home panel in the SSR GUI, click the Authority button.
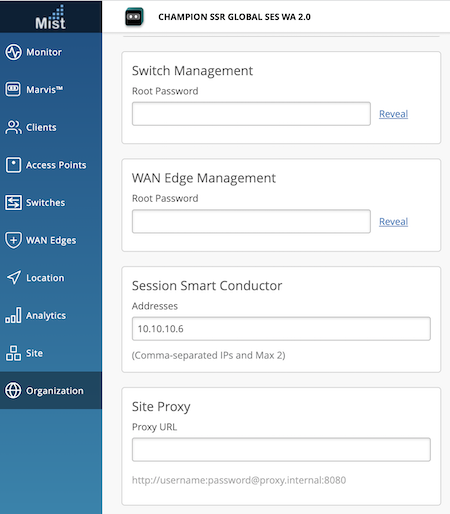
Under Authority Settings, scroll down to Conductor Addresses and copy the IP address of the conductor.

Return to the Mist Site Configuration, and scroll down to the Session Smart Conductor field and add the Conductor IP address.
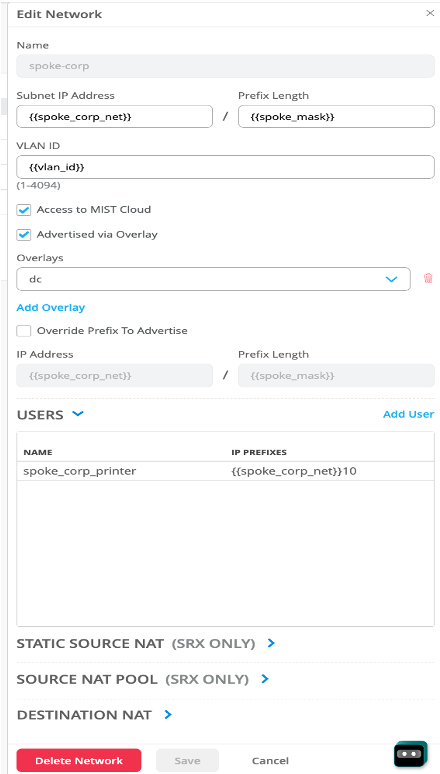
Add a Network
In the add network panel, define the following:
- Network name, IP address and subnet.
- Enable “Access to Mist Cloud” to permit services from this network to the Mist cloud. Enabling “Advertise via Overlay” will announce this network via iBGP.
- Add users/hosts representing the LAN segments – these will be used as a source in service policies.
- Configure support for source and destination NAT.
Identify Applications
Applications represent the "things" that the users are connecting to. These include:
- Network services
- SaaS apps
- Private subnets
- Cloud workloads
To create a new application, navigate to Applications and click Add Applications.
Configure and save a basic Internet app. If you intend to have a catch-all application for all traffic, it is best practice to create an "Internet" application that is represented by a quad 0 (0.0.0.0/0).

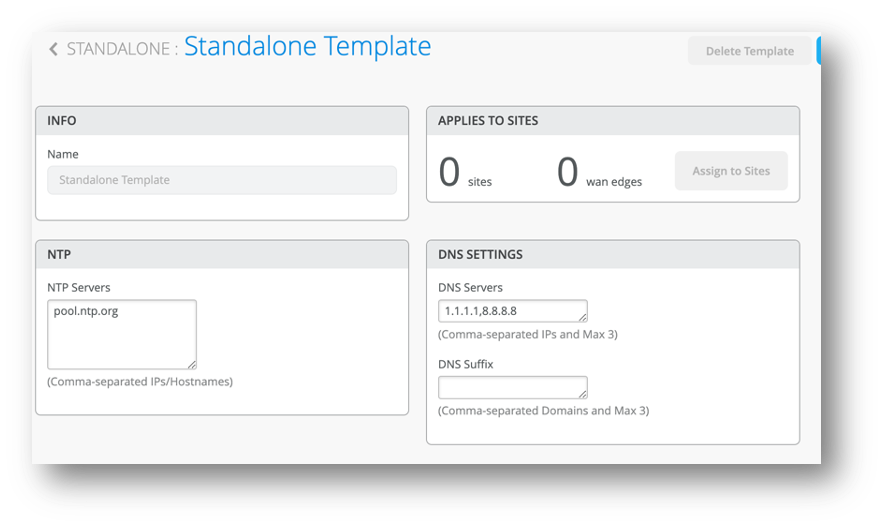
Create Standalone WAN Edge Template
Navigate to “WAN Edge Templates” and create a new template.
Enter your NTP and DNS settings.
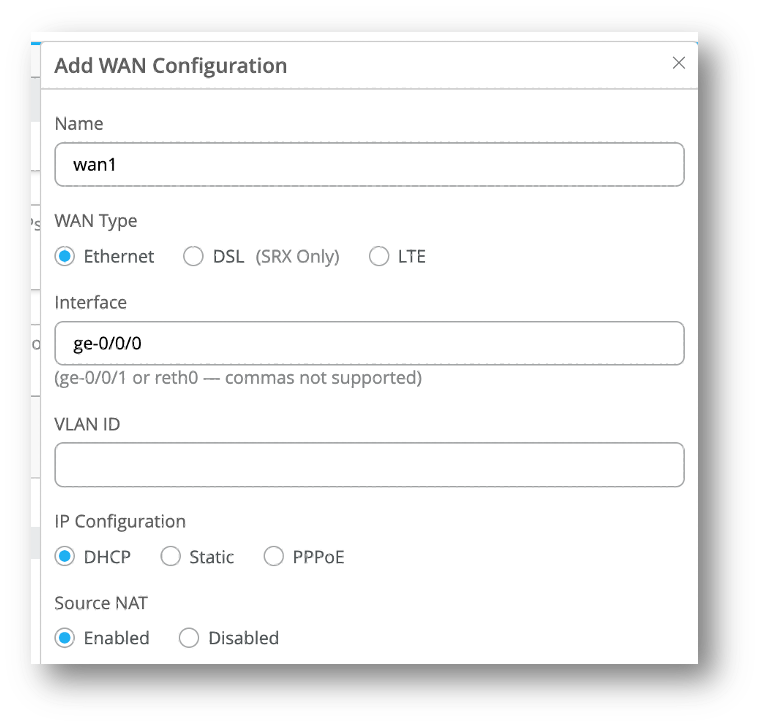
Create the WAN Interface
Add a new WAN interface to the template.
Enter and save the WAN interface settings.
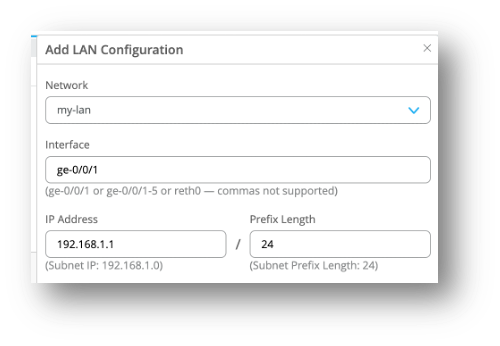
Create the LAN Interface
Add a new LAN interface to the template.
Select your previously created network, and set the IP address the device will use from within the subnet.
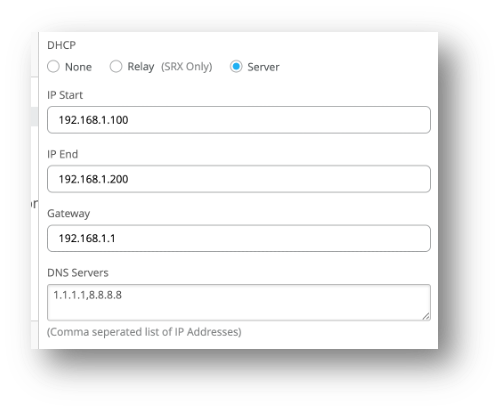
Set up a DHCP server pool for the LAN network.
Create Breakout Steering Policy
Add a traffic steering policy specifying use of WAN path, and previously configured WAN interface.

Create an Access Policy
Add an access policy to the template.
Select your network, your internet app, and breakout steering policy.
Associate Template With Site
Save the template you have configured, and associate the template with your previously created site.