Step 2: Install the SSR Software and Initialize the Conductor
This step boots the conductor VM from the SSR ISO, installs the software, and configures the VM as a standalone conductor with a static management IP.
Install SSR Software
-
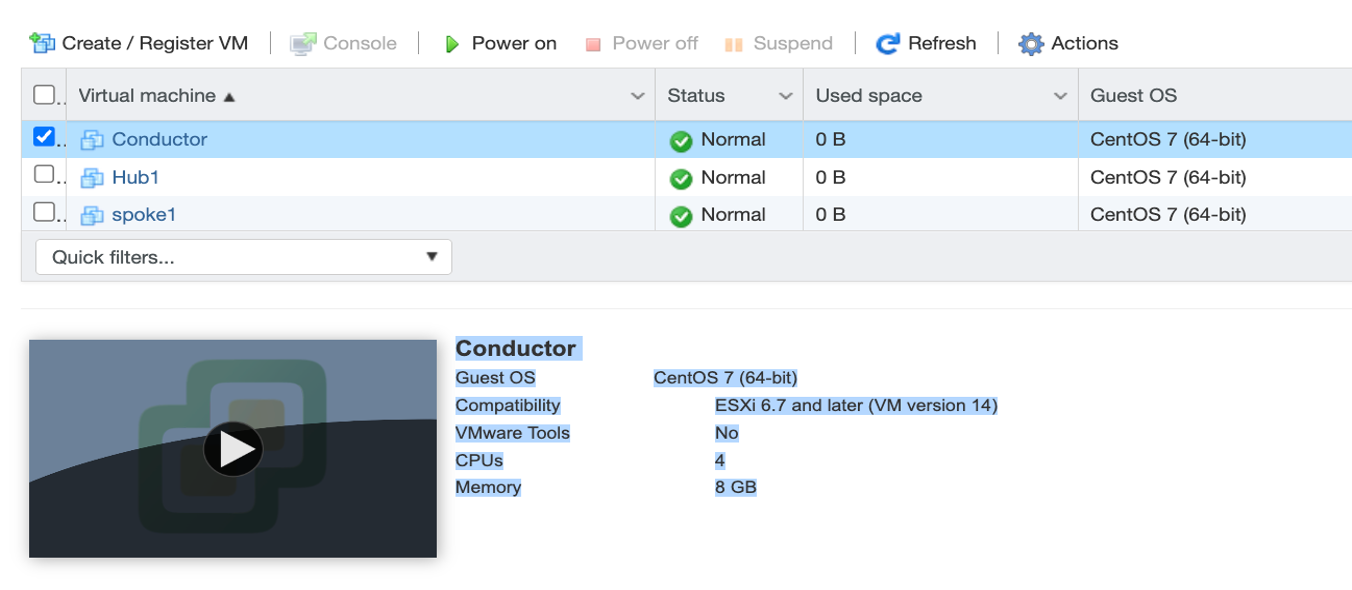
Select the VM in the ESXi Navigator and click the Play (Power On) button.
-
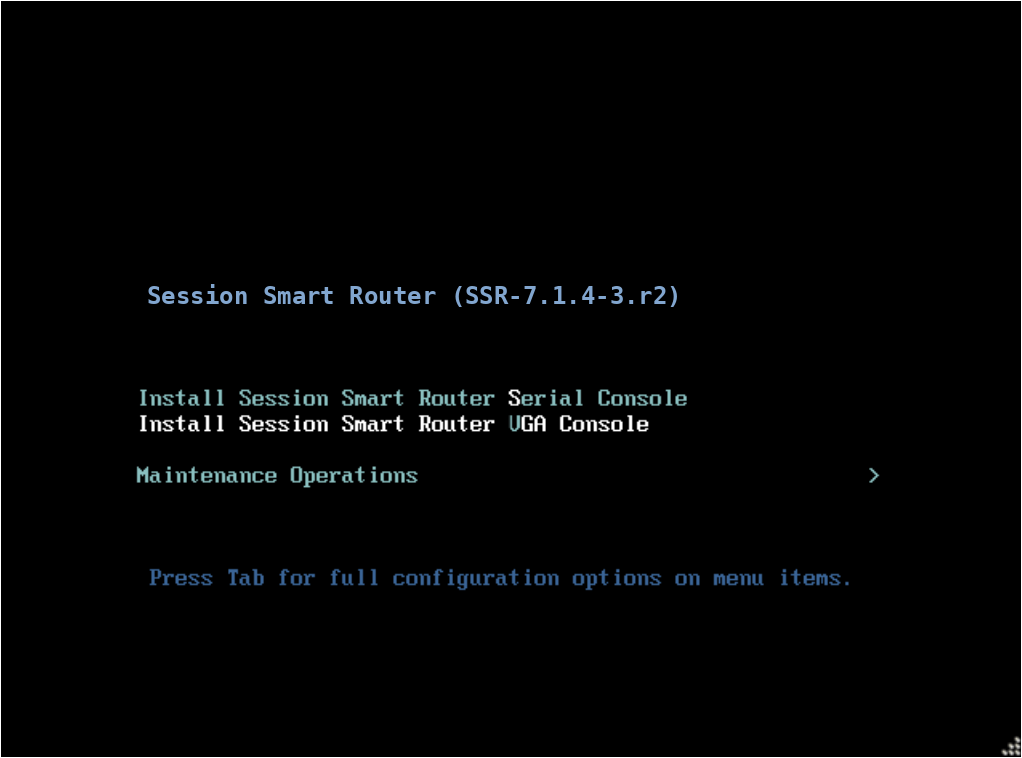
At the Install menu, use the arrow keys to select VGA Console.
-
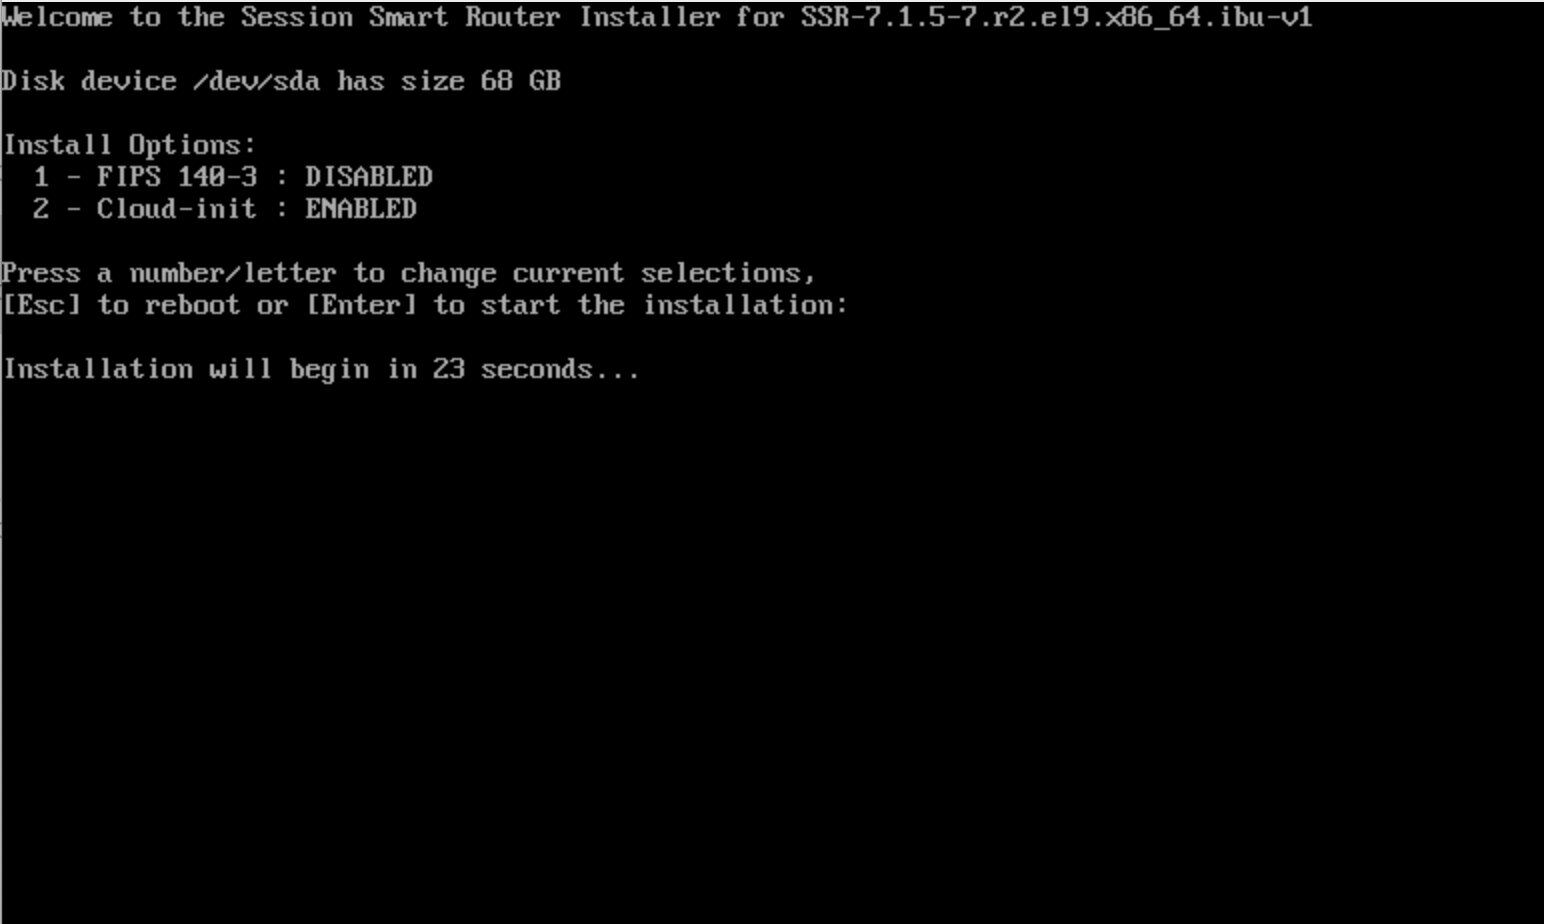
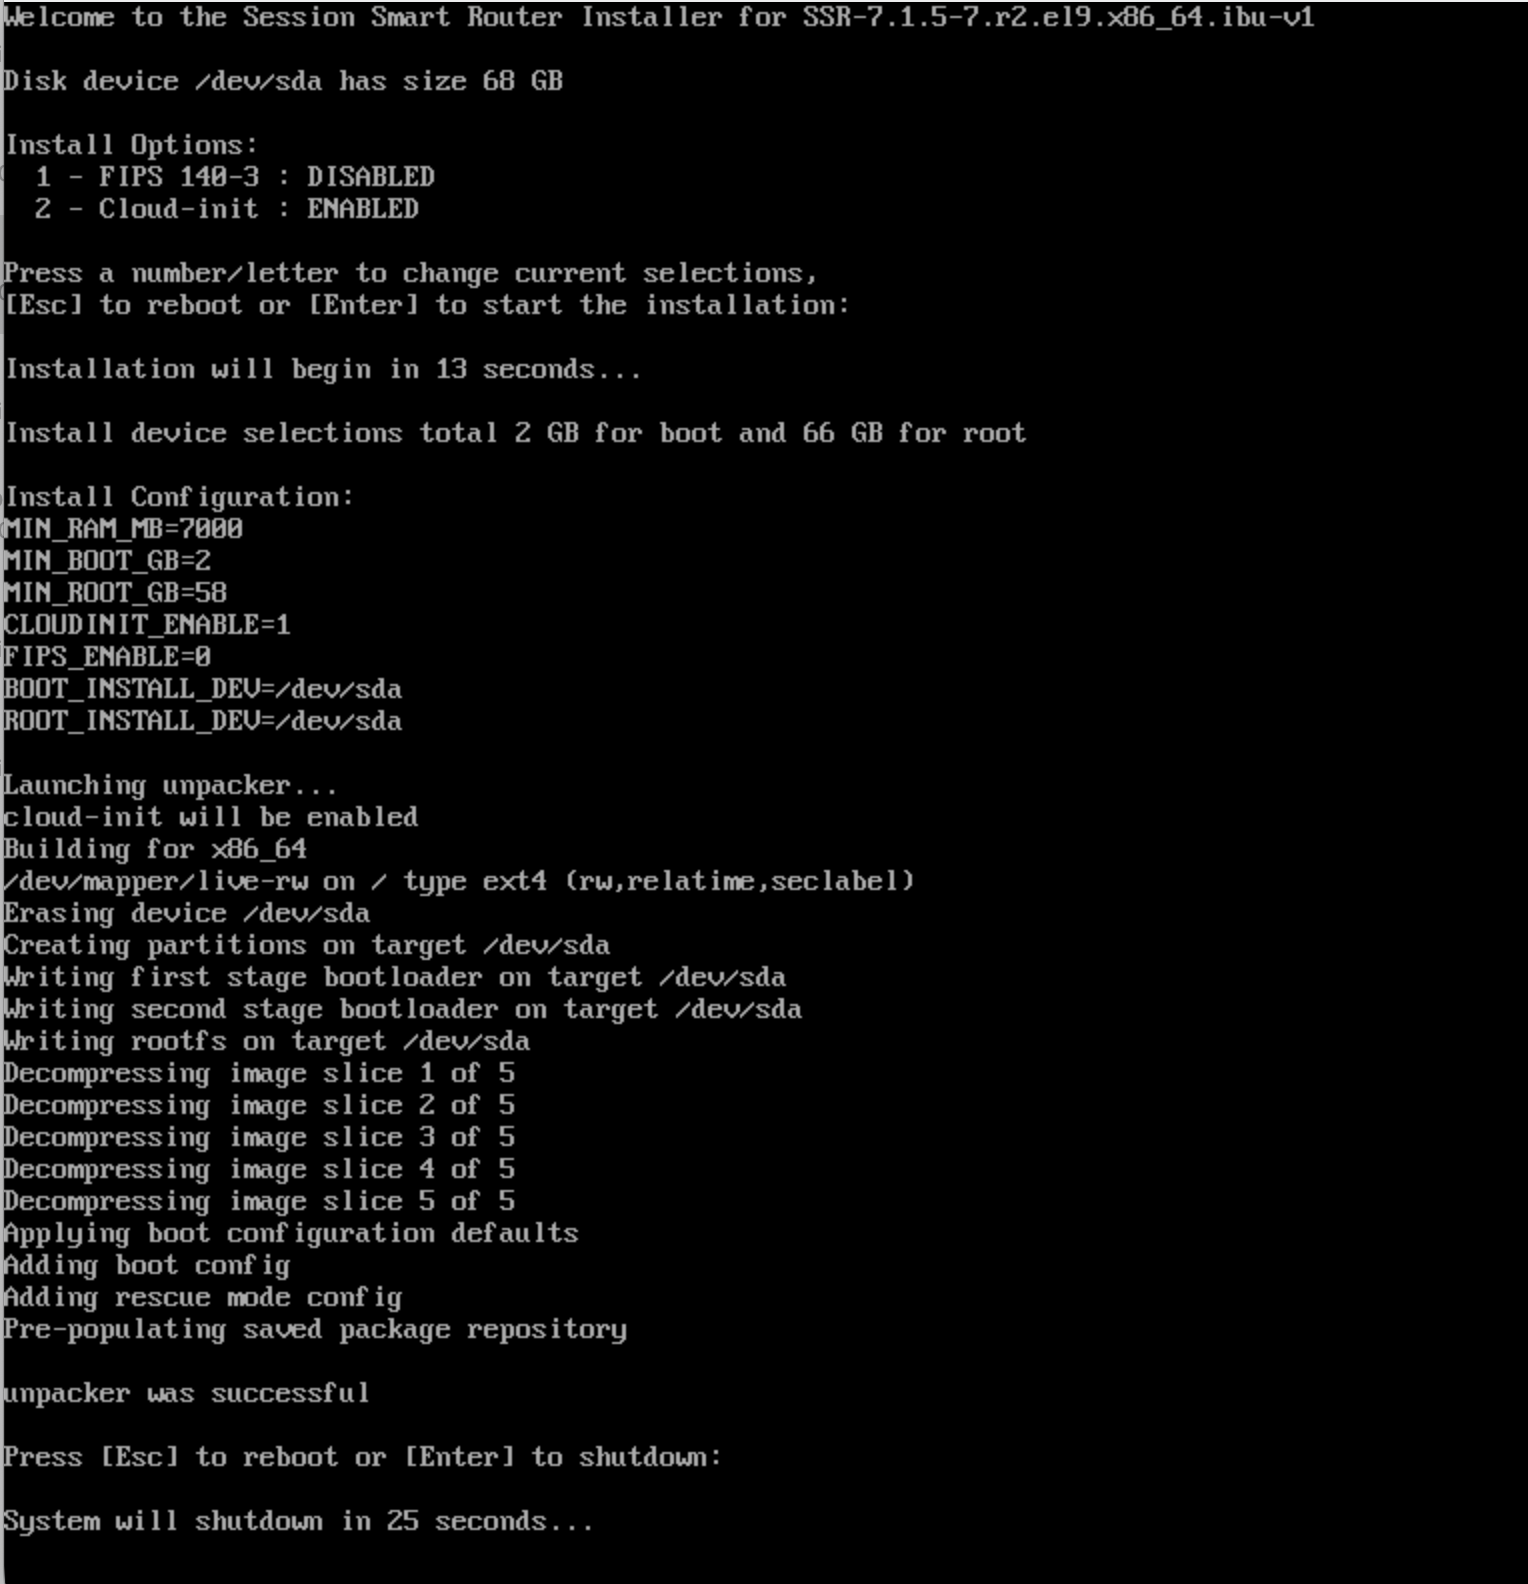
If you require FIPS mode, select Install Option 1 and press Enter. If FIPS is not required, press Enter without selecting an option. The download and installation begins.
noteIDP is not compatible with systems running in FIPS 140-3 mode, including Common Criteria or JITC deployments. If you plan to enable IDP, do not enable FIPS mode. See IDP Troubleshooting for information on disabling FIPS mode if needed.
Additionally, please note that FIPS mode disables BGP MD5 authentication.
-
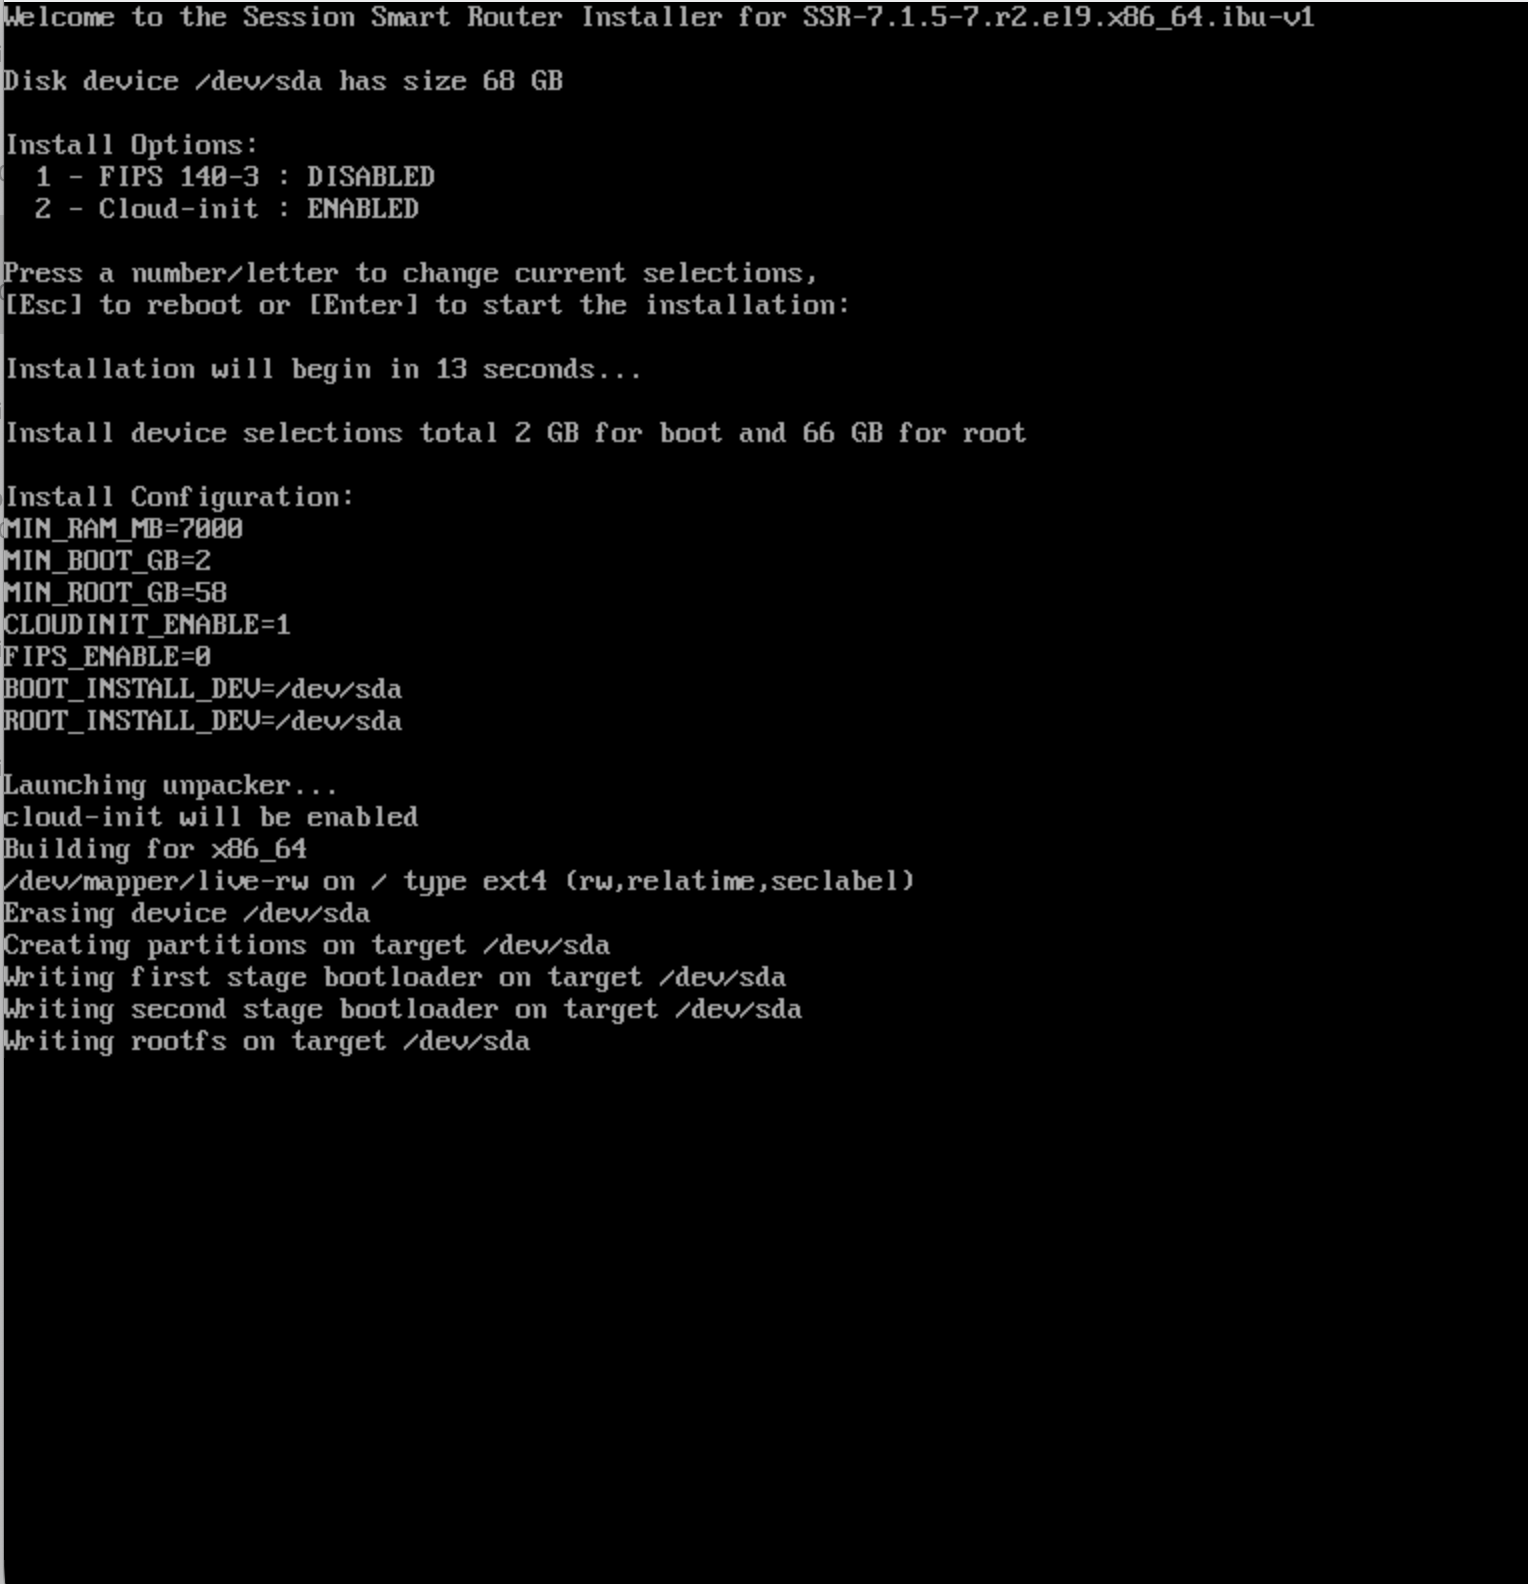
The installation runs to completion automatically. This may take approximately 15–20 minutes.
-
When prompted to reboot, allow the VM to shutdown.
Configure the Conductor Management VLAN
These steps configure the interface you will use to initialize the conductor via the Web GUI.
-
In the VM in the ESXi Navigator, start the Conductor Virtual Machine.
During the boot process, service failure warnings appear - these are due to services that are not yet running and can be ignored.
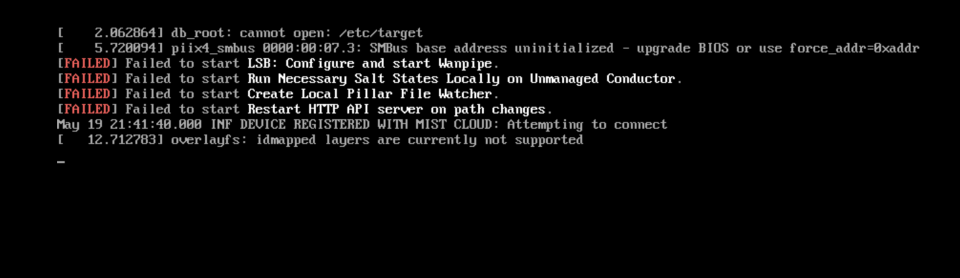
The message
Device Registered with Mist Cloud: Attempting to Connectdisplays in the window.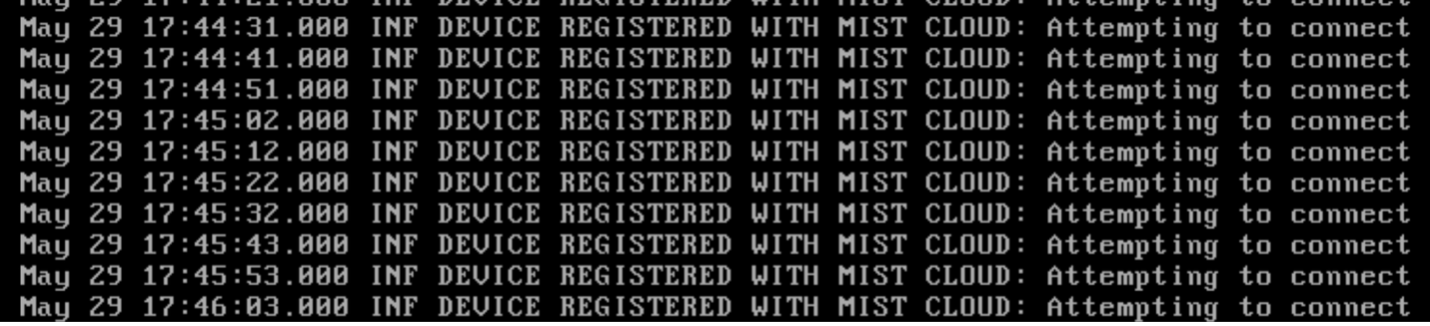
These messages appear due to the instance attempting to connect to the Mist Cloud. The
mist-agentis enabled by default and will continue to reach out to Mist to connect. In Conductor-managed air-gap networks where there is never any intent to connect to Mist, disabling the Mist Agent has no operational impact, and is actually desirable. Stopping the Mist Agent stops the messages, allowing you to continue the process. -
Select Console and login using the root credentials.
- Username:
root - Password:
128tRoutes
- Username:
-
Run the following two commands to disable the service and stop the messages.
systemctl disable 128T-mist-agentsystemctl stop 128T-mist-agent -
From the linux prompt run the command
ip a | more. Make a note of thege-0-0interface and MAC address association.
Example:
ge-0-0 =00:0c:29:68:78:7c4a. If you do not see the
ge-0-0interface, use the following steps to retrieve the information from the SSR CLI:- From the linux shell, run the command
su adminto enter the SSR CLI. - Run
show network-interface | more. This will display the DHCP IP address.
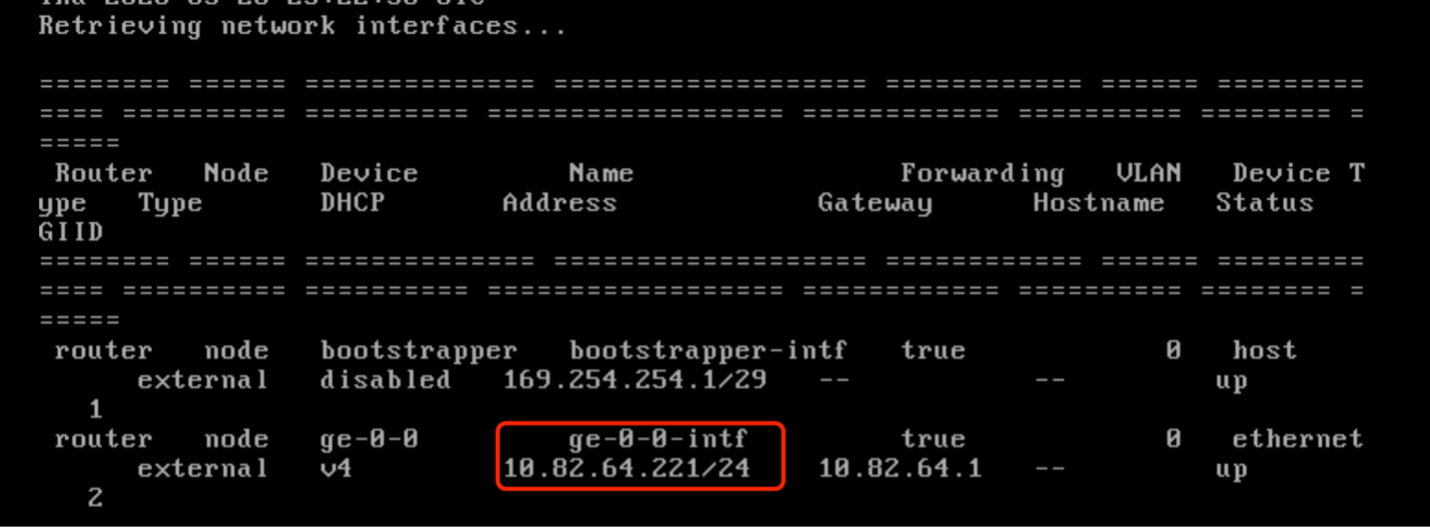
- Locate the ge-0-0 interface, and make a note of the IP address.
- From the linux shell, run the command
-
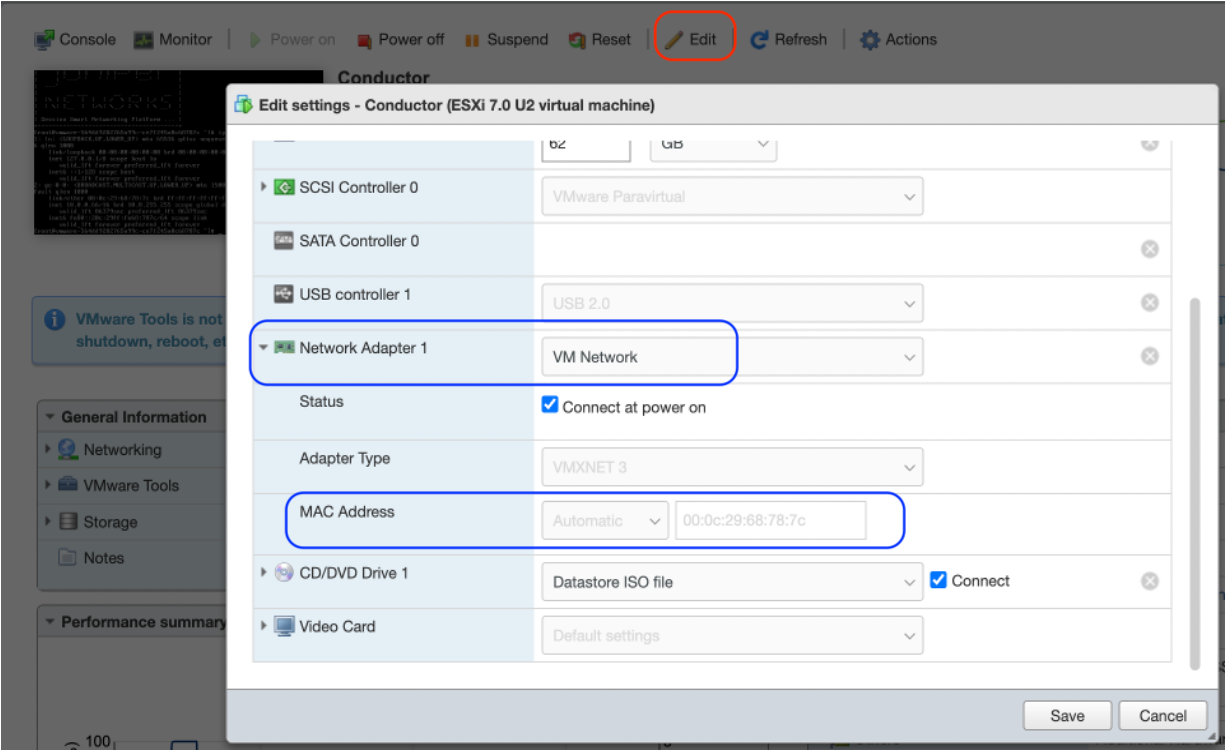
From the Conductor VM in the ESXi Navigator, select Actions and then Edit.
-
Select Network Adapters and verify the
ge-0-0MAC address from step 3 is displayed. -
Set Network Adapter 1 to
VM Network.All
ge-0-0interfaces on all routers in the network will be in the VM Network management network. -
Click Save.
Initialize the Conductor
-
After the system boots, the SSR login screen appears. Login using the root credentials.
- Username:
root - Password:
128tRoutes
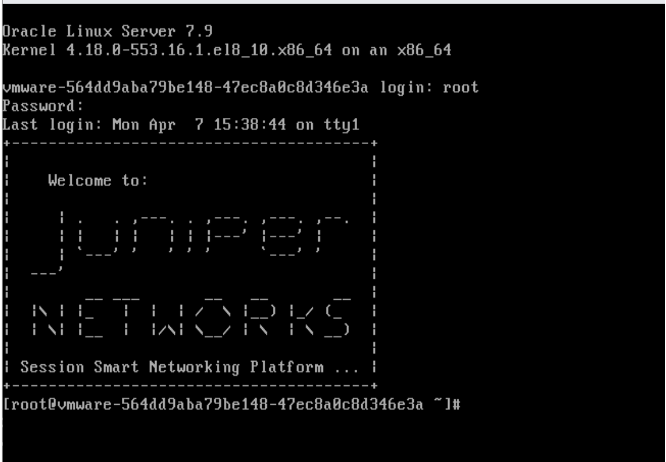
The system takes a few minutes to start up.
- Username:
-
Run the command
su adminto enter the CLI. This may fail until the system completes the start up process.
-
Once you are able access the CLI, run the command
show system. When the status returns asrunning, continue with the next step. -
From the CLI, run the
initialize conductorcommand shown below. Use the folowing table to set the values indicated:Field Example Value Notes Node IP Address 192.168.100.10/24DHCP management IP Node Gateway 192.168.100.1Management network gateway Interface Name ge-0-0Management interface DNS Server 8.8.8.8Required for software downloads Artifactory Username (your username) Juniper software access Artifactory Password (your token) Juniper software access token initialize conductor router-name Conductor node-name node0 node-ip 192.168.100.10/24 node-gateway 192.168.100.1 dns-servers 8.8.8.8 artifactory-user <your user name> artifactory-password <artifactory token>The Artifactory username and password are required for your device to access the Juniper software repository to download new software releases. If you are installing in an air-gap network where the Conductor does not have internet access, these values are not required but the Conductor must be set to
offline-modeafter the initialization has completed, and is shown in Set Offline Mode.For additional information about
offline-mode, see Upgrades with Restricted Access -
At the password prompt, enter a new Admin Password. This must be changed. The new password has the following minimum requirements: A minimum of 9 characters; Contain 1 upper case letter, 1 lower case letter, and 1 number.
noteThe
admin,root, andt128accounts are all set to the password you enter here. Record this password securely — it cannot be recovered if lost, only reset with root access.The message
Device successfully initializedis displayed after the process completes. The conductor VM will reboot, and then reboot a second time.After the second reboot, the login screen appears. Open a browser window and enter the URL
https://192.168.100.10. -
Log in with username
adminand the password set during initialization.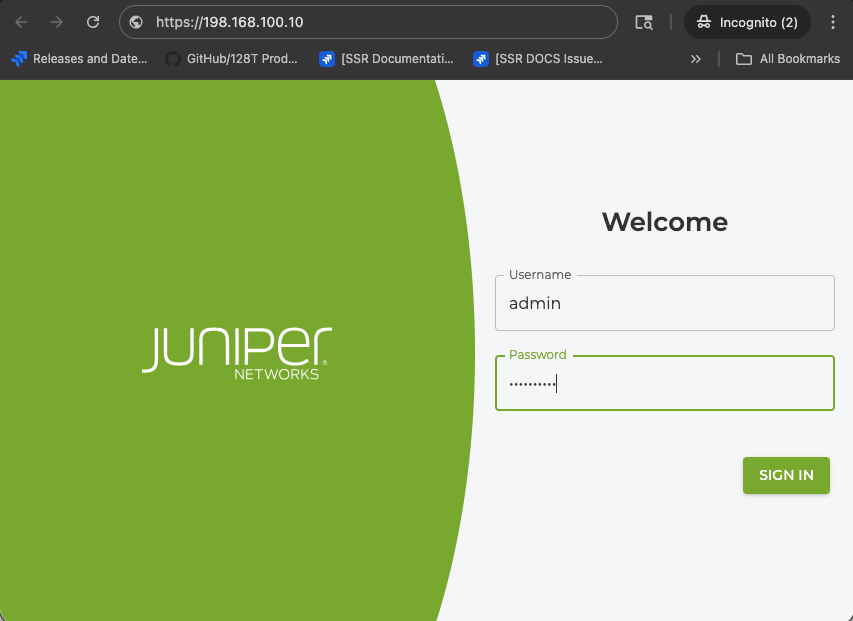
A successful login confirms the conductor is running and reachable on the management network.
Next Step
Proceed to Step 3 — Configure the Conductor.