Monitor and Manage Access Points
Use the Access Points page to view information about your APs and to complete maintenance tasks such as renaming and rebooting APs, clearing profile overrides, uploading images, and more.
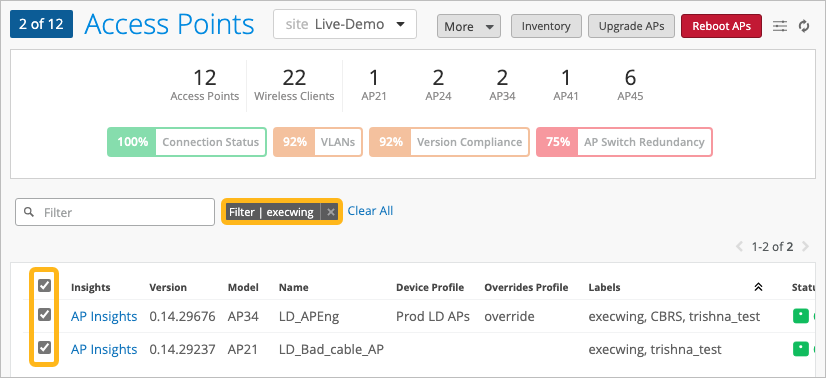
Access Points Page Overview
To find this page, select Access Points from the left menu.
At the top of the page, you can use various features to get information and customize what you're seeing in the table.

| Feature | Description | More Information |
|---|---|---|
| Site List | Select the site that you want to view. | |
| More | This button appears only if you've selected one or more APs in the table. Take various actions to manage selected APs. | |
| Inventory Button | Go to the Inventory page to see information for your organization's devices. | Inventory information in the Juniper Mist Management Guide |
| Create Wireless Networks Button | Go to the WLANs page to add and manage your networks. | WLANs and WLAN Templates |
| Claim APs Button | Add new APs to your organization. | Claim a Juniper AP |
| Upgrade APs |
This button appears only if you've selected one or more APs in the table. Upgrade the selected APs. |
Upgrade the Firmware on a Juniper AP |
| Reboot APs |
This button appears only if you've selected one or more APs in the table. Reboot the selected APs. |
|
Table Settings Button |
Open the Table Settings window, where you can select the information to show or hide in the table. You also can drag items up or down in the settings window to reorder the columns of the table. |
|
Refresh Button |
Update the page with the latest data. |
|
| Device Totals | The total number of access points and clients, and the number of each AP model. | |
| Metrics |
Metrics for basic criteria. Click a button to see only the APs with issues. |
AP Metrics |
Selecting APs in the Table
Select the site at the top of the Access Points page, and then select one or more APs in the table.
-
Individual APs—Use the check boxes in the first column to select individual APs.
-
All APs—Use the check box in the header row to select all APs.
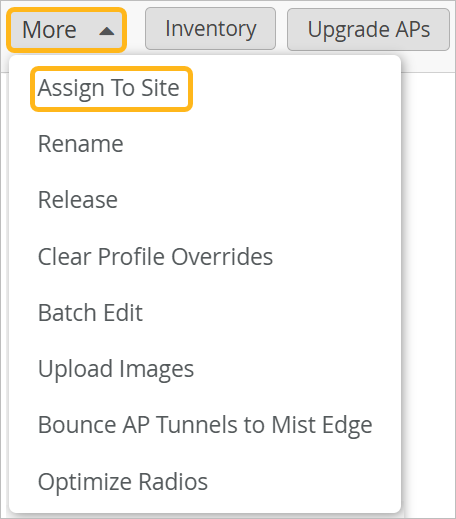
Reassign an AP to Another Site
-
At the top of the page, click More >
Assign to Site
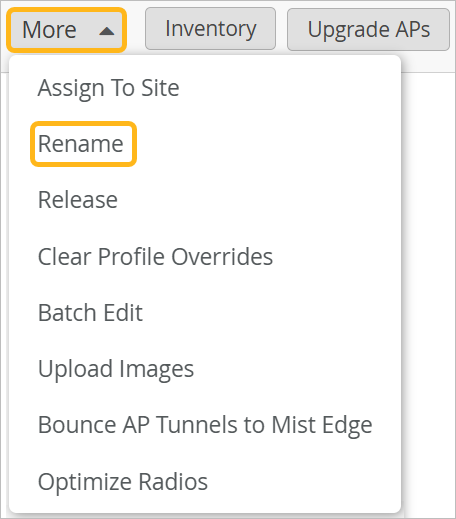
Rename an AP
-
At the top of the page, click More >
Rename.
-
In the pop-up window, enter text or variables to create the names for the
selected APs. OR leave the box blank to reset the APs to an empty
name.
You can enter text, spaces, special characters, and variables. For example, let's say you want the AP name to include the site name, and an integer, such as Boston - 1, Chicago - 2, and so on. You'd enter [site] - [ctr] as shown in the following example.
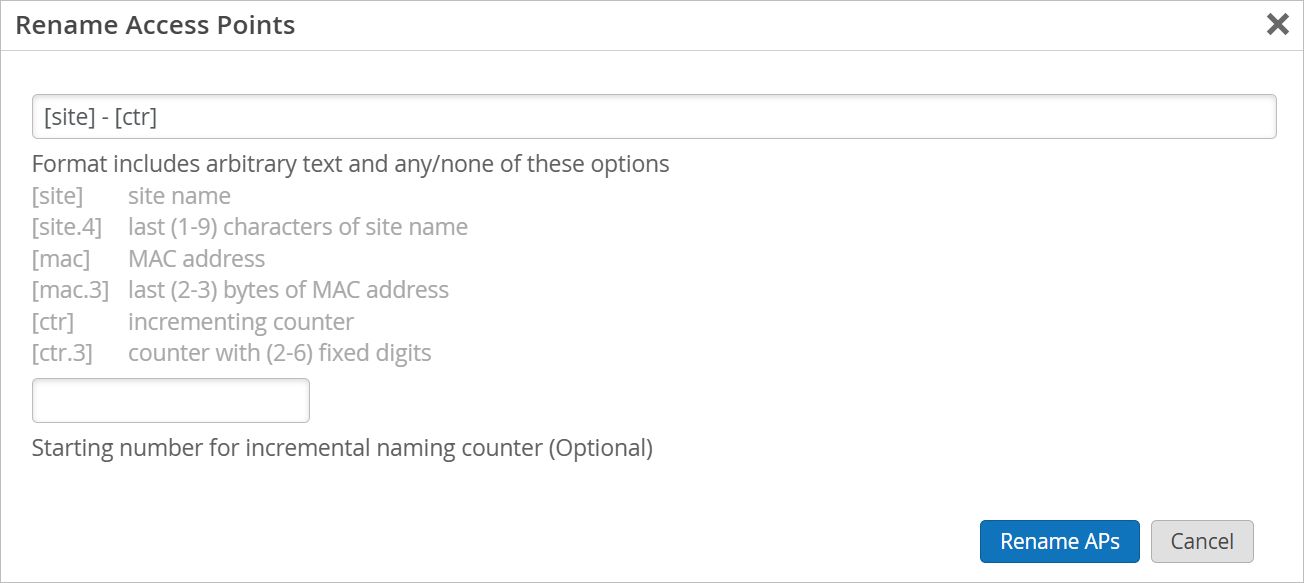 Note: If you use a counter variable, you can enter the number that you want to start with. If you leave the starting number field blank, then the numbers start with 1.
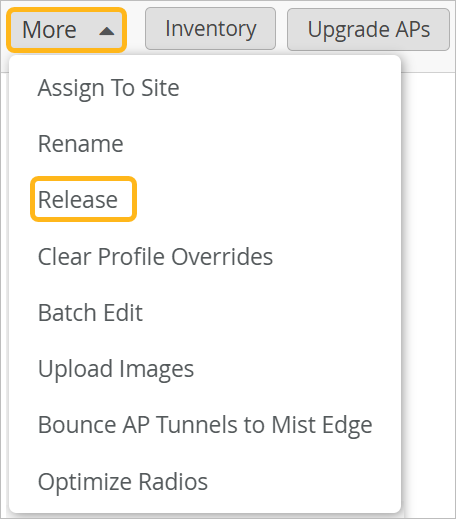
Release AP
-
At the top of the page, click More >
Release
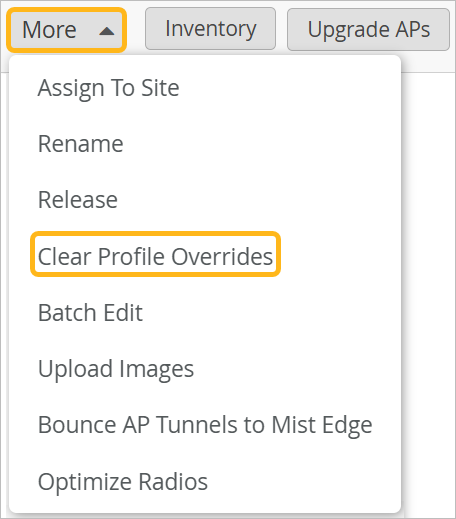
Clear Profile Overrides
-
At the top of the page, click More >
Clear Profile Overrides.
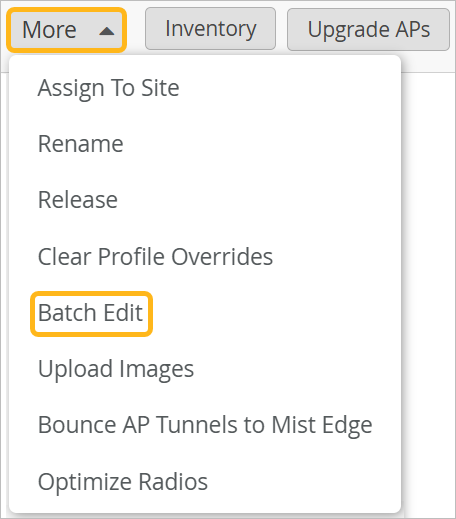
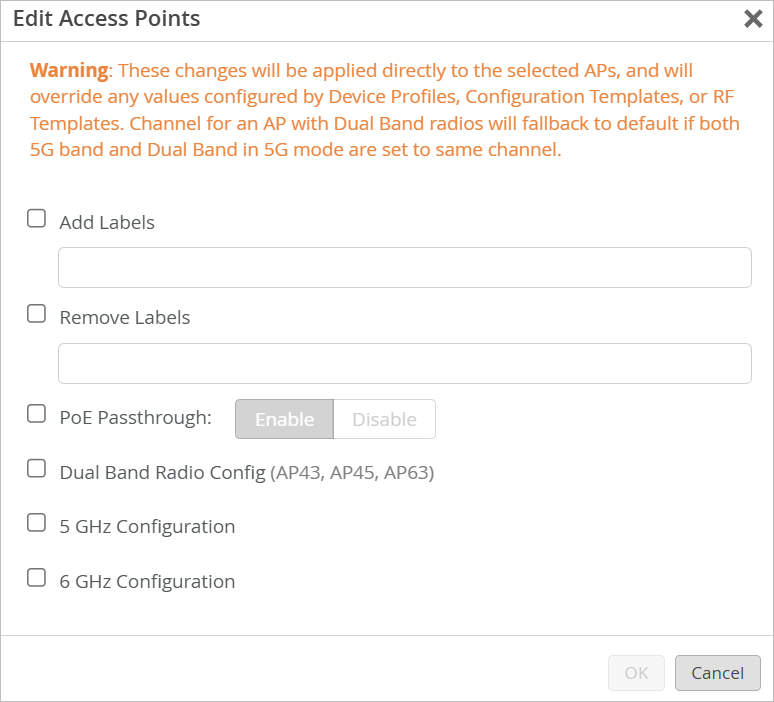
Batch Edit Labels, PoE Passthrough, and Radio Configurations
Select multiple access points, and then apply new settings to all of them. You can make these types of changes:
-
Add or remove labels.
-
Enable or disable PoE passthrough.
-
Configure dual band, 5 GHz, or 6 GHz.
-
At the top of the page, click More >
Batch Edit
-
Select the check box for each setting that you want to change, and then
enter the new settings.
Upload Images
-
At the top of the page, click More >
Upload Images.

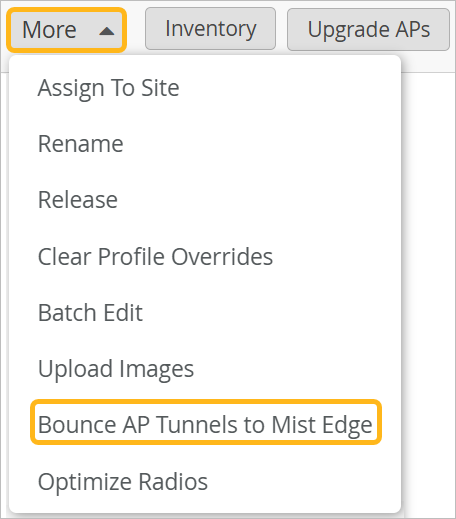
Bounce AP Tunnels
-
At the top of the page, click More >
Bounce AP Tunnels to Mist Edge.
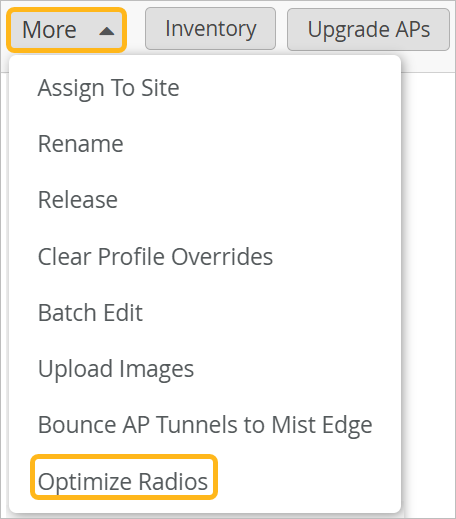
Optimize Radios for Selected APs
You can manage most radio settings automatically, as Radio Resource Management runs periodically to optimize performance. However, in certain situations, you might want to run RRM at will to optimize radios on a single AP or a small subset of APs at your site.
Consider the following examples:
You need to make a change on a few APs based on their label.
-
You've onboarded a few new APs, and you want to immediately optimize their radios.
-
In a large, multi-use building, you want to run RRM only on a few APs, without disrupting a heavily used dining hall, conference room, or auditorium.
-
In an outdoor setting, you need to change the channel or power settings on a few APs due to environment variations.
With the Optimize Radios feature, you can run RRM only on the radios that need adjustments, without impacting the other APs in your wireless network.
By default, optimization involves both channel selection and transmit power. However, if you prefer to avoid channel impact, you can optimize transmit power only.
To optimize radios for selected APs:
-
At the top of the page, click More >
Optimize Radios.