Step 1: Begin
This guide walks you through the simple steps to get a new greenfield cloud-ready SRX Series firewall up and running in the Mist cloud. You can onboard one or more firewalls using your computer, or a single firewall using your mobile phone.
Before you begin, you must set up your organization and sites, and activate your subscriptions. For more information, see Quick Start: Mist.
We show you how to complete two different ZTP-based onboarding methods:
-
To onboard a single firewall using your mobile phone, see Onboard One SRX Series Firewall Using the Mist AI Mobile App.
-
To onboard one or more firewalls using your computer, see Onboard One or More SRX Series Firewalls Using a Web Browser.
Trying to do something else? Check out the content at the links provided here:
- Onboard an existing, in-service (brownfield) SRX Series firewall into Mist. See Adopt a WAN Edge from Your Juniper Installed Base.
-
Not using Mist? Onboard an SRX Series firewall using the Junos OS CLI or J-Web. See the model-specific Hardware Guide on the Juniper Mist Supported Hardware page.
-
Review the shipment packing list. See the model-specific Hardware Guide on the Juniper Mist Supported Hardware page.
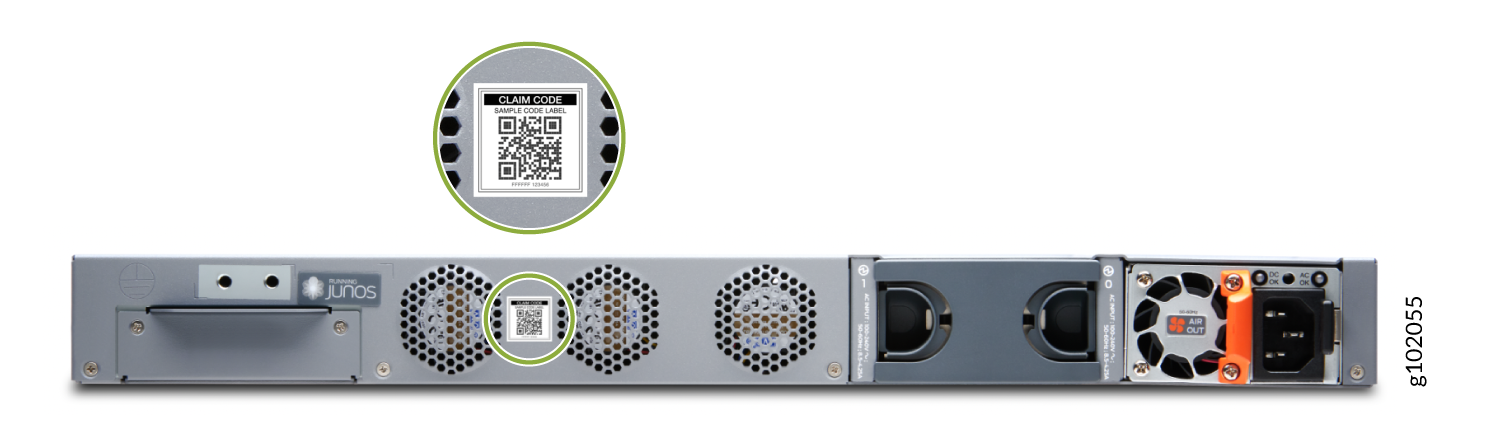
Your SRX Series firewall is cloud-ready if it has a QR claim code on the front or back panel.
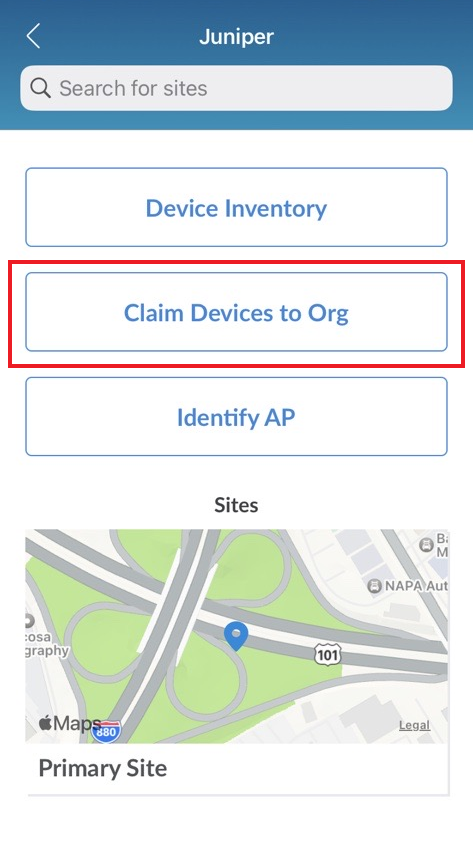
Onboard One SRX Series Firewall Using the Mist AI Mobile App
-
Tap Claim Devices to Org and focus the camera on the
QR code. The app automatically claims the SRX Series firewall and adds it
into your organization's inventory.
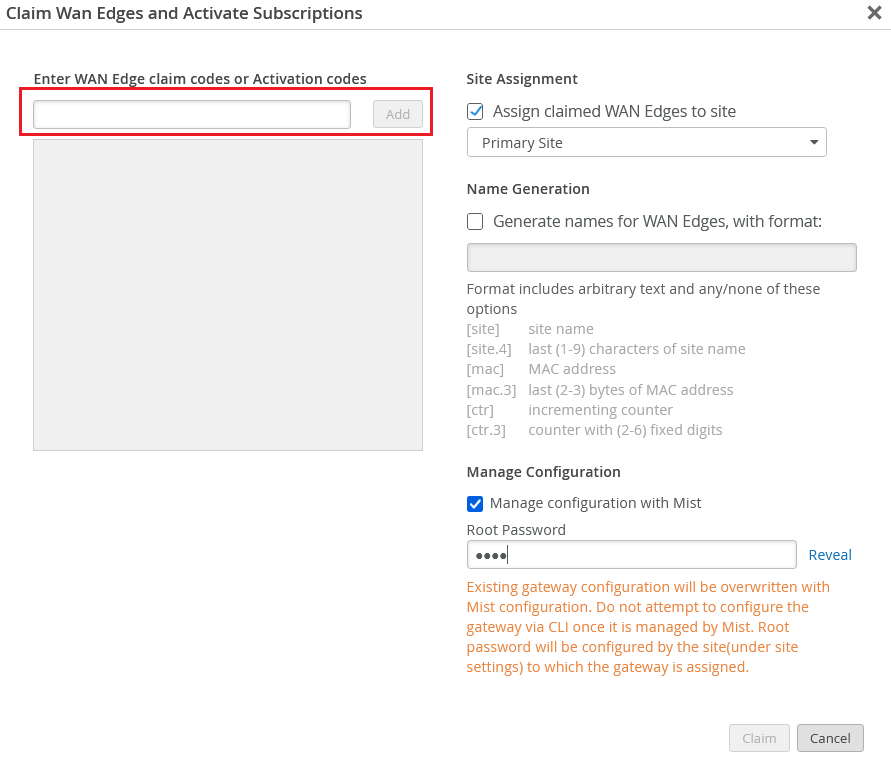
Onboard One or More SRX Series Firewalls Using a Web Browser
Onboarding multiple SRX Series firewalls—When you purchase multiple SRX Series firewalls, we provide you with an activation code along with your PO information. Make a note of this code.
Onboarding a single SRX Series firewall—Locate the QR code on your SRX Series firewall and jot down the alphanumeric claim code directly above it.
-
Enter the Activation code or Claim code.
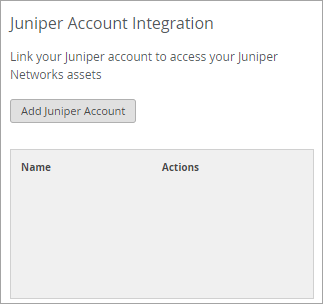
Integrate Your Juniper Support Account with Juniper Mist
When you integrate your Juniper Account with your Juniper Mist™ organization, the Inventory page presents actionable intelligence about your Juniper devices. This information is powered by Juniper Support Insights (JSI). With these insights, you can transform your support experience from reactive to focused and proactive.
To integrate your Juniper support account with Juniper Mist:
-
Under Juniper Account Integration, click Add Juniper Account.
Juniper Mist validates the Juniper account and links it to your Juniper Mist organization. To view the insights, go to Organization > Admin > Inventory, and then click Installed Base at the top of the page.