Auto-Orientation: Rotate APs
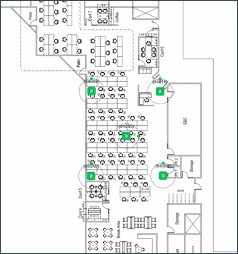
After placing access points (APs) on your floorplan, ensure that they have the correct orientation to ensure location accuracy.
If you've already placed access points (APs) on a Juniper Mist™ floorplan and have performed autoplacement, you can use the Auto-Orientation feature to check AP orientations and correct any issues.
Auto-Orientation does NOT need to be run during a maintenance window. However, use of this feature requires a firmware dependency of version 0.14.28310 or higher, and is only supported by the following AP models: AP24, AP32, AP33, AP34, AP43, AP45, and AP47.
Before you use the Auto-Orientation feature, ensure that you have:
- Physically installed the AP at the site.
- Claimed or adopted the APs into your Juniper Mist organization.
- Placed the APs on the floorplan in the Juniper Mist portal.
- Performed Auto-Placement (optional).
To use Auto-Orientation:
-
Click Auto Orientation.

-
Click Start Auto Orientation.
Back on the Floorplan Setup section, you will see an In Progress status just below the Auto Orientation button. It will take 24 hours before you are returned with the rotation in degrees of the AP(s).
-
After 24 hours, return to the floorplan and click Auto
Orientation to view the results.
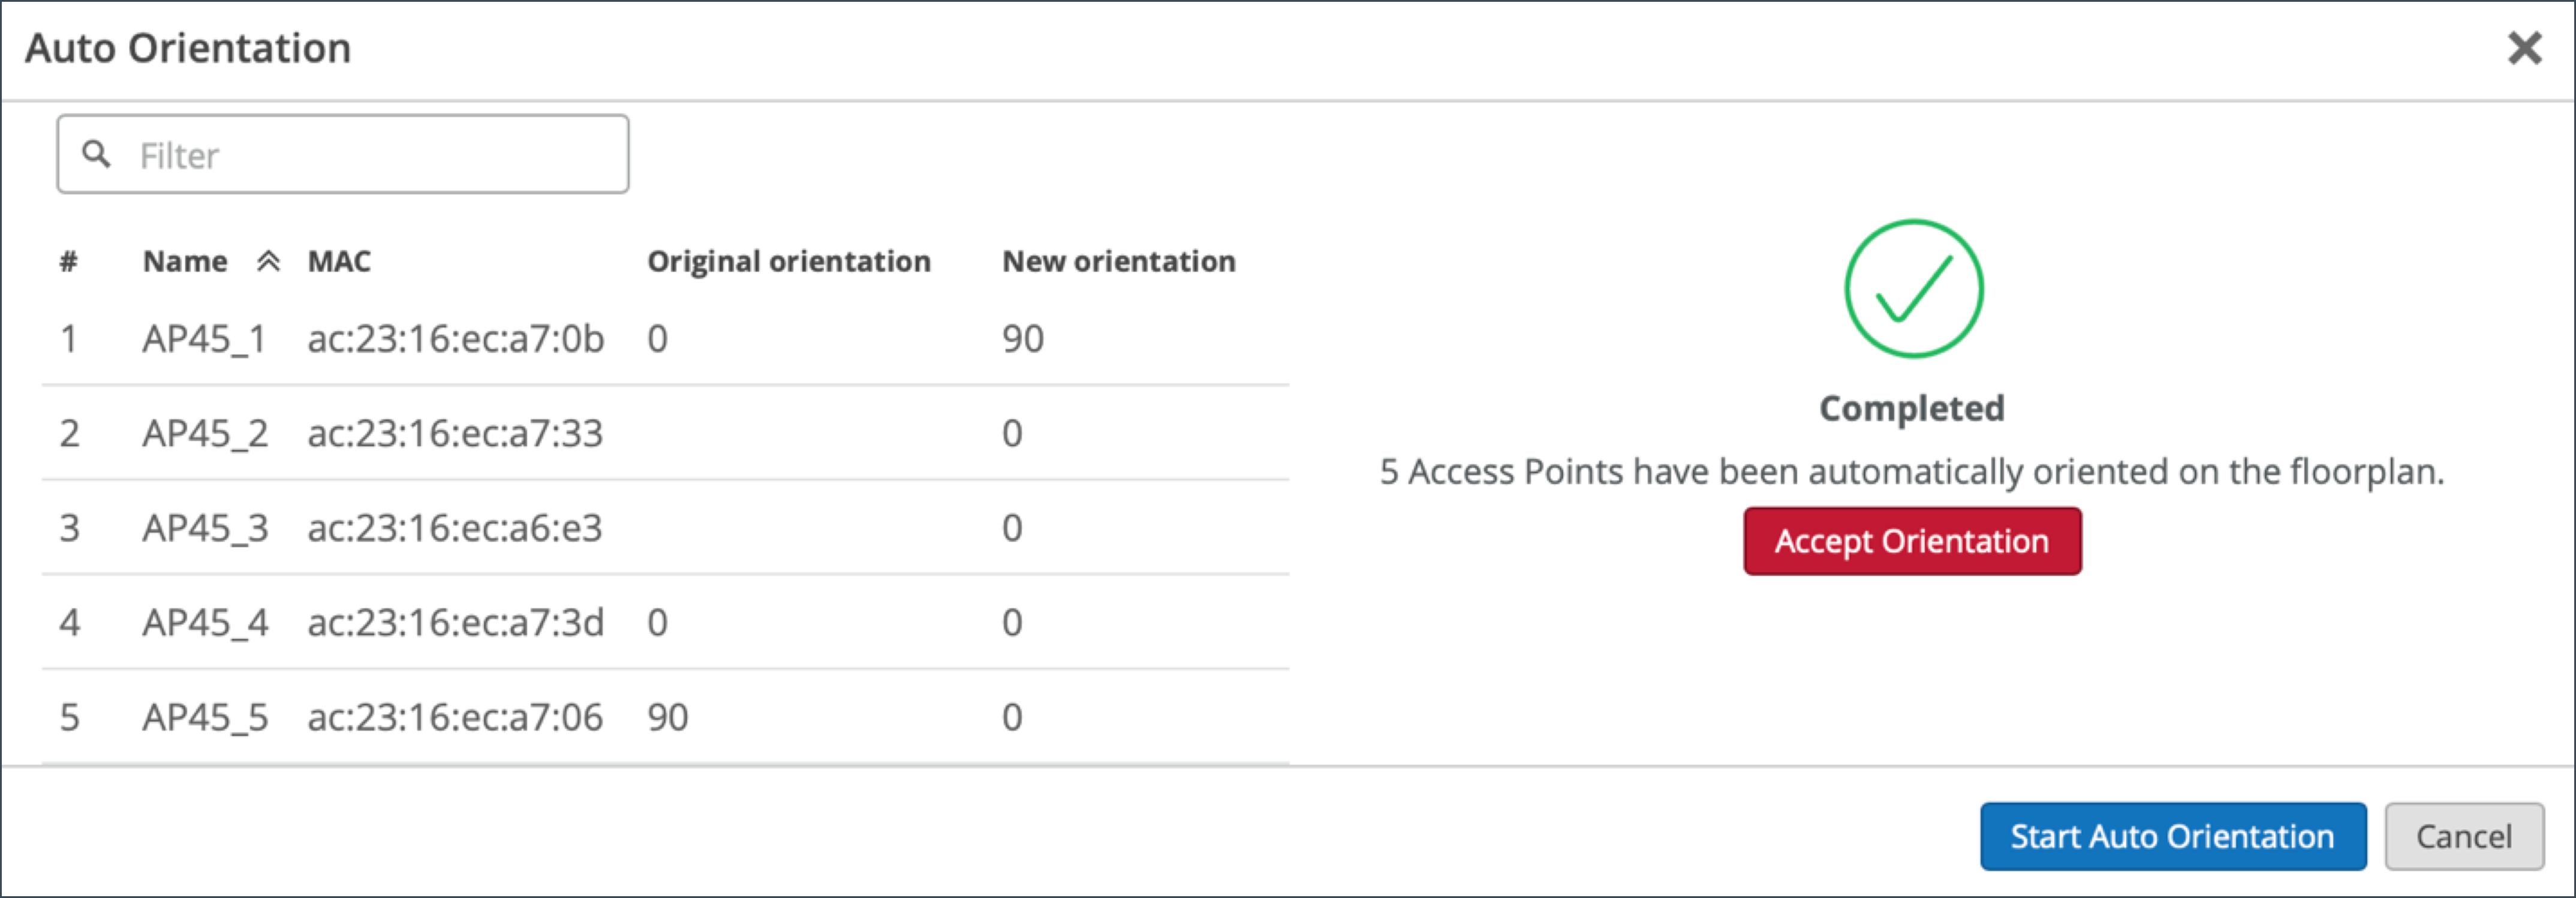
When the auto-orientation has completed, you will see a green checkmark in the window. It will also indicate the number of APs that were automatically oriented on the floorplan.
-
Click Accept Orientation, or reject the changes by selecting
Cancel.
When you accept the changes, you will see that your AP(s) have rotated into position on the floorplan.
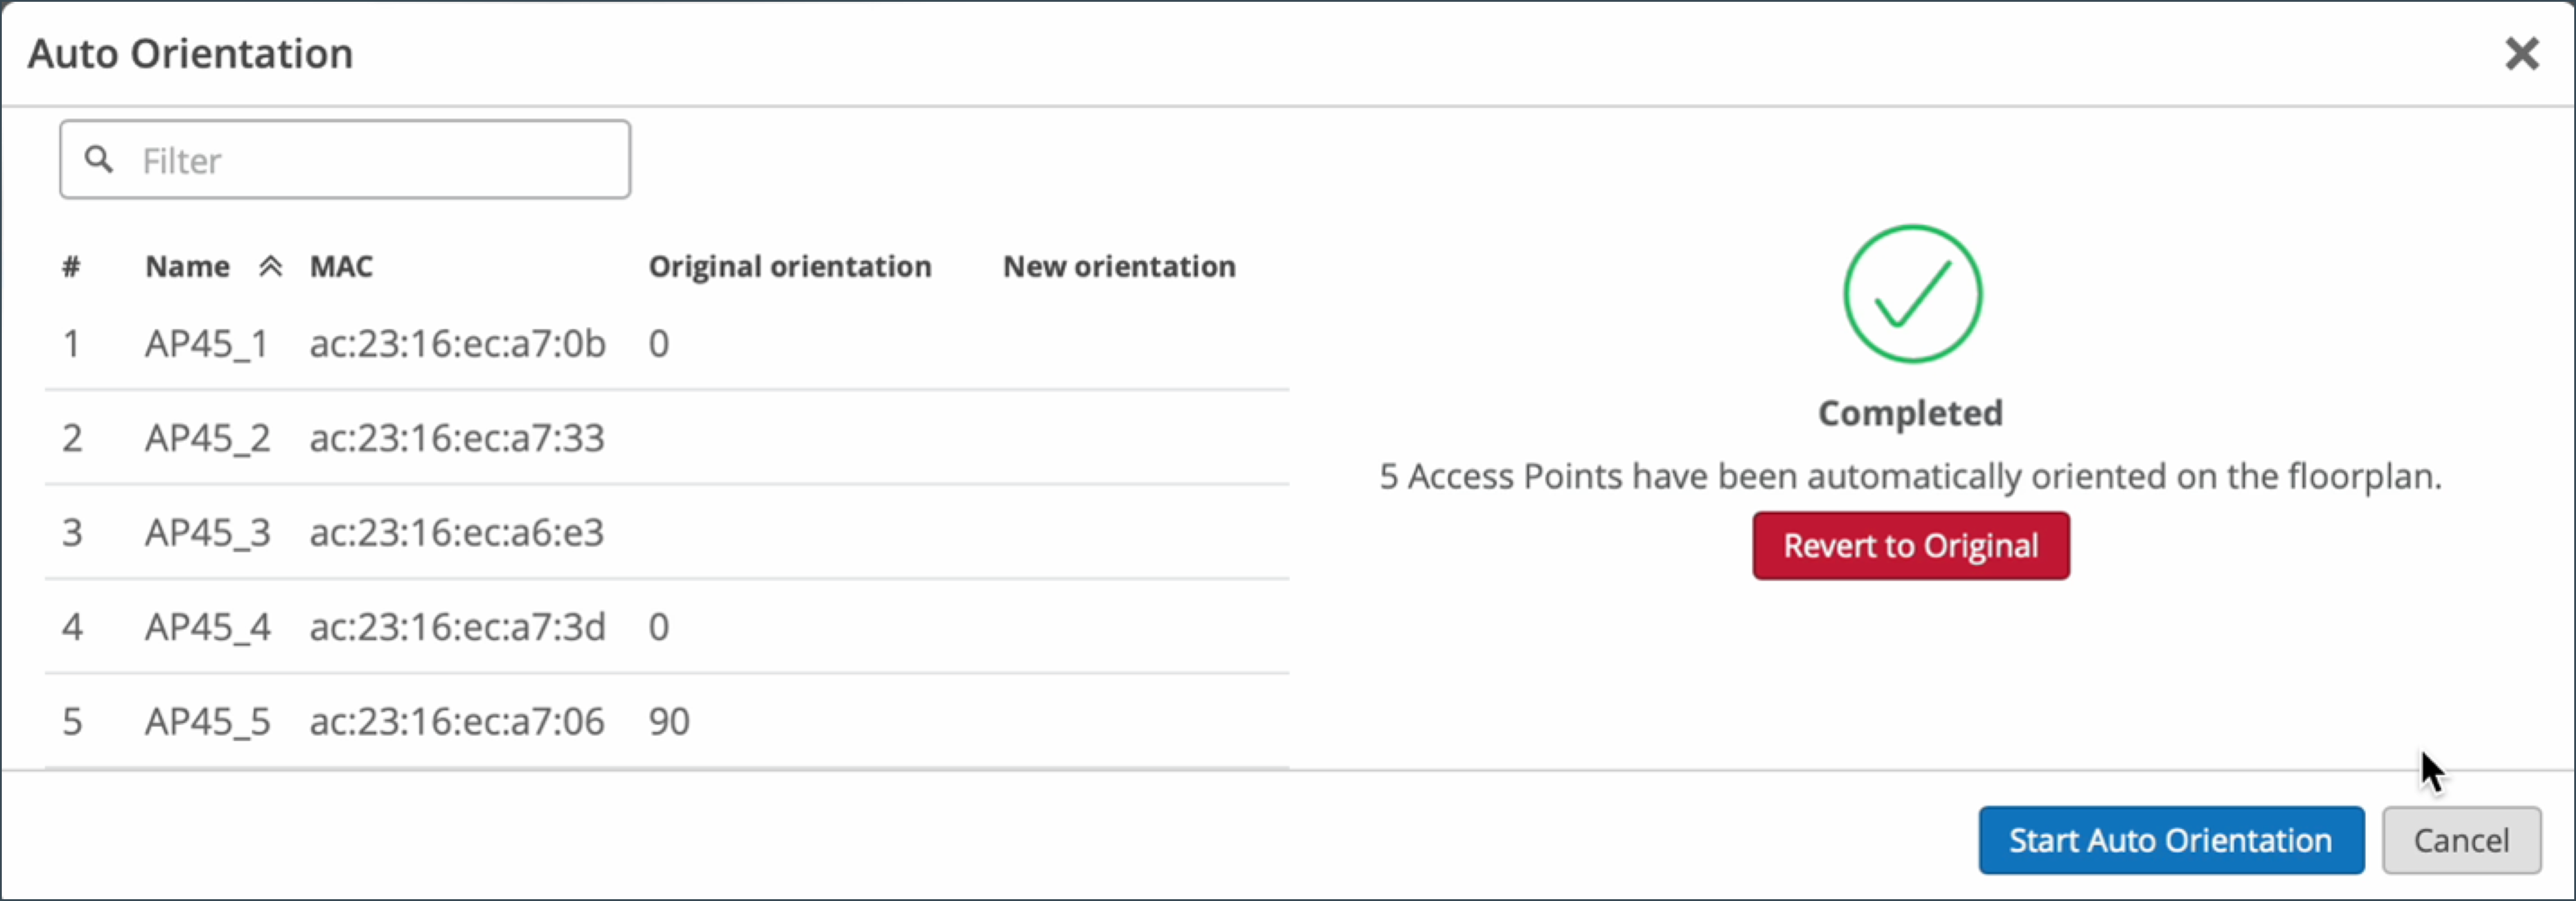
If you need to undo the changes, click Auto Orientation, and then click Revert to Original.