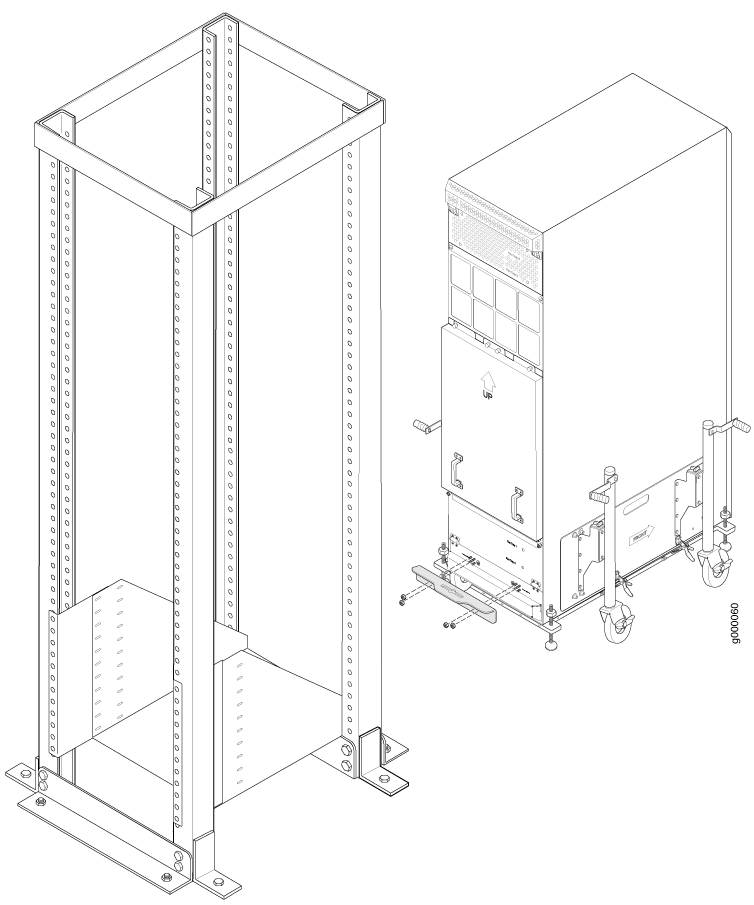
Using the Router Transport Kit to Install the MX2010 Router in a Four-Post Rack
Because of the router's size and weight—up to 985 lb (446.79 kg) depending on the configuration—we recommend that you use a router transport kit to install the router.
Four people are needed to install the router into a rack.
Before front mounting the router in a rack, have a qualified technician verify that the rack is strong enough to support the router's weight and is adequately supported at the installation site.
To install the router in a four-post rack by using the router transport kit:
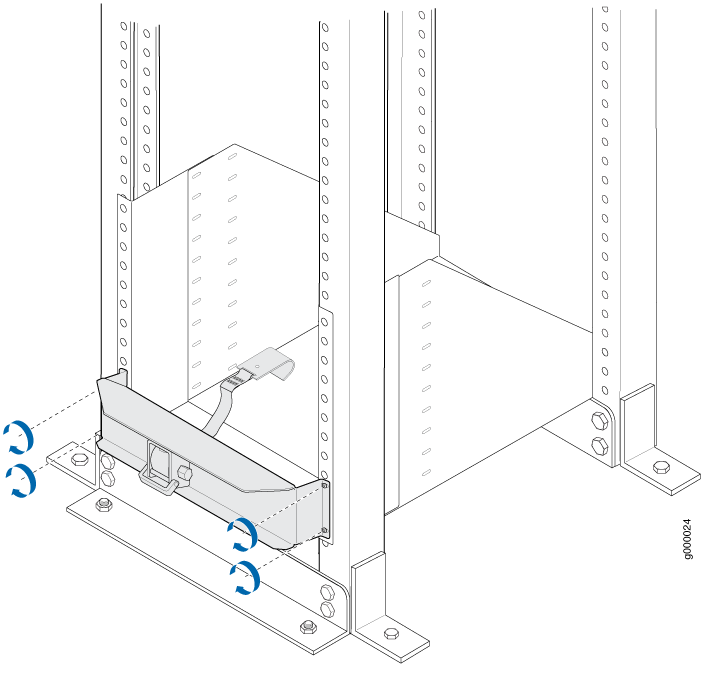
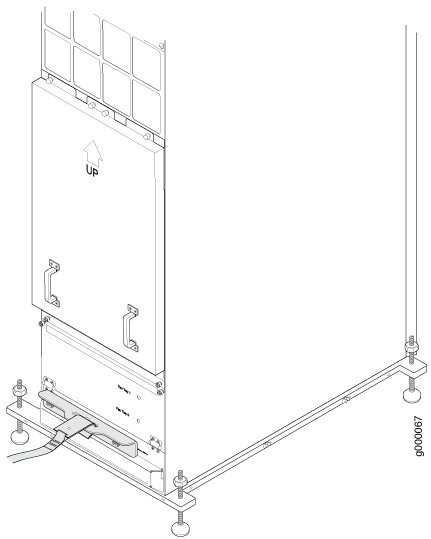
- Install the winch strap plate to the rear of the router
by tightening the four captive screws (see Figure 1).Figure 1: Installing Winch Strap Plate (Four-Post Rack)
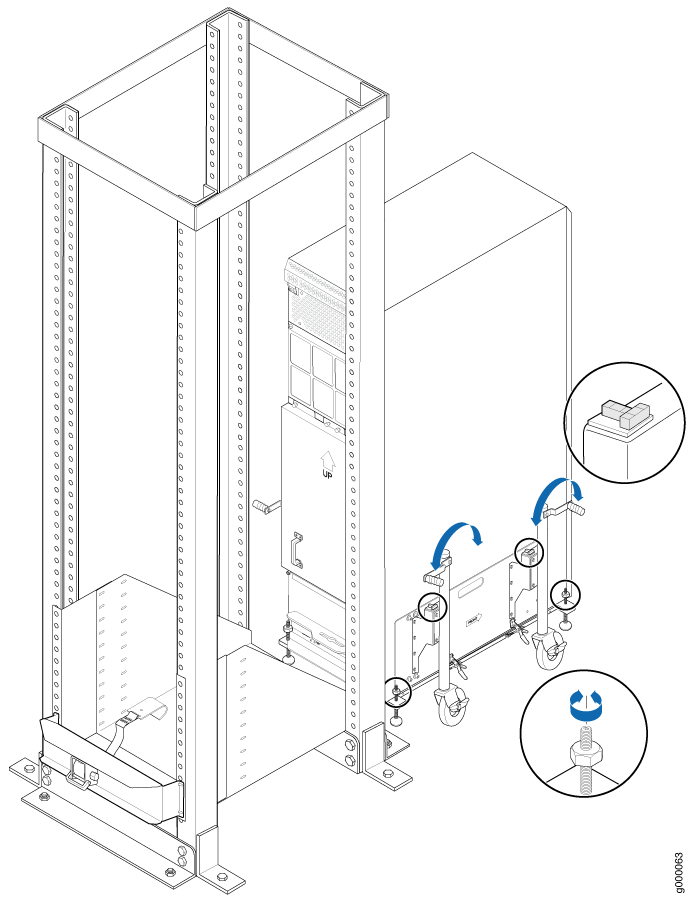
- Install the winch mount bracket to the rear rack rails
by using the six captive screws, and tighten the screws (see Figure 2).Figure 2: Installing Winch Mount Bracket to Rack Rails
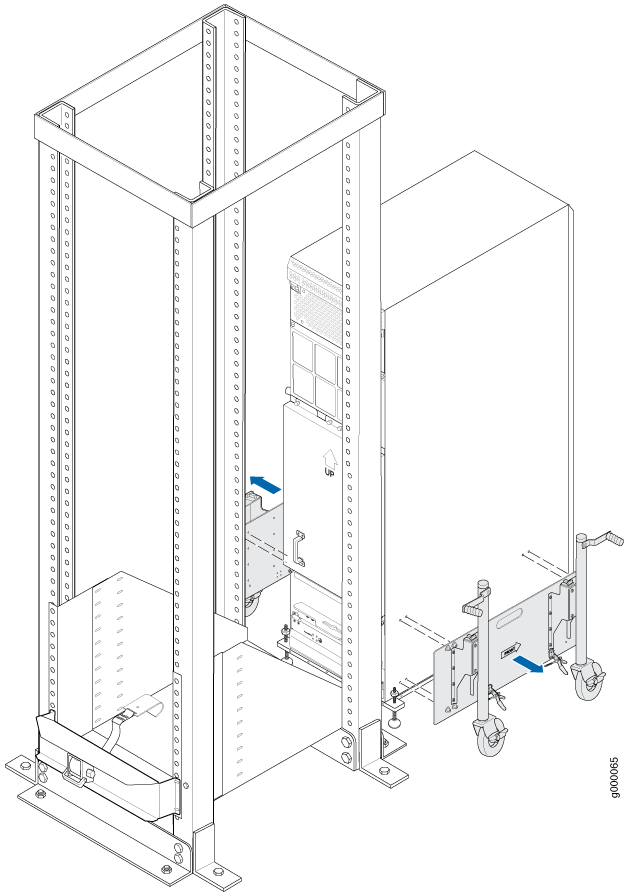
- Adjust the four leveling mounts on the router transport
platform until all four leveling
mounts rest firmly on the ground (see Figure 3).Figure 3: Align the MX2010 Router with Rack Mounting Shelf
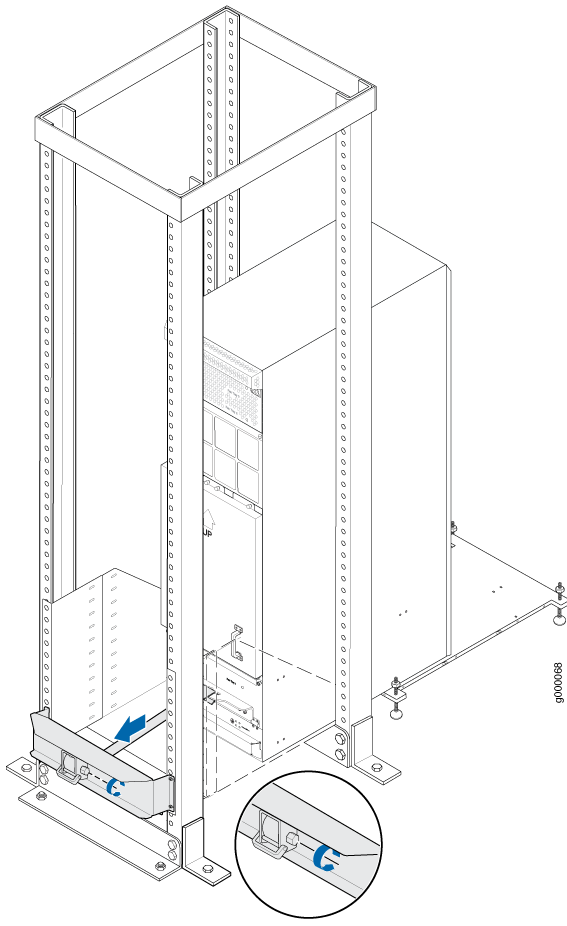
- Using a number 3 Phillips screwdriver, loosen the
captive screws that secure the router transport mounting plates and
wheel assembly to the chassis, and set them aside (see Figure 4).Figure 4: Remove Router Transport Mounting Plate and Wheel Assembly
- Attach the winch strap to the winch strap plate at the
rear of the router (see Figure 5).Figure 5: Attaching Winch Strap to Winch Strap Plate
- Attach a 1-1/8 in. (28.57 mm) socket wrench
to the winch mechanism and turn clockwise to start pulling the chassis
into the rack (see Figure 6).Figure 6: Pulling the MX2010 into the Rack
 Note:
Note:A four-person team is needed to carefully guide the router into the rack while operating the winch.
Note:If the router is not pulled all the way into the rack by the winch mechanism, grasp the handles on the shipping covers and carefully slide the router onto the mounting shelf until the front-mounting flanges contact the rack rails. You must remove the winch bracket to perform this procedure.
Note:There must be a minimum of 45-U of usable rack space when installing the MX2010 into a 45-U rack.