
Log In to the Juniper Security Director Web UI
After you deploy the VM, use the UI IP address or FQDN to create an organization account and log in to the Juniper Security Director UI.
Before You Begin
-
Note the UI IP address or FQDN configured during the Juniper Security Director VM deployment. To access the UI IP address for different deployment types, see Table 1.
Table 1: View UI IP Address Deployment Type To View UI IP Address VMware vSphere Select the deployed VM, navigate to Configure and click vApp Options.
Under Properties, UI IP address is displayed.
KVM Refer to the INI file to view the configured UI virtual IP address. Microsoft Azure Navigate to the VM Overview page to view the private IP address/public IP address. You can also use the CLI command
show loadbalancer statusto view the UI IP address for VM deployment using OVA and VMware vSphere. -
Open the following ports:
-
Inbound port:
-
Port 443—Used to connect the users to the web interface and associated with the UI virtual IP address.
-
Port 7804—Used for connections from all managed devices and associated with the device connection virtual IP address.
-
Port 6514—Used for traffic log connection and associated with the log collector virtual IP address.
-
-
Outbound port:
-
Port 25—Used for the configured mail server and associated with the Management IP address.
-
Port 443—Used for signature download URL and is associated with the Management IP address.
-
-
To create an organization account and log in to the Juniper Security Director Web UI:
-
Enter the UI virtual IP address or FQDN (domain name) in a browser to access the Juniper Security Director login page.
Juniper Security Director tenant onboarding page is displayed.
Figure 1: Tenant Onboarding Page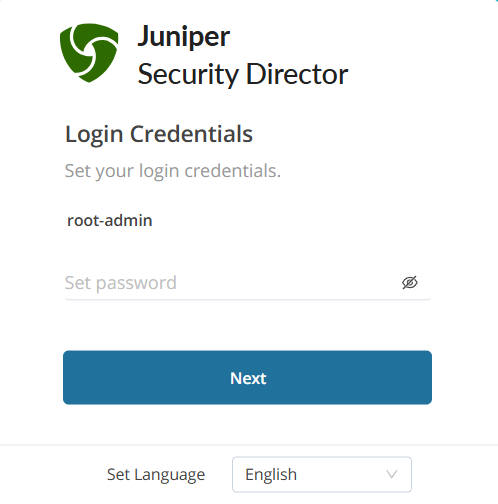
As part of the tenant onboarding process, a root admin user is created by default. The admin is then required to set a password.
-
Set the password for root-admin and click Next.
The password must contain 8 to 20 characters, at least one number, one uppercase letter, and one special character.
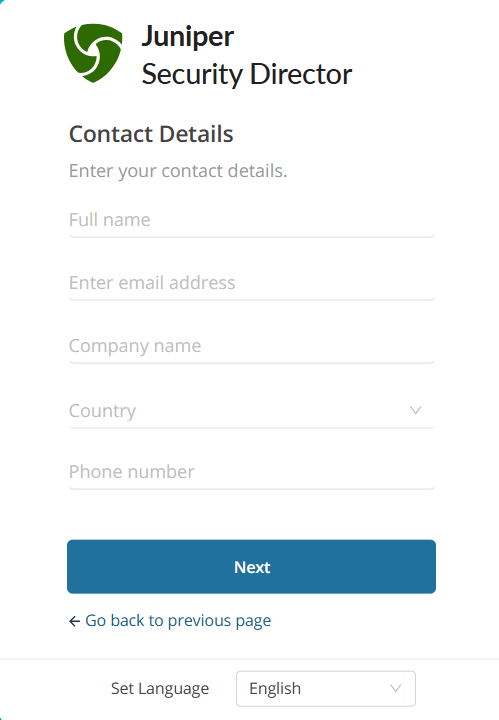
The Contact Details page is displayed.
-
Enter the following contact details and click Next:
Name—Enter up to 32 letters. Spaces are allowed.
Email address—Enter a valid email to receive subscription details, alert notifications, and reports.
Company name—Enter up to 64 characters. Alphanumeric characters, hyphens (-), underscores (_), and spaces are allowed.
-
Country—Select your country from the drop-down list.
-
Phone number—Enter a valid phone number (7 to 18 characters). Numbers, plus signs (+), dashes (-), and brackets ( ) are allowed.
Preferred language—Select your language from the available options.
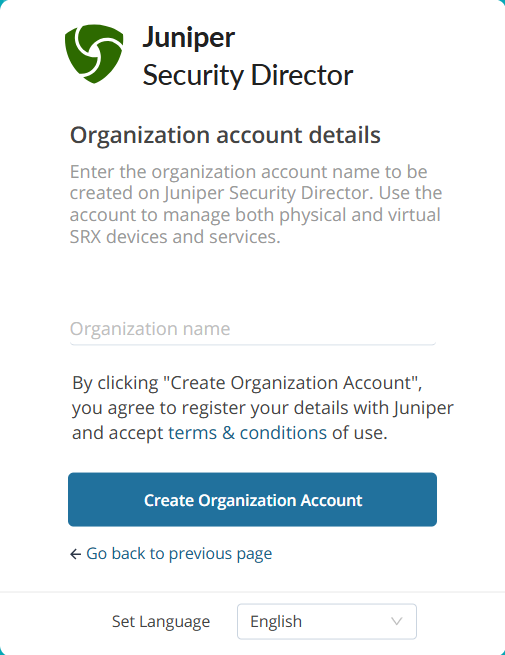
The Organization account details page is displayed.
-
Enter an organization account name to manage the security devices and services and click Create Organization Account.
The organization is created and you can now log in with your credentials.
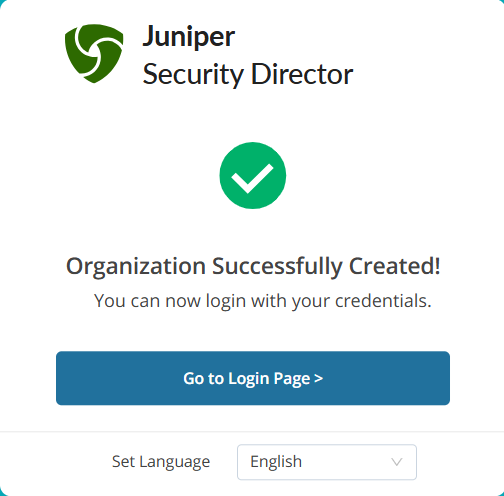
Click Go to Login Page. Log in as the default root-admin using the configured password in Step 2.
Click Sign in.
Congratulations! You are now signed in to the Juniper Security Director UI. The menu bar on the left of each page allows easy access to various tasks.