OSPF
Add OSPF to your WAN Edge template, hub profile, or standalone device configuration.
Configure OSPF in a WAN Edge Template
Open Shortest Path First (OSPF) is a link-state routing protocol used in IP networks to determine the best path for forwarding IP packets. OSPF divides a network into areas to improve scalability and control the flow of routing information. Follow these steps to configure OSPF for your WAN Edge device.
Before You Begin: Create your WAN Edge template, hub profile, or standalone device configuration. For help, see WAN Assurance Configuration Overview.
To configure OSPF:
-
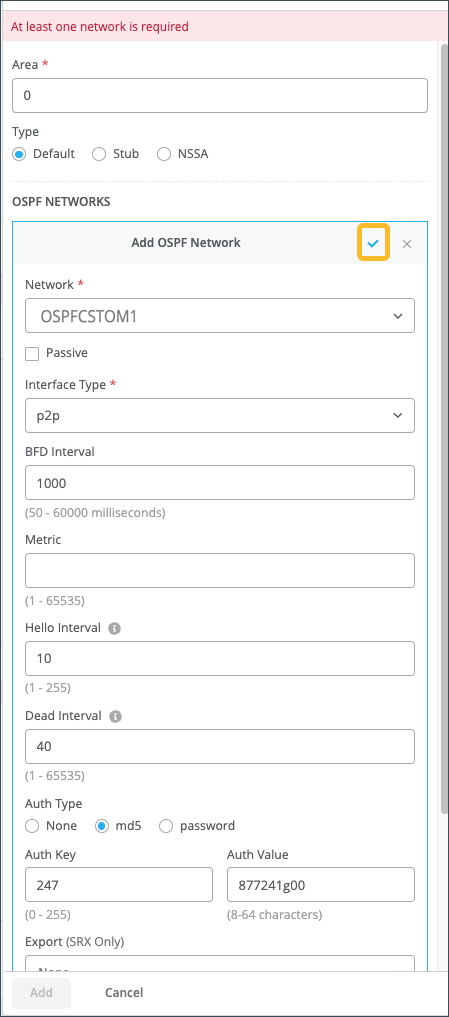
In the Add OSPF Area panel, add the following
information:
Table 1: Add OSPF Area Options Field
Description
Area
This number indicates the identification area that your OSPF network or WAN Edge device belongs to.
Type
This is the OSPF Area type. Select one of the following options:
- Default (Area 0) — This represents the core of an OSPF network.
- Stub — Using this OSPF area type blocks external routes.
- Not So Stubby Area (NSSA) — Using this OSPF area type allows redistribution of some external routes and not others.
For a more in depth explanation of the different area types, see Configuring OSPF Areas.

-
Click the check mark at the top of the Add OSPF Network section.
-
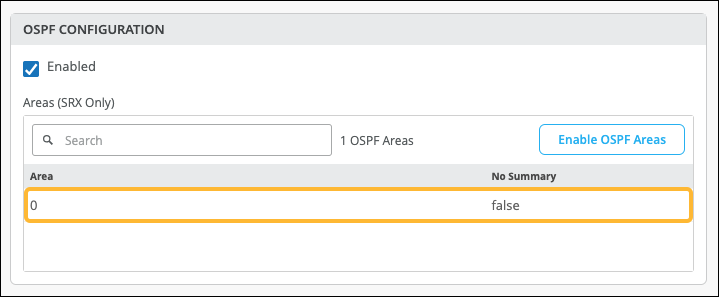
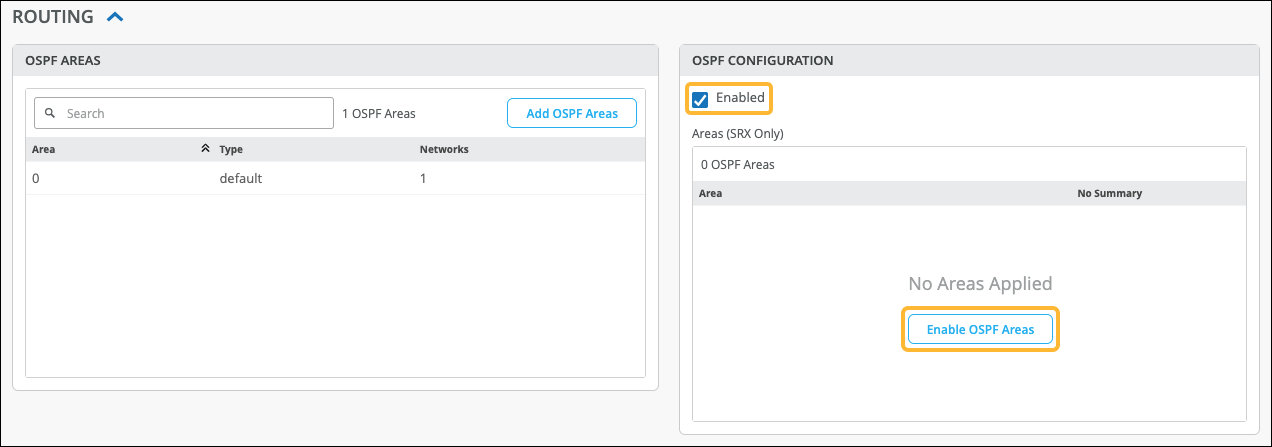
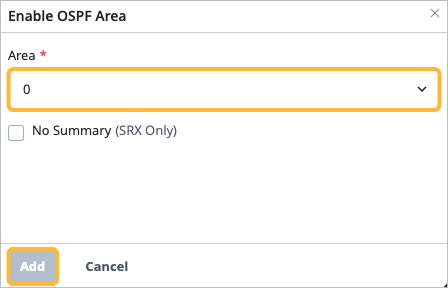
Click Enable OSPF Areas.
-
Click Add at the bottom of the panel.
You will see your area listed in the OSPF CONFIGURATION section.