ON THIS PAGE
Create a Hub and Spoke WAN Topology
Understand the WAN Topology feature and follow these steps to create Hub and Spoke Topology.
WAN Topology Overview
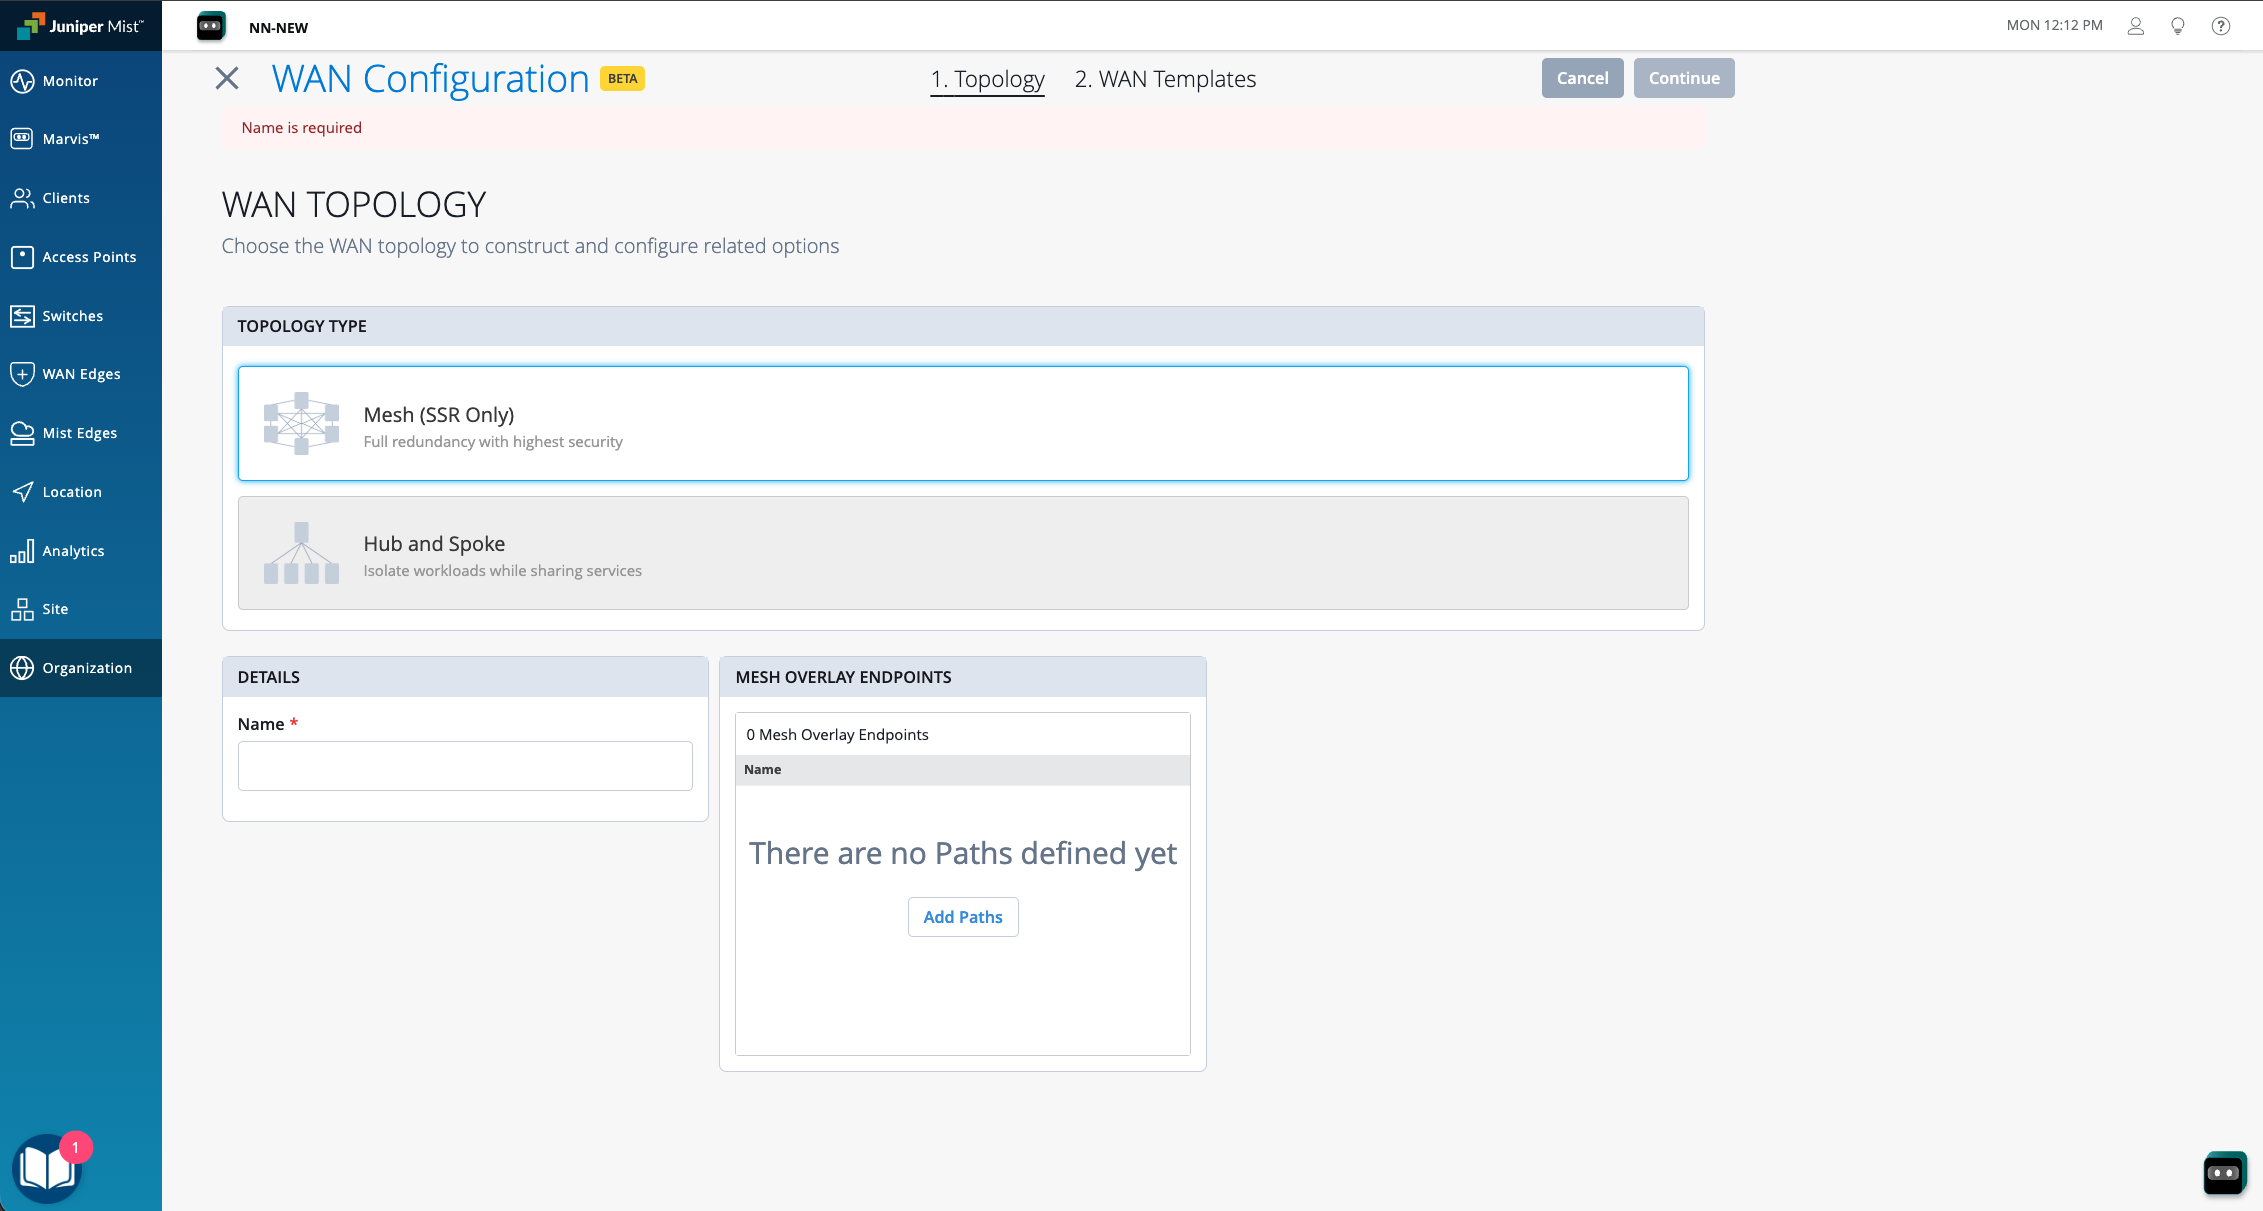
The WAN Topology feature enables you to build your WAN topology and connect all your sites. It lets you design the logical layout of your network, including sites and cloud connections. To begin, you can choose a Hub and Spoke or Mesh topology, these topology types include templates with common WAN layout settings. The topology templates speed up the design and WAN setup process.
A Hub and Spoke topology consists of remote sites (spokes) that connect to a central site (hub). All inter-site traffic passes through the Hub, which simplifies routing policies and centralizes control. In a Mesh topology, every site connects directly to every other site, eliminating a single central point. This allows each site to communicate over the shortest available path, but it also increases design and operational complexity because routing policies must account for many more direct connections.
Although a Hub and Spoke topology is less direct than a Mesh topology, its centralized management simplifies operations and often makes it preferable. The central hub manages routing policies and security rules, reducing configuration overhead across the environment. The OpEX for a Hub and Spoke topology is typically lower than for a mesh topology because it requires fewer links or tunnels to maintain and monitor.
Configuration
Juniper Mist WAN Assurance provides flexibility of the Hub location and they can be:
- Physically located in a data center
- Deployed virtually in cloud environments
- Hosted in co-location facilities
The Hub serves as the central routing and forwarding point for the Spokes.
-
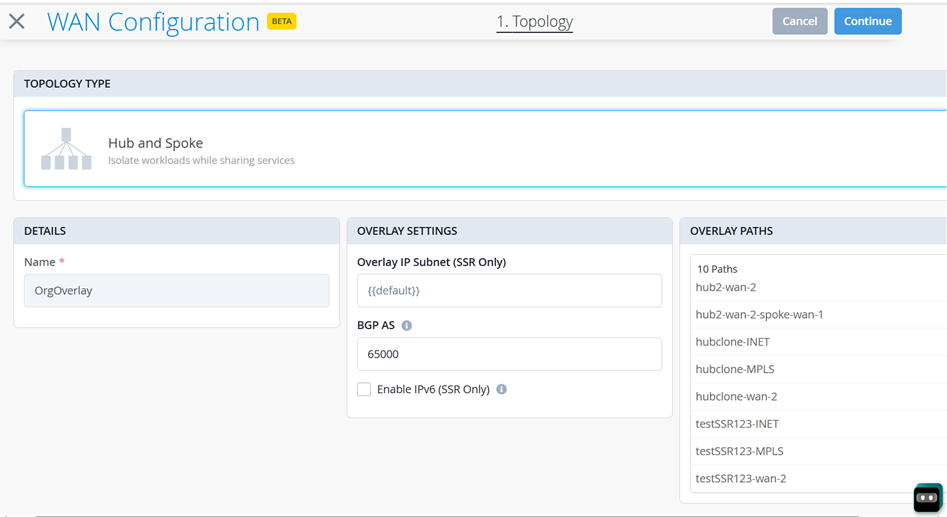
Select the Topology Type as Hub and
Spoke.
After you select Hub and Spoke, the Name field auto populates with OrgOverlay.Figure 2: Hub and Spoke Topology