Help us improve your experience.

Let us know what you think.

Do you have time for a two-minute survey?


Integrate OpenRoaming as an Identity Provider

Follow these steps to add OpenRoaming as your identity providers for your organization to enable automatic and secure device authentication across participating networks.

Mist Access Assurance (NAC) supports OpenRoaming as a native identity provider (IdP), simplifying the deployment of secure, seamless Wi‑Fi access across OpenRoaming-enabled networks. OpenRoaming enables users with an OpenRoaming profile installed on their device to connect automatically to participating Wi‑Fi networks without requiring manual sign-in

Previously, enabling OpenRoaming required you to deploy and maintain your own RadSec proxy service and redirect authentication requests from Mist APs to that proxy. With native OpenRoaming support in Access Assurance, you can configure OpenRoaming directly from the Mist dashboard. Access Assurance automatically manages the authentication workflow, eliminating the need to deploy and operate a dedicated RadSec proxy infrastructure.

To add OpenRoaming as IdP for Juniper Mist Access Assurance:

  1. From the left menu of the Juniper Mist portal, select Organization > Access> Identity Providers.
  2. Click Add IDP near the top-right corner of the Identity Providers page.
  3. On the New Identity Provider page, enter a Name and select the IDP type as OpenRoaming.
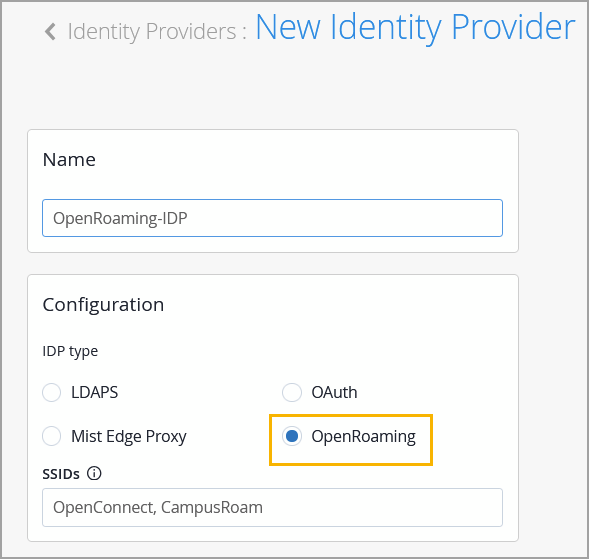
    New Identity Provider Page - Name and IDP Type
  4. Enter a comma-separated list of the SSIDs in the SSIDs field.
    Note: An organization can have only one OpenRoaming IdP, but you can associate multiple SSIDs with it.

    The OpenRoaming option is disabled when adding a new IdP if an IdP already exists.

  5. To save the changes, click Create at the top-right corner of the New Identity Provider page.
  6. To configure the Auth Policies for OpenRoaming:
    1. Go to Organization > Access > Auth Policies.
    2. Create an Access Assurance policy rule that permits network access for clients connecting through the specified OpenRoaming SSID(s). This policy rule is required to authorize authenticated OpenRoaming clients to access the network.
      For more information, see Configure Authentication Policy.
  7. To configure Passpoint for the WLANs with OpenRoaming:
    1. Go to Site | Wireless > WLANs.
    2. Select the WLAN.
      A detailed WLAN page appears.
    3. In the Security section, select Enterprise (802.1X) .
      The Passpoint section becomes available.
    4. Choose Enabled and select the following Operators:
      • OpenRoaming-Legacy

      • OpenRoaming-Settlement-Free

    5. Click Save.

Client Connection and Verification

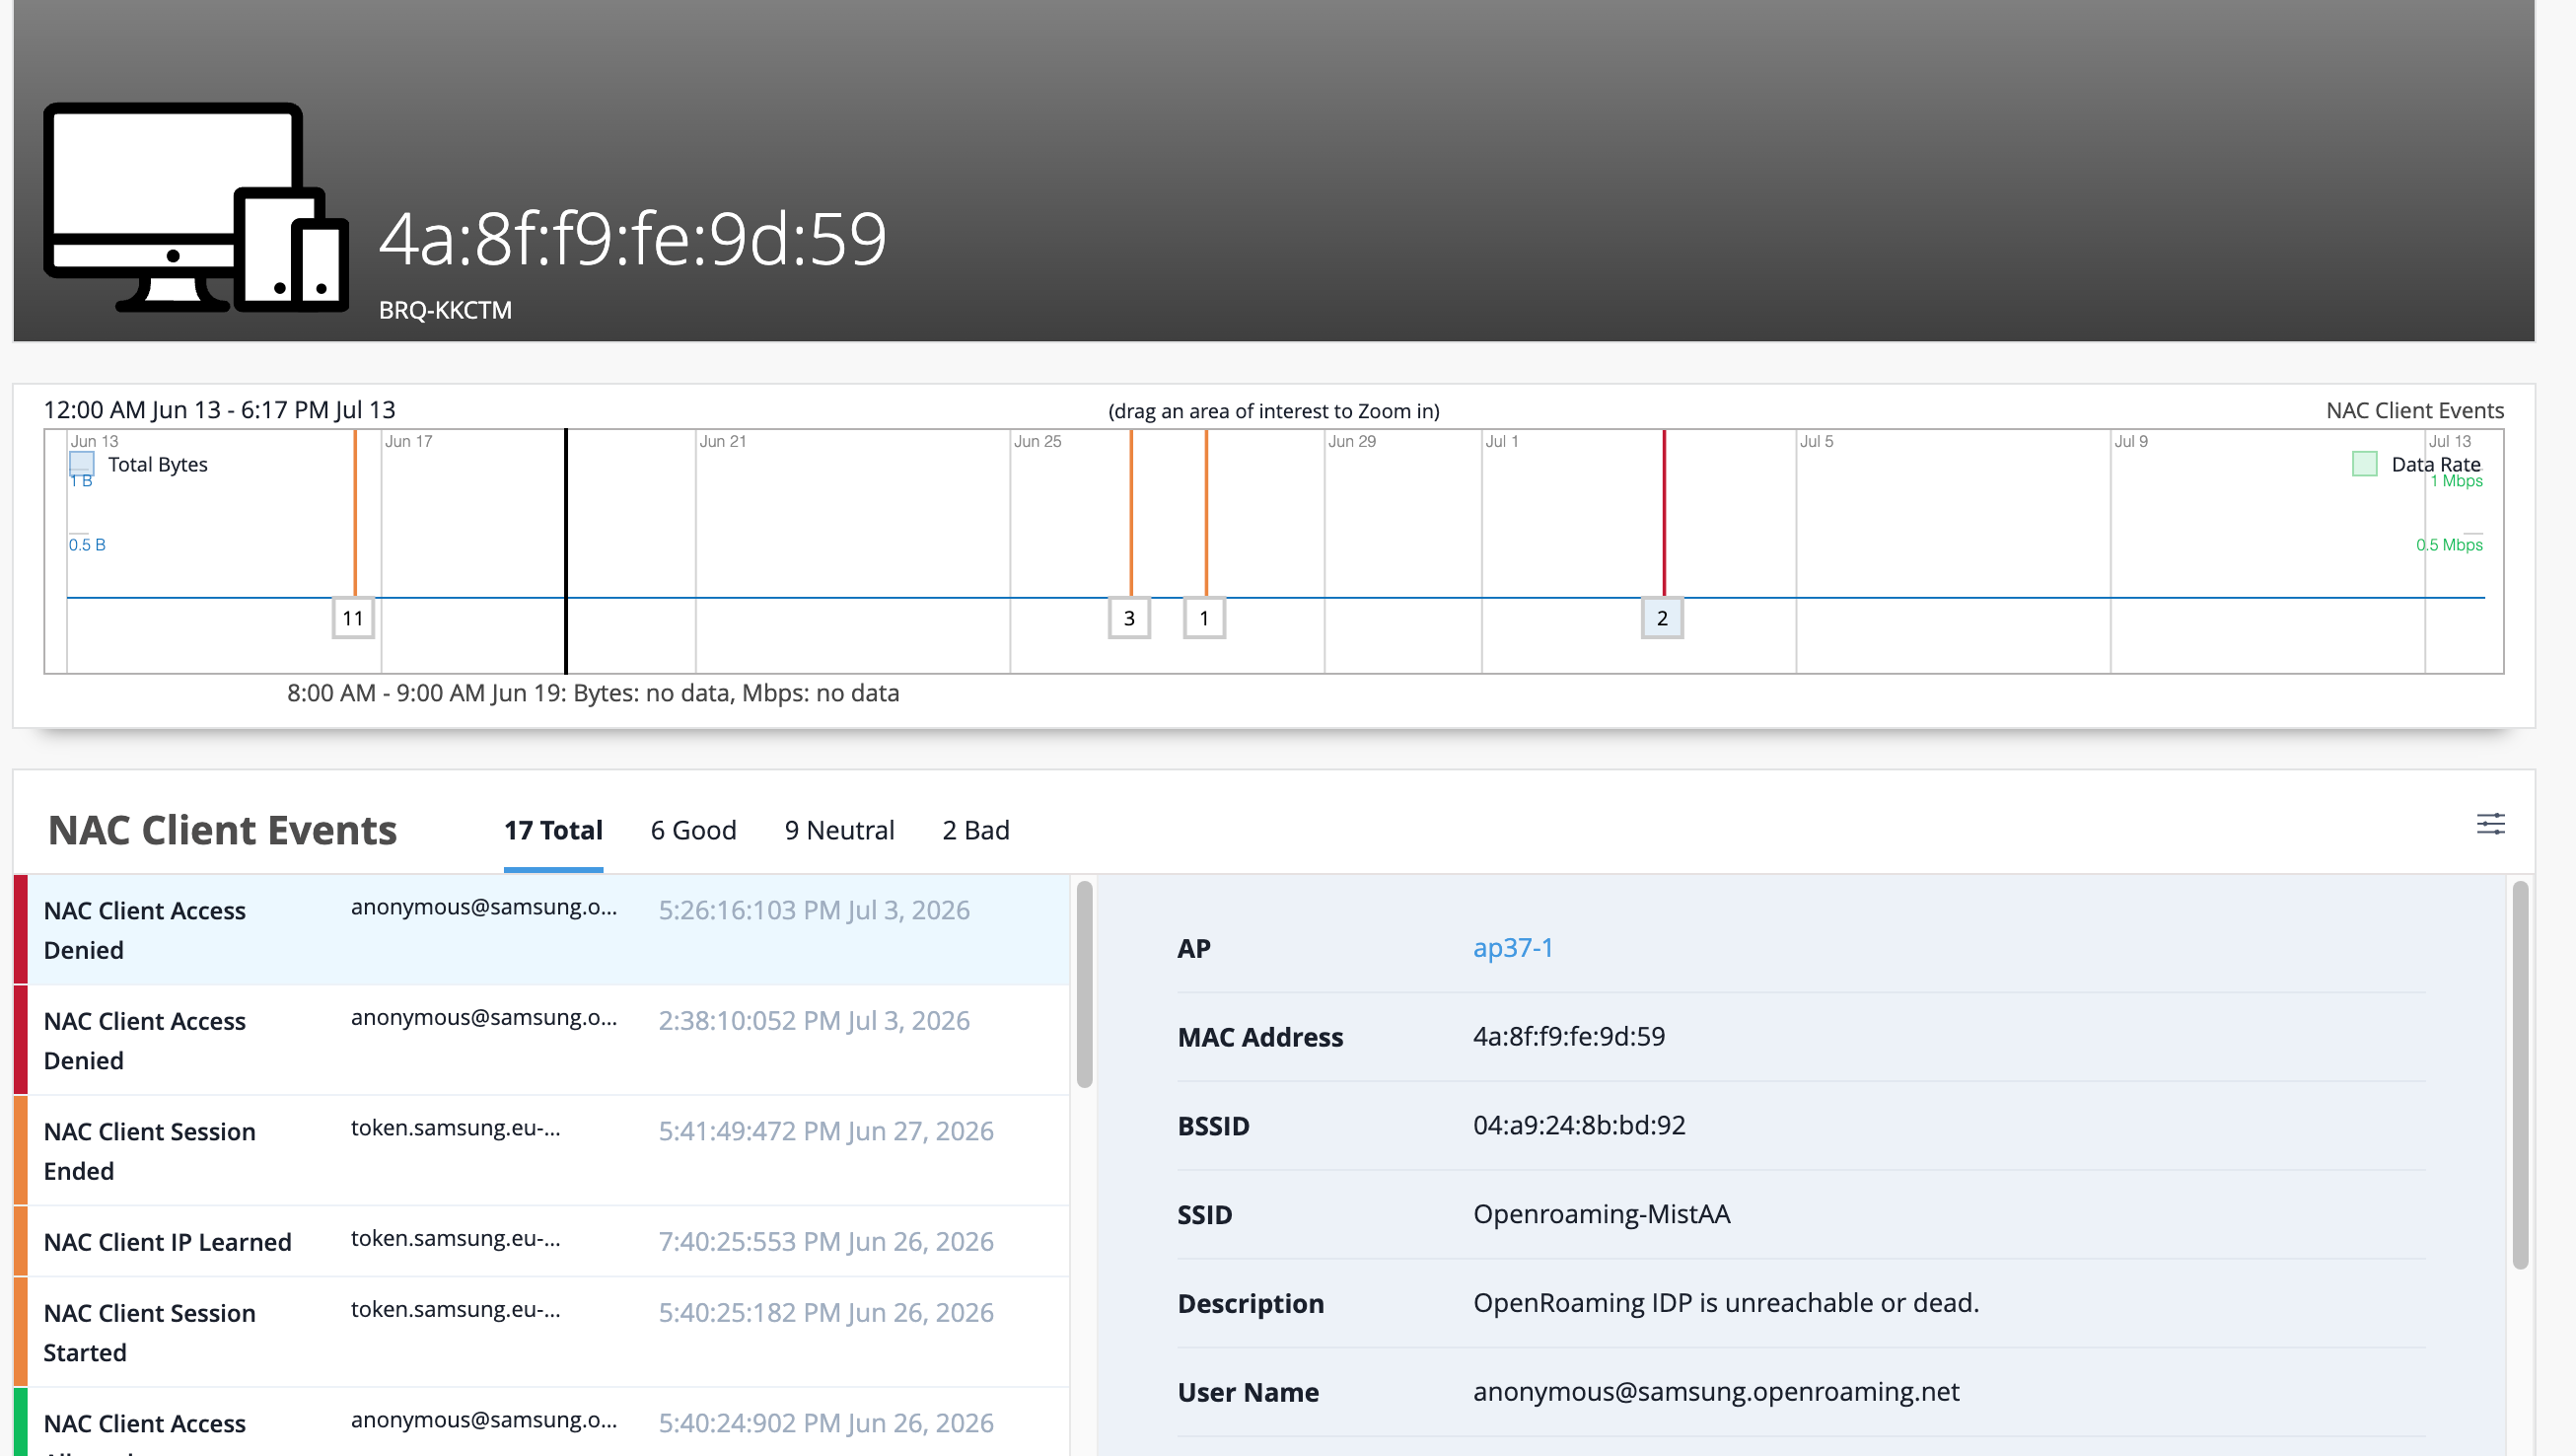
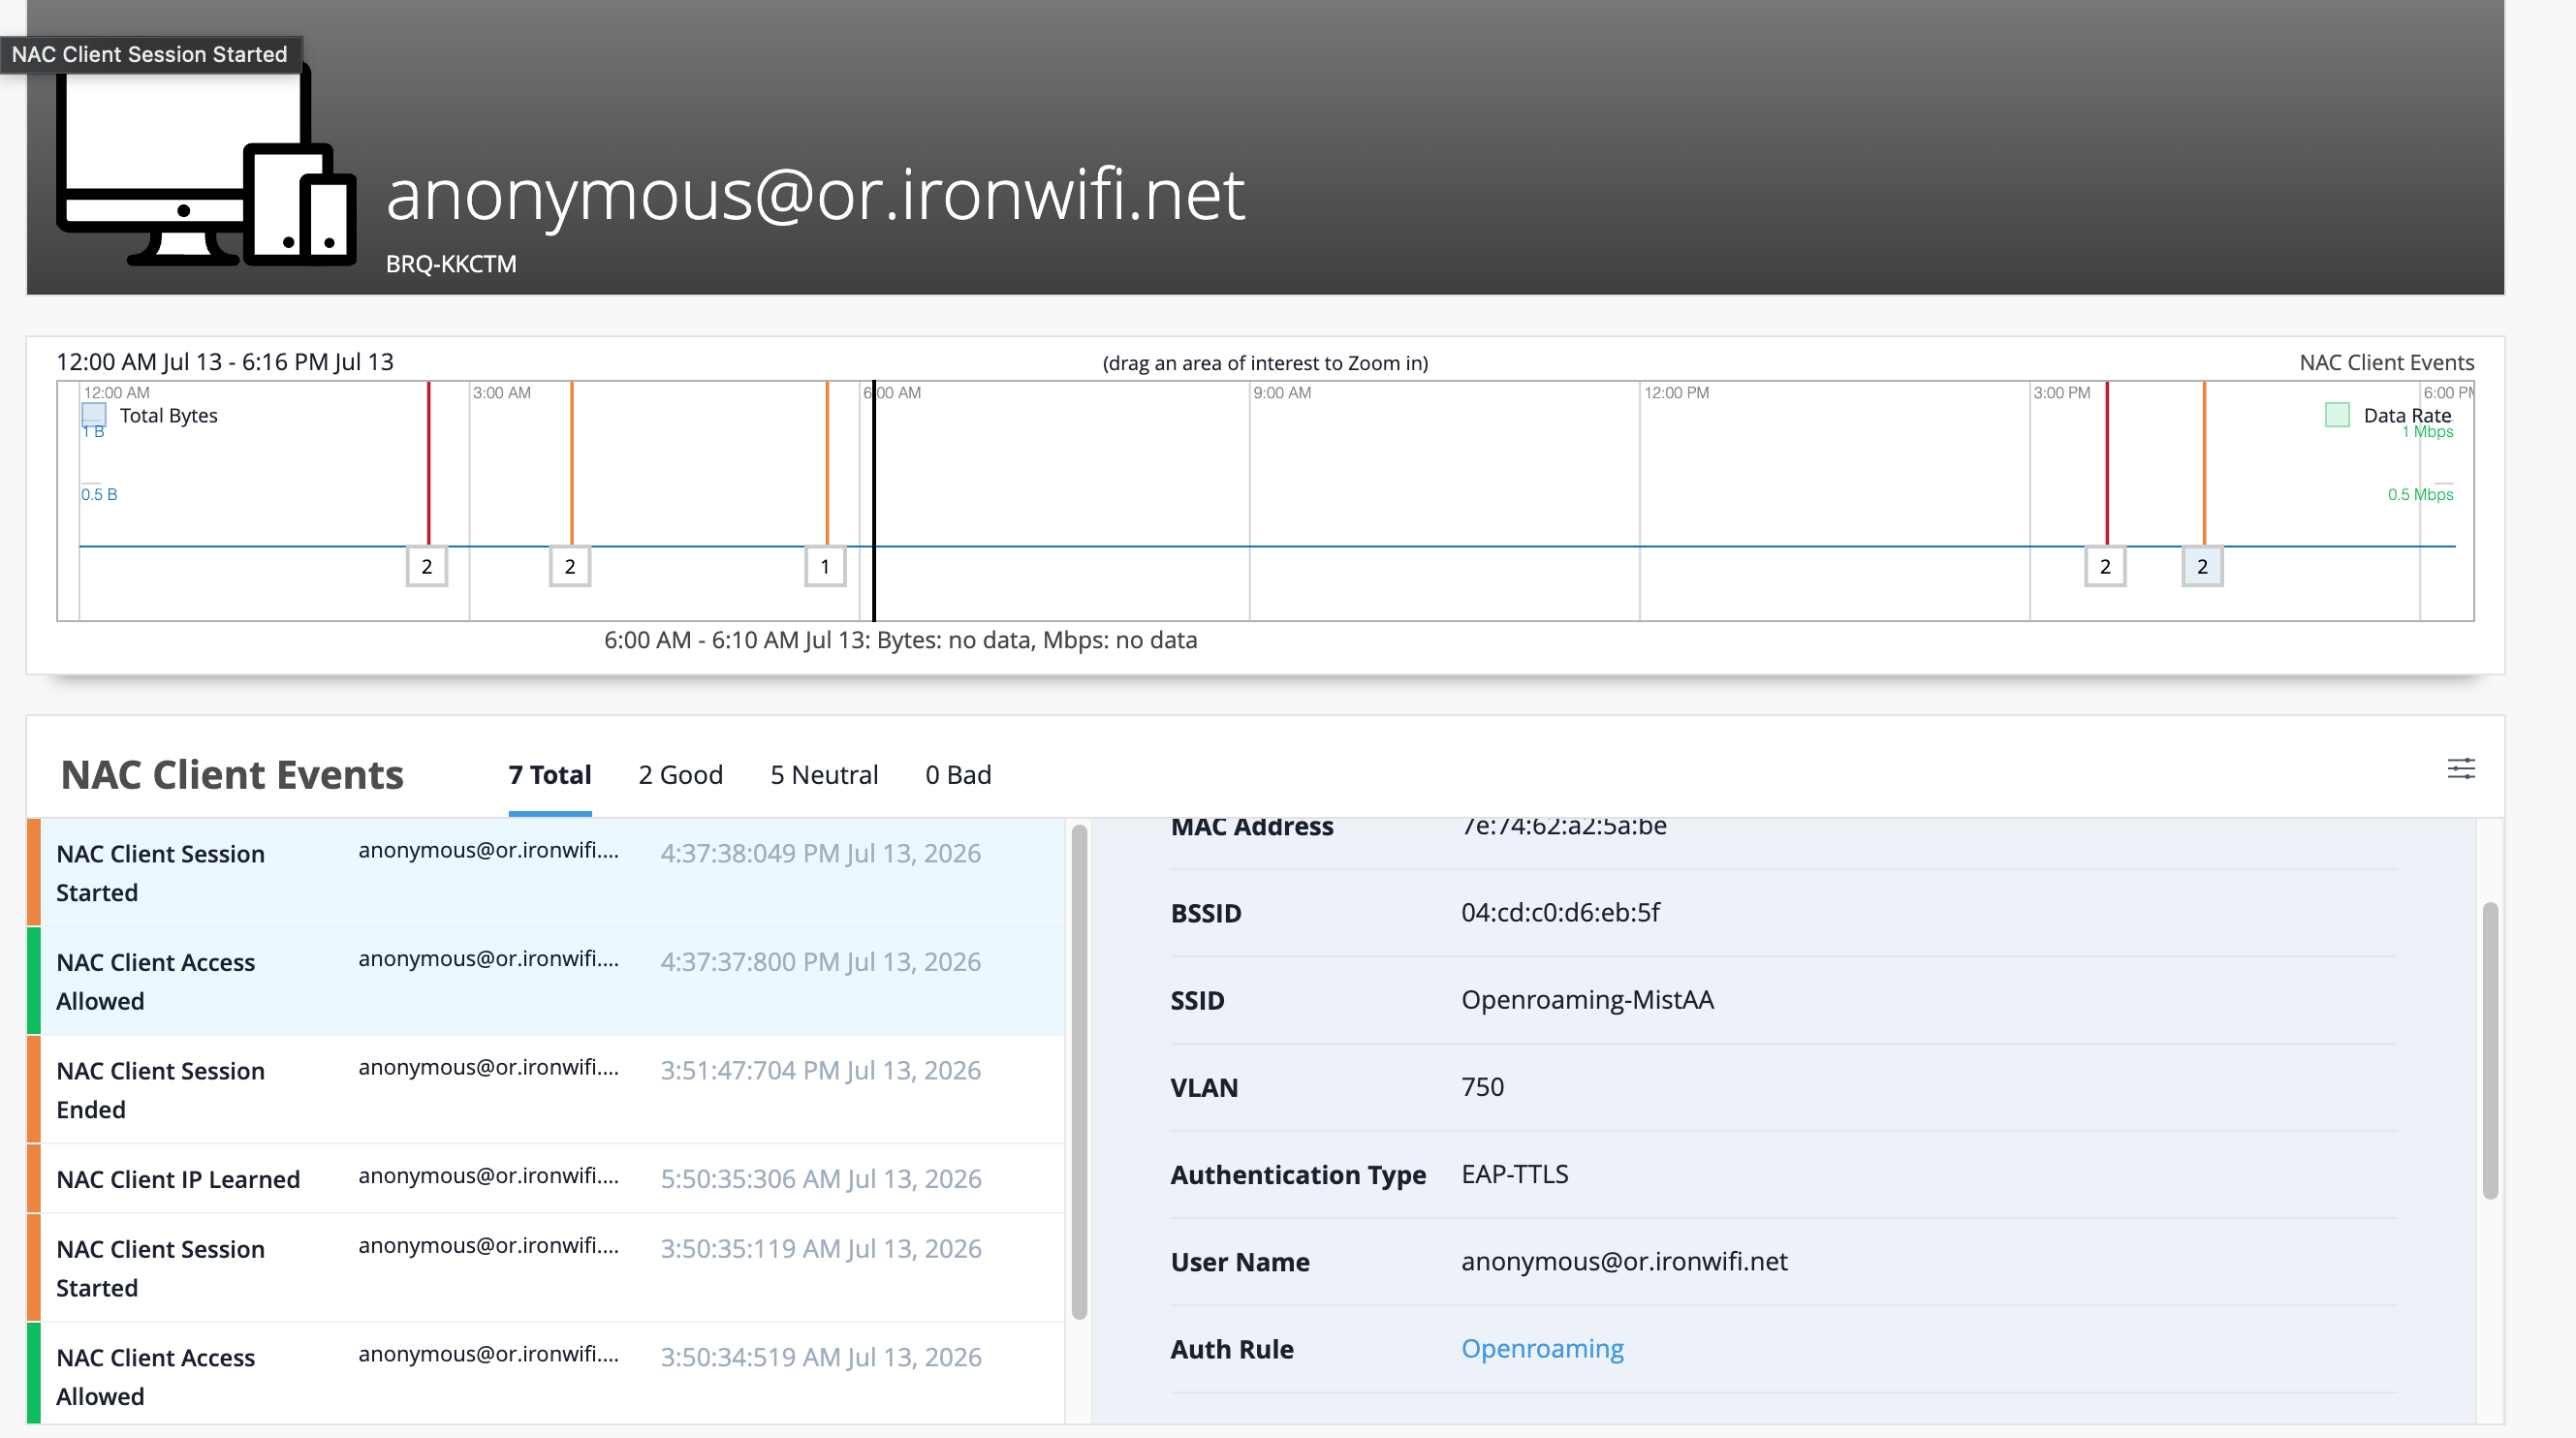
To verify the connection of OpenRoaming as IdP, navigate to Clients > NAC Clients. Click on Client Insights of the respective client and scroll to NAC Client Events section. A successful OpenRoaming IdP connection is shown as below:
An unsuccessful connection when OpenRoaming IdP is unreachable is shown as below: