Help us improve your experience.

Let us know what you think.

Do you have time for a two-minute survey?


Creating Projects in OpenStack for Configuring Tenants in Contrail

In Contrail, a tenant configuration is called a project. A project is created for each set of virtual machines (VMs) and virtual networks (VNs) that are configured as a discrete entity for the tenant.

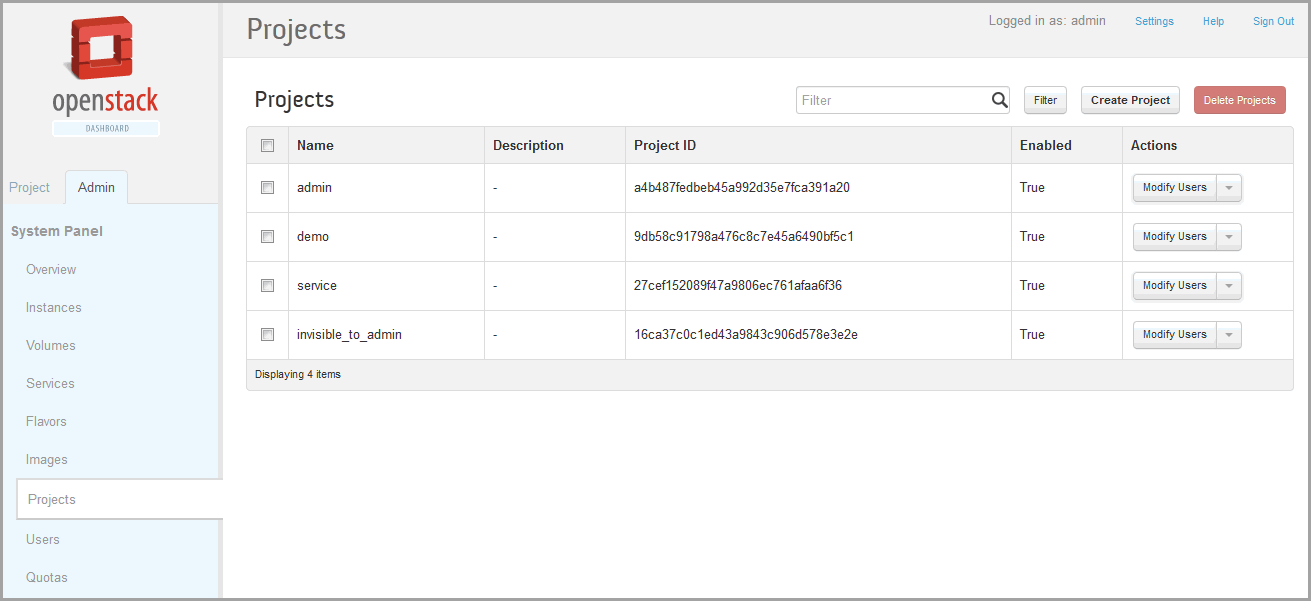
Projects are created, managed, and edited at the OpenStack Projects page.

  1. Click the Admin tab on the OpenStack dashboard, then click the Projects link to access the Projects page; see Figure 1.
    Figure 1: OpenStack Projects OpenStack Dashboard Projects section showing projects admin, demo, service, and invisible_to_admin with options to filter, create, or delete projects.
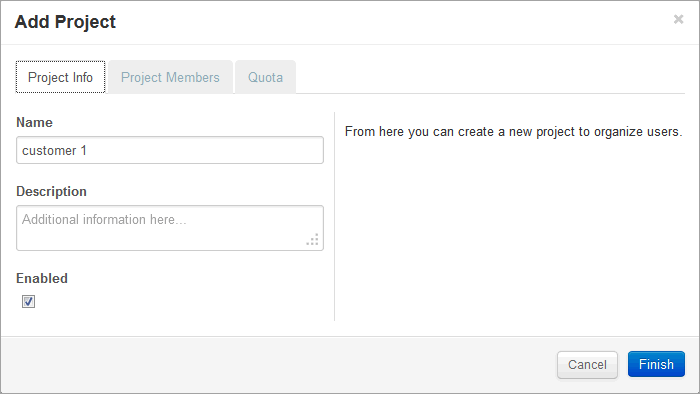
  2. In the upper right, click the Create Project button to access the Add Project window; see Figure 2.
    Figure 2: Add Project User interface for adding a new project with fields for name and description. Name is customer 1; description is empty. Enabled checkbox is checked. Three tabs: Project Info, Project Members, Quota. Project Info tab selected. Cancel and Finish buttons at the bottom; Finish is highlighted.
  3. In the Add Project window, on the Project Info tab, enter a Name and a Description for the new project, and select the Enabled check box to activate this project.
  4. In the Add Project window, select the Project Members tab, and assign users to this project. Designate each user as admin or as Member.

    As a general rule, one person should be a super user in the admin role for all projects and a user with a Member role should be used for general configuration purposes.

  5. Click Finish to create the project.

Refer to OpenStack documentation for more information about creating and managing projects.