To Install and Configure the AWS vCore AMI
Juniper ATP Appliance vCore for AWS requires both Juniper ATP Appliance and AWS licensed accounts. The installations and configuration process uses both the Amazon AWS Management Console (Part 1) as well as the Juniper ATP Appliance vCore Central Manager Web UI and CLI (Part 2).
Note: After purchasing the vCore AMI license, share the vCore AMI with your AWS customer account by using the AWS Management Console to configure and launch the vCore AMI.
A general AWS AMI configuration workflow is provided below; be sure to refer to the AWS Management Console operations guide for more detailed console usage information.
Part 1- Amazon AWS Management Console vCore AMI Configuration
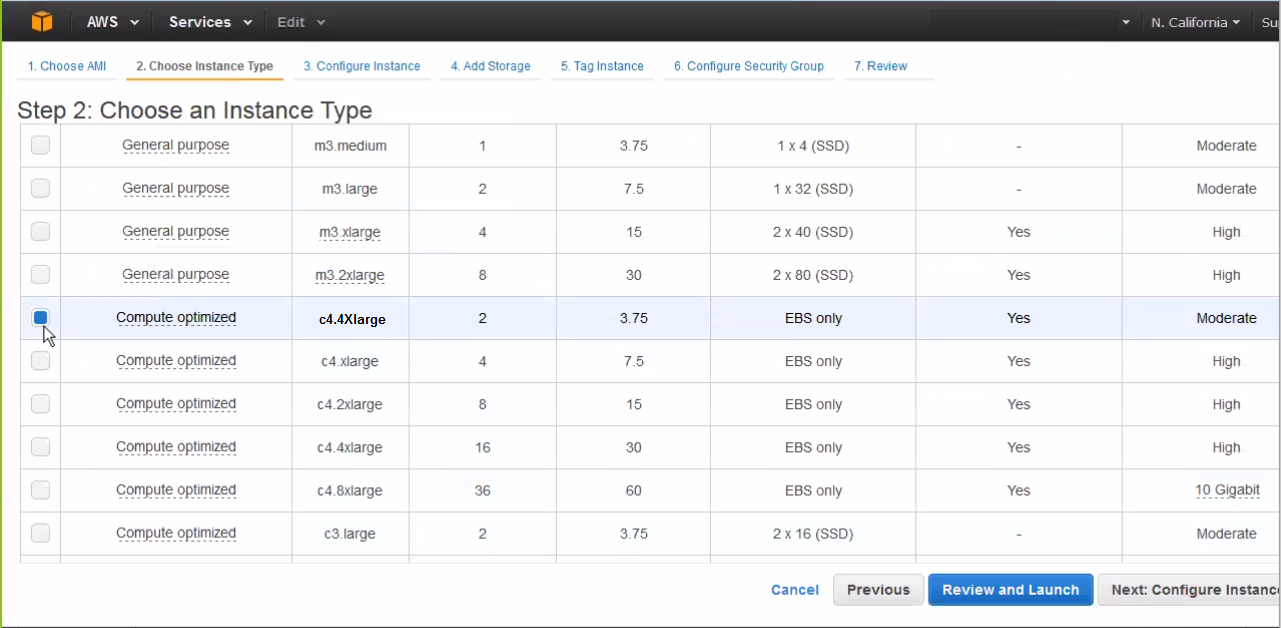
- From the “Choose an Instance Type” page, select
an instance type for the AMI. In our example, we selected “c4
large”. Click Next: Configure Instance.
- From the “Configure Instance Details” page,
select an existing customer-defined Virtual Private Cloud (VPC) from
the Network dropdown menu; in our example, we’ve selected rsa-demo-1.
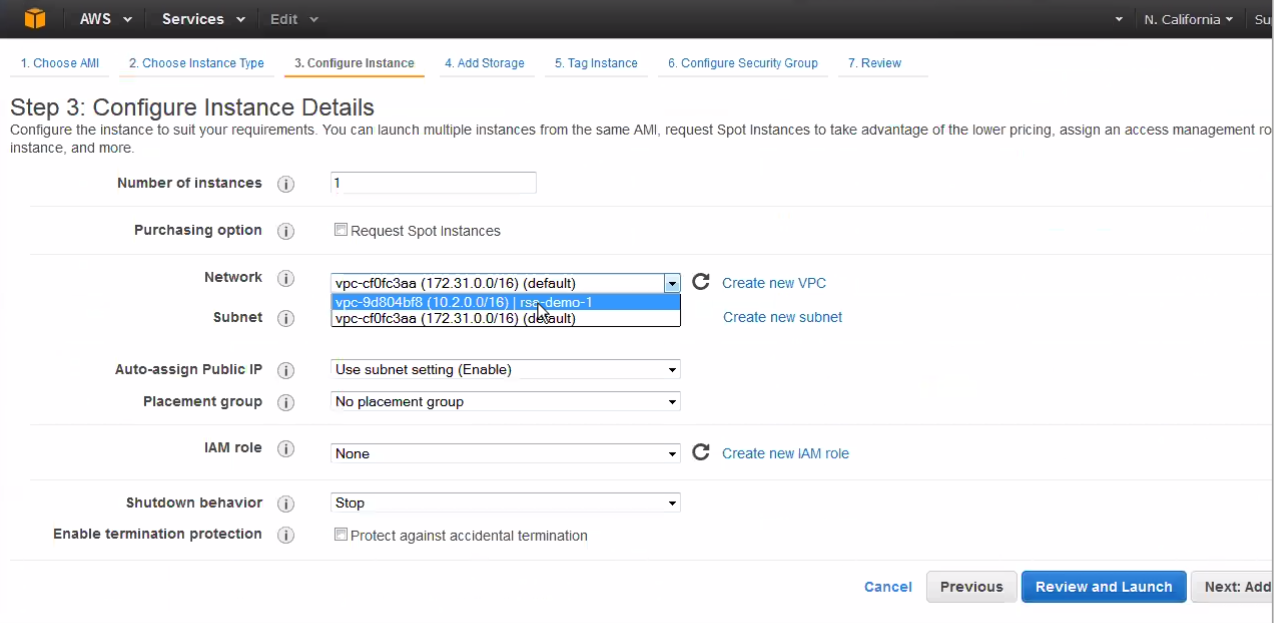
To create a new VPC, click the Create New VPC link and follow the stepped procedure.
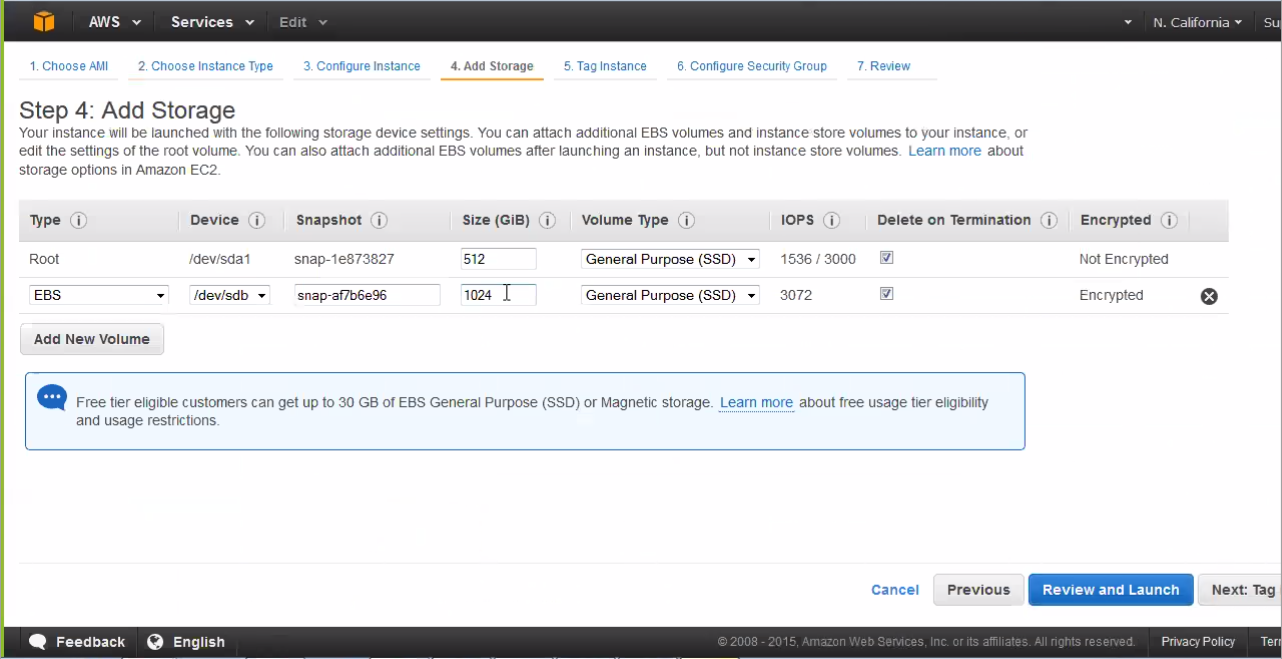
- Click Next: Add Storage.Note:
Click "Encrypted" to encrypt the data volume.
- From the “Tag Instance” page, click Create
Tag and enter a tag name and description.
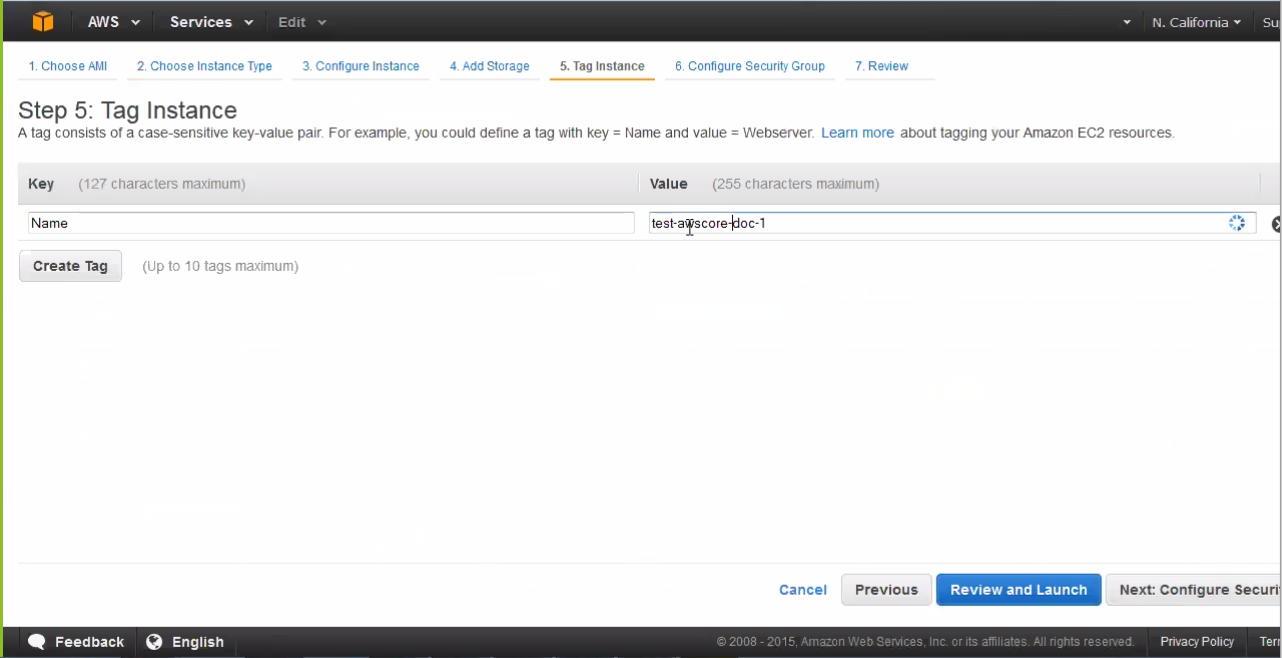
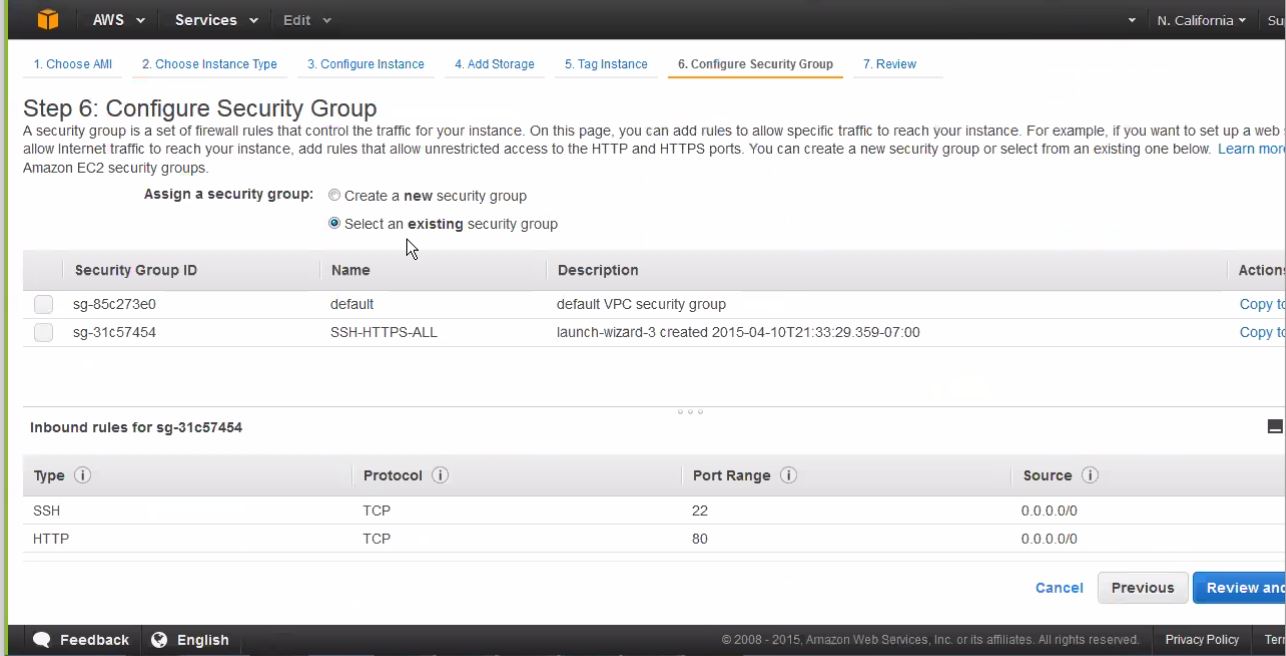
- Click Next: Configure Security to proceed.
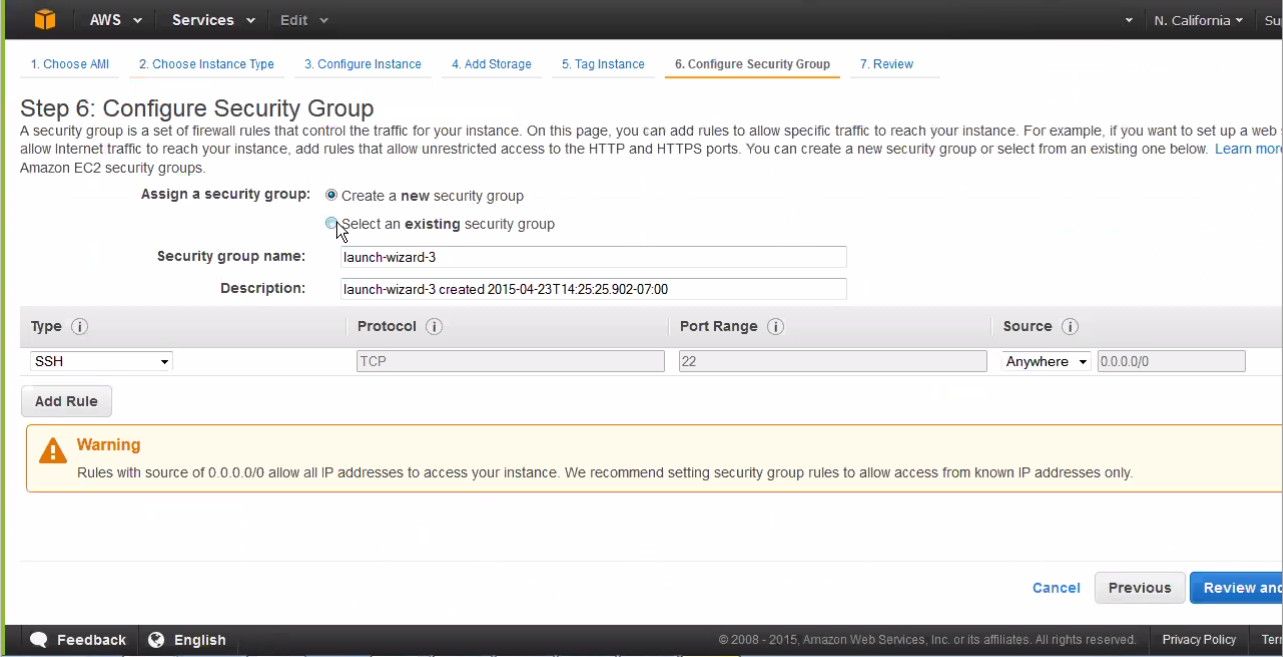
- Enter port designation; Juniper ATP Appliance vCore only
allows for port 22, 80 and 443. Click Next.
 Note:
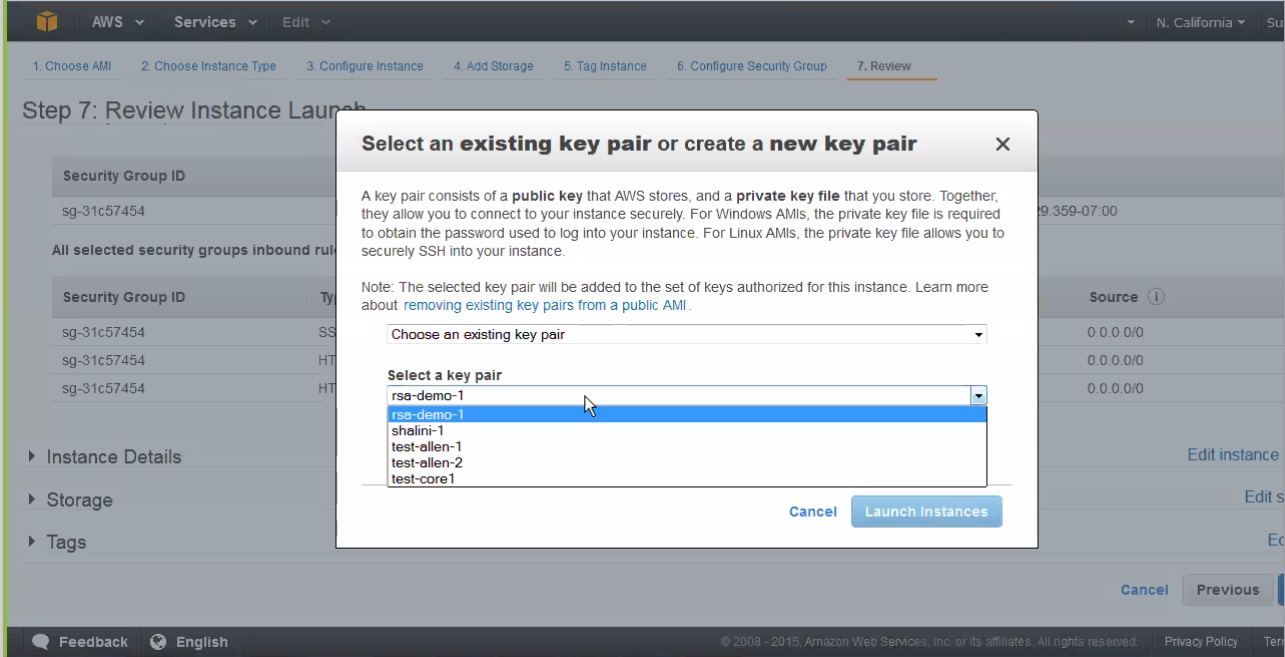
Note:You can configure an SSH key although the Juniper ATP Appliance vCore already includes password protection. To add extra protection, add a key pair first, then use Juniper ATP Appliance password for CLI-only login. AWS requires you to set a key pair. You will not be able to use a pem-only login.
- To configure an SSH Key, select an existing key pair or
create a new key pair:
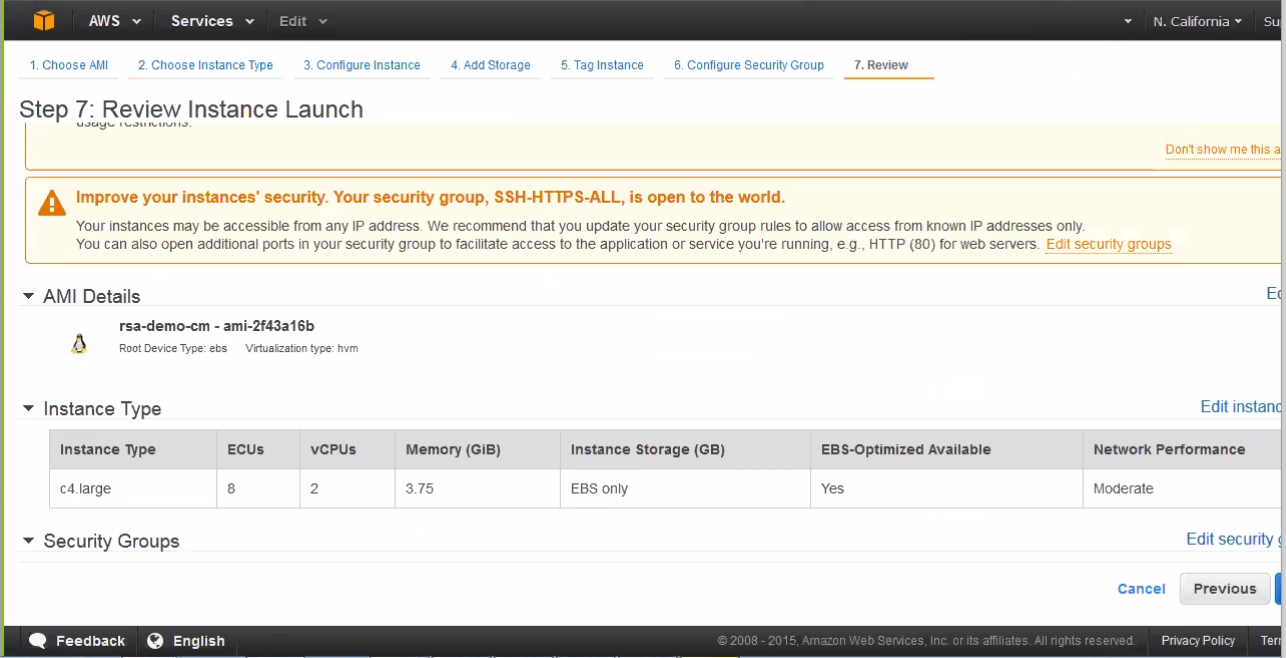
- From the “Review Instance Launch” page, review
the Instance Launch details, then either click Edit Instance to make
changes, or click Launch to instantiate.
The Launch Status window displays; Part
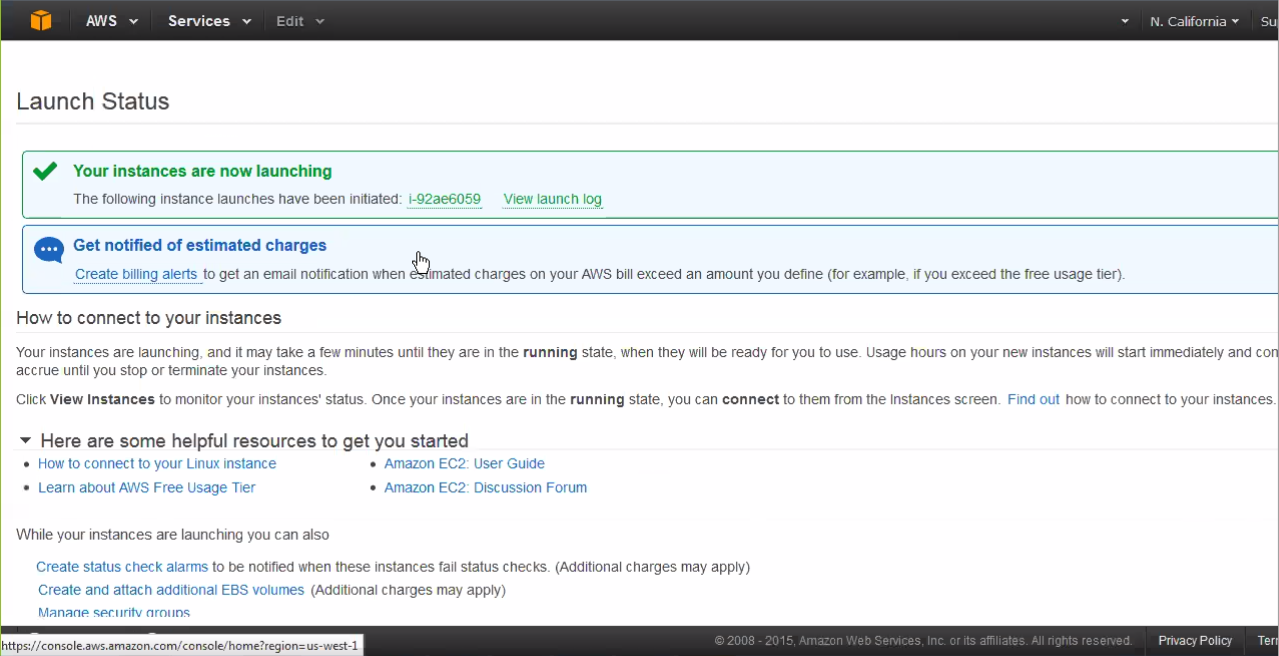
Part 2 - Running the Juniper ATP Appliance vCore AMI Instance
Next, you will initialize the Juniper ATP Appliance vCore
AMI Instance from the AWS Management Console, then verify the AMI
at the Juniper ATP Appliance Central Manager CLI using the show
ip command.
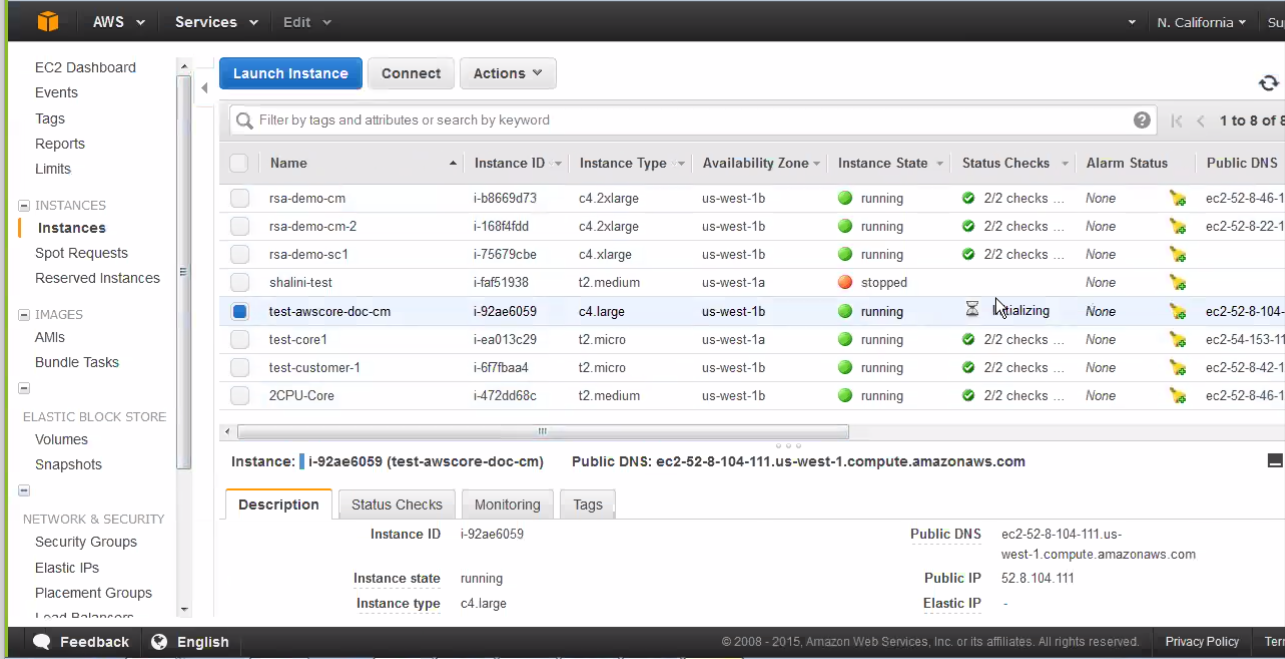
- Open the AWS Management Console Instances page to view
the launched AMI Instance status. When a launched Instance finishes
initializing, it will display a green icon to indicate “running”
status.
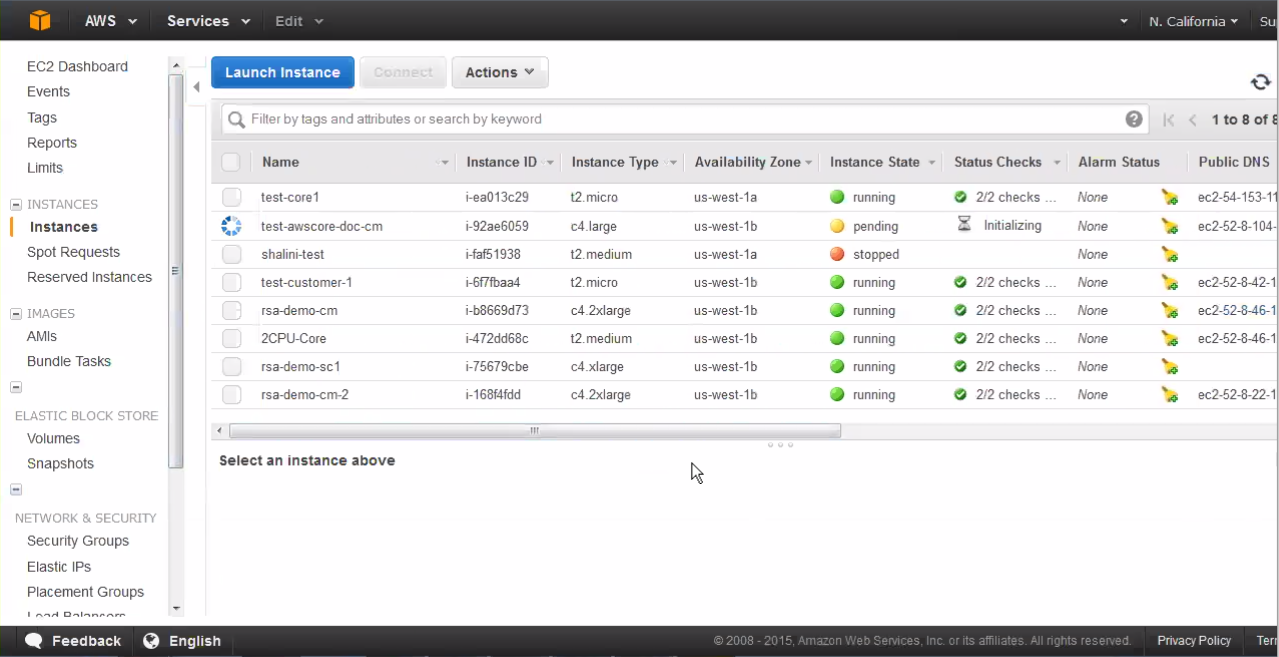
- Copy the Instance ID and the Instance Type “c4-large2.”
for the vCore CLI configuration.
 Note:
Note:It is very important to be aware that the private IP address is the DHCP setting, and it will stay static in AWS and should never change during proper operations.
Note also that you cannot change the AMI hostname, although you can change the DNS if necessary.
About DNS: Because the AWS vCore is not located in the enterprise, the reverse DNS on threat targets do not resolve to the expected target hostname. This is rarely confusing when connected via VPN from the corporate network to the VPC. Generally, internal DNS servers are not exposed outside the enterprise, so the Juniper ATP Appliance cannot configure the AWS vCore to reach an internal DNS server. If the internal DNS server uses an outward facing IP address and you, as admin, are willing to allow connections to it, this is a reasonable solution. Note that the DNS server that the vCore uses will not have the DNS information of the networks where the Juniper ATP Appliance Traffic Collector is located. This is typical of distributed deployments where the Traffic Collector and the Core/CM are not located in the same enterprise networks.
- Copy the Public IP address to access the vCore AWS Instance
CLI via SSH/Putty:
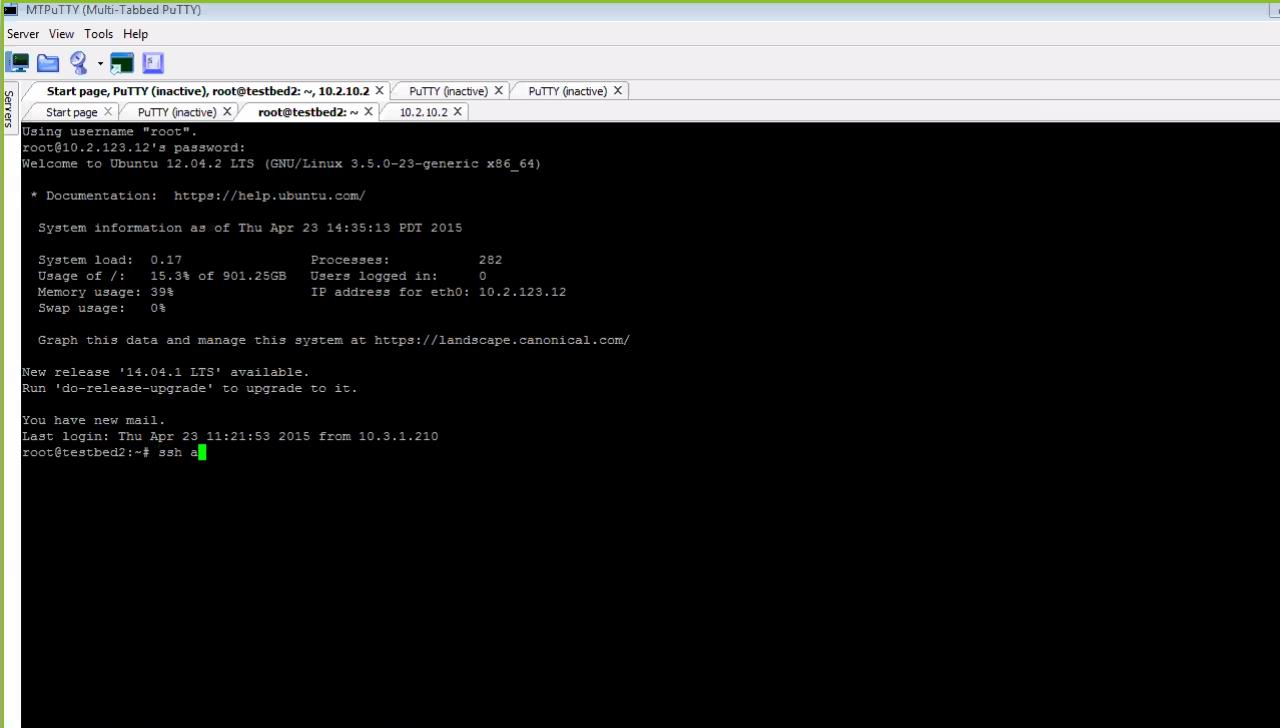
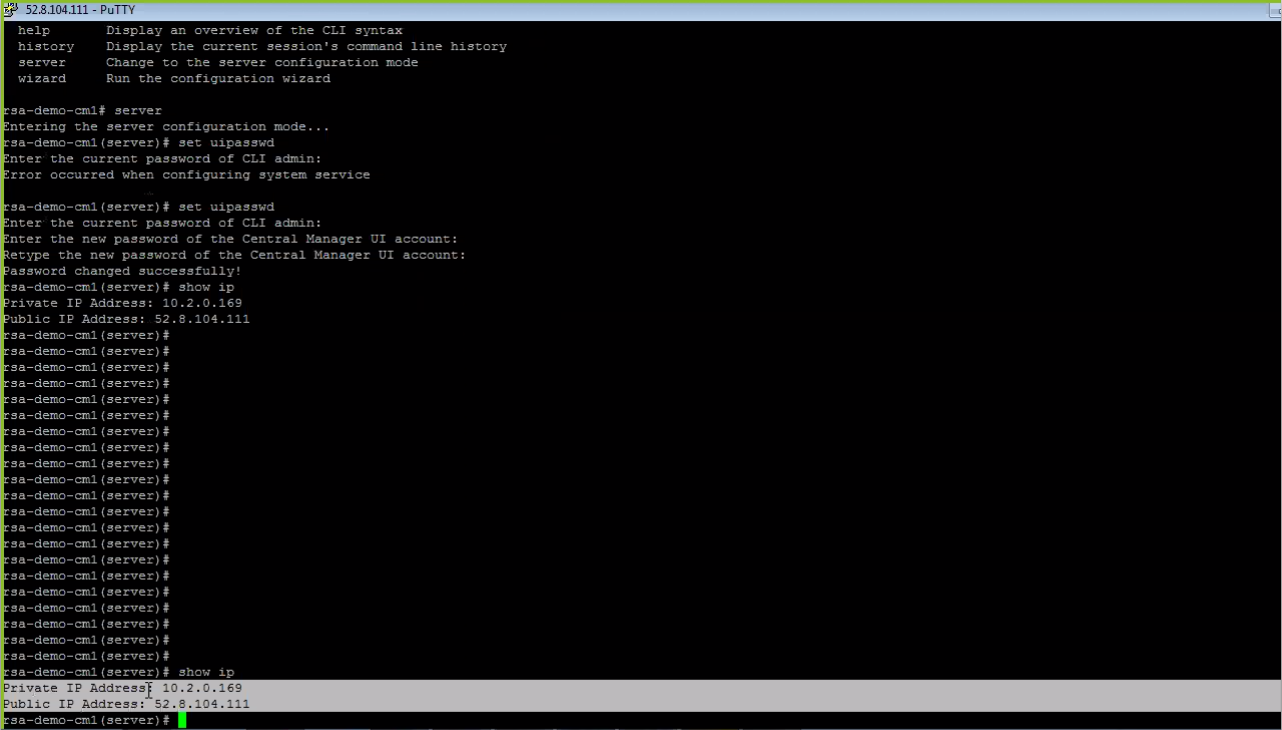
- At the Juniper ATP Appliance CLI prompt, type server to
enter CLI Server mode, then from Server mode, run the CLI command
show ipto display private and public IPs, as shown below. These should match the AWS configuration.Note:For more information about AWS-specific CLI commands, and usage of CLI modes and commands, refer to the CLI Command Reference Guide.
 Note:
Note:Hybrid Cloud/Private Network deployments are not yet supported. All Juniper ATP Appliance Core components must be co-located on the AWS at this time. This means you cannot install the vCore on AWS and a Secondary Core on a private enterprise network (unless the private enterprise network is connected the to VPC where the AWS Core is located using VPN).
- View the AWS configuration from the Juniper ATP Appliance
Central Manager Web UI; refer to the section in this guide Accessing the Juniper ATP Appliance Central Manager Web UI for information about
accessing and navigating the CM Web UI.
On the Central Manager Config>Golden Image VMs page, note that 32-bit images are available for AWS; see figure below for reference.
