Install Apstra on Red Hat Openshift
These instructions are for installing Apstra software on Red Hat Openshift virtual machine. For information about using Red Hat Openshift in general, refer to Juniper RedHat OpenShift Integration Guide.
-
Start Red Hat OpenShift and select Administrator from the
top-left drop-down menu.

-
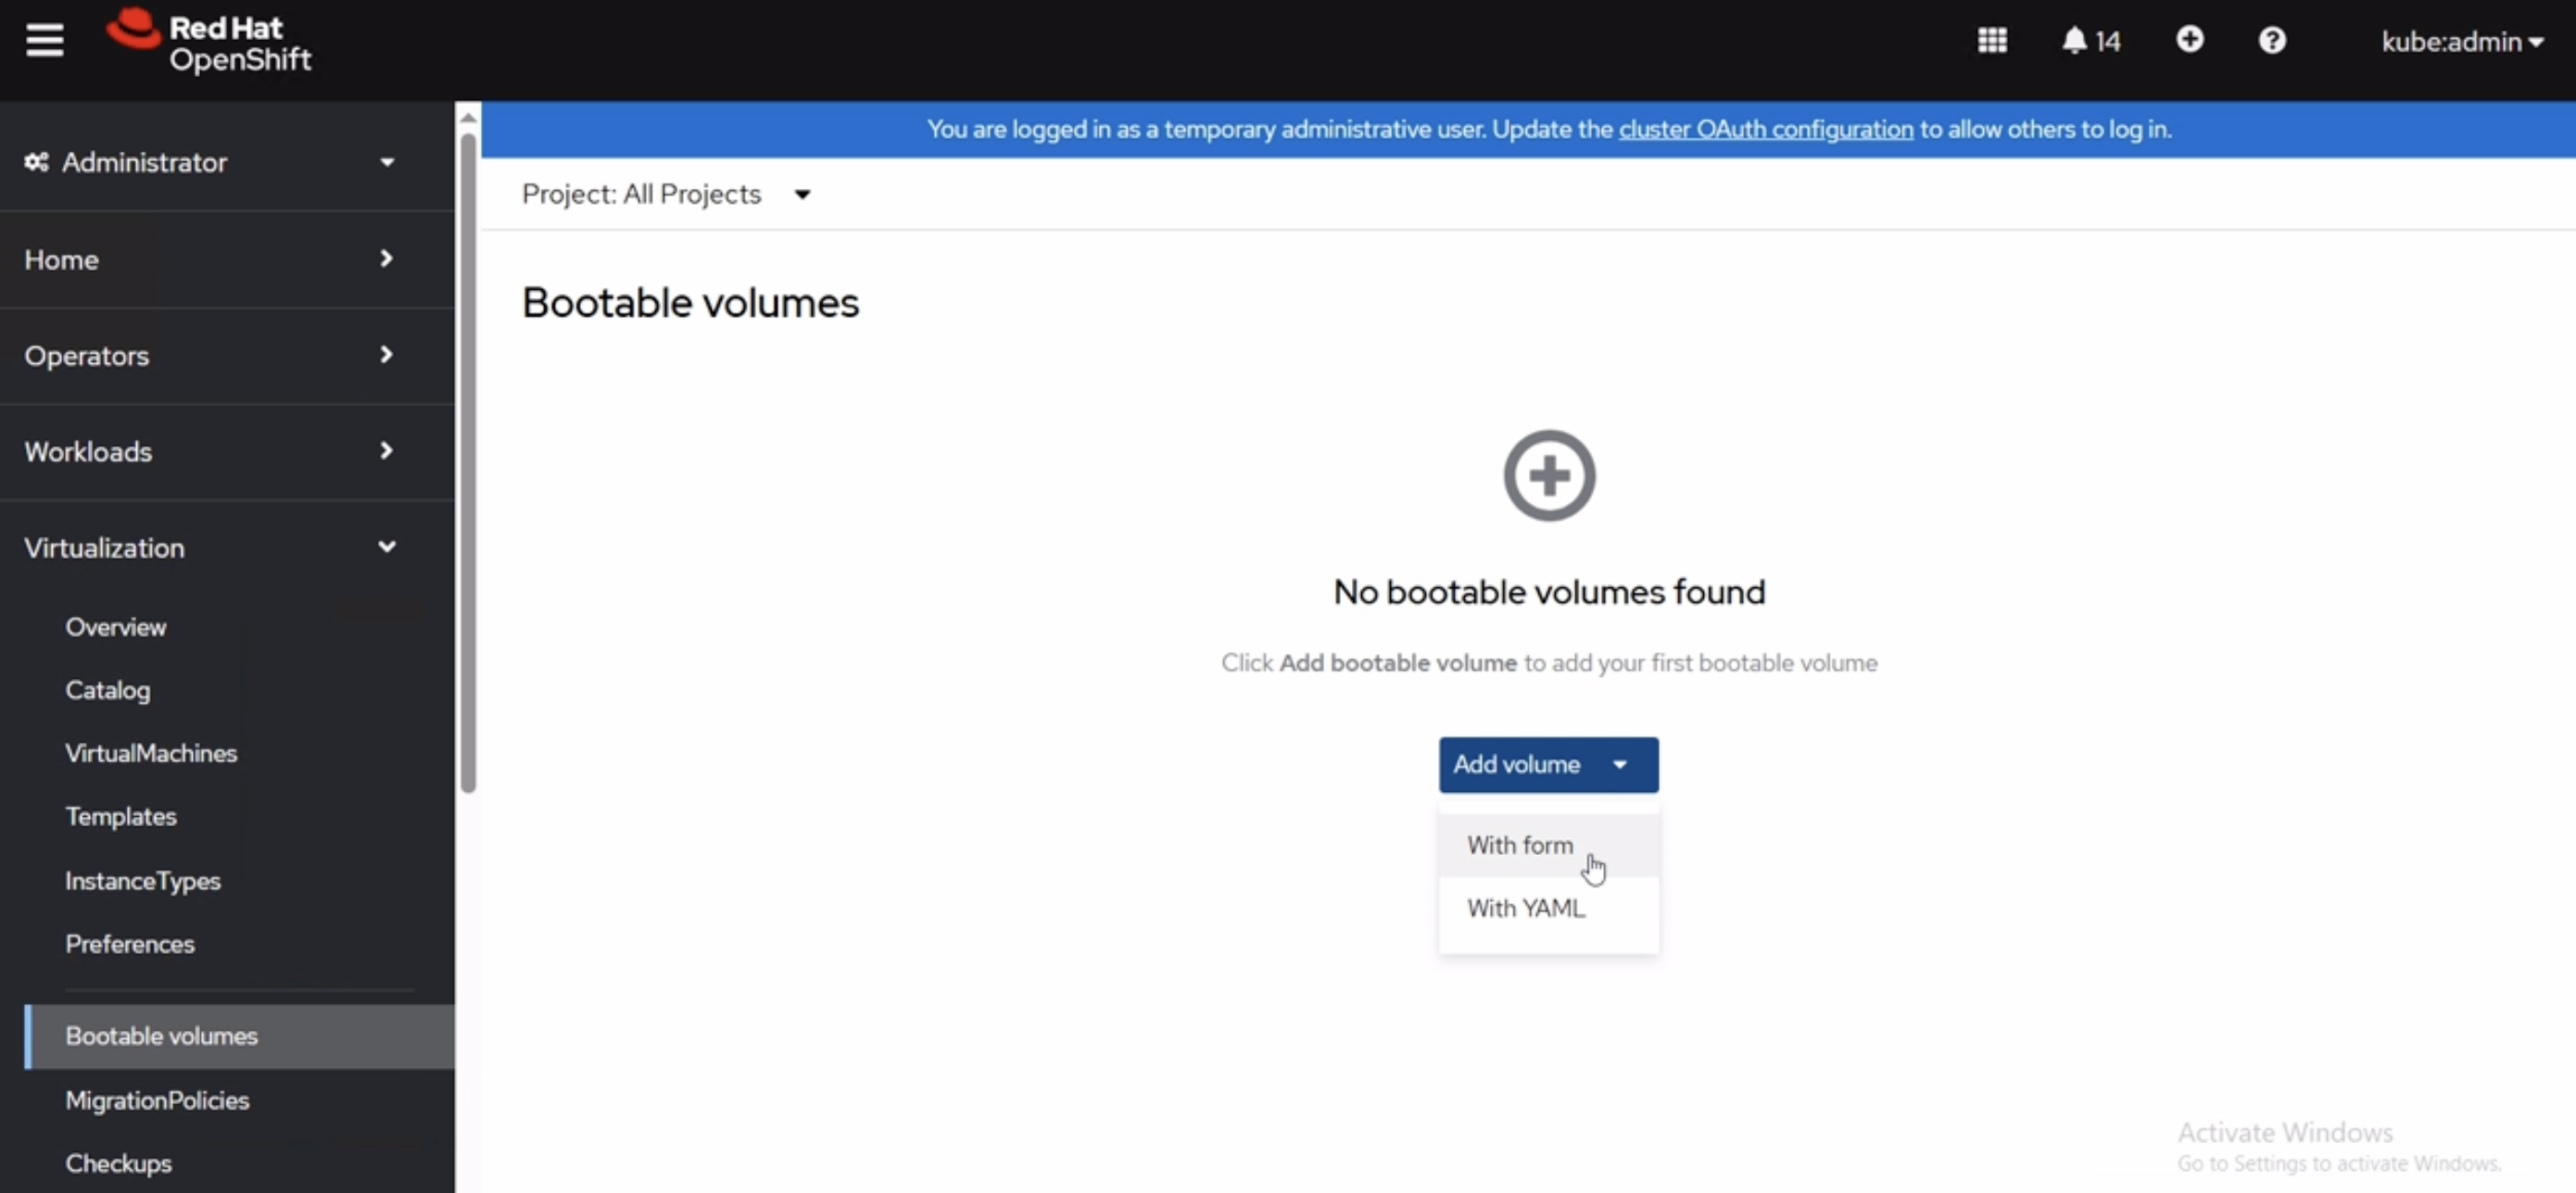
Navigate to Virtualization>Bootable volumes, click Add
volume, and select With form.
-
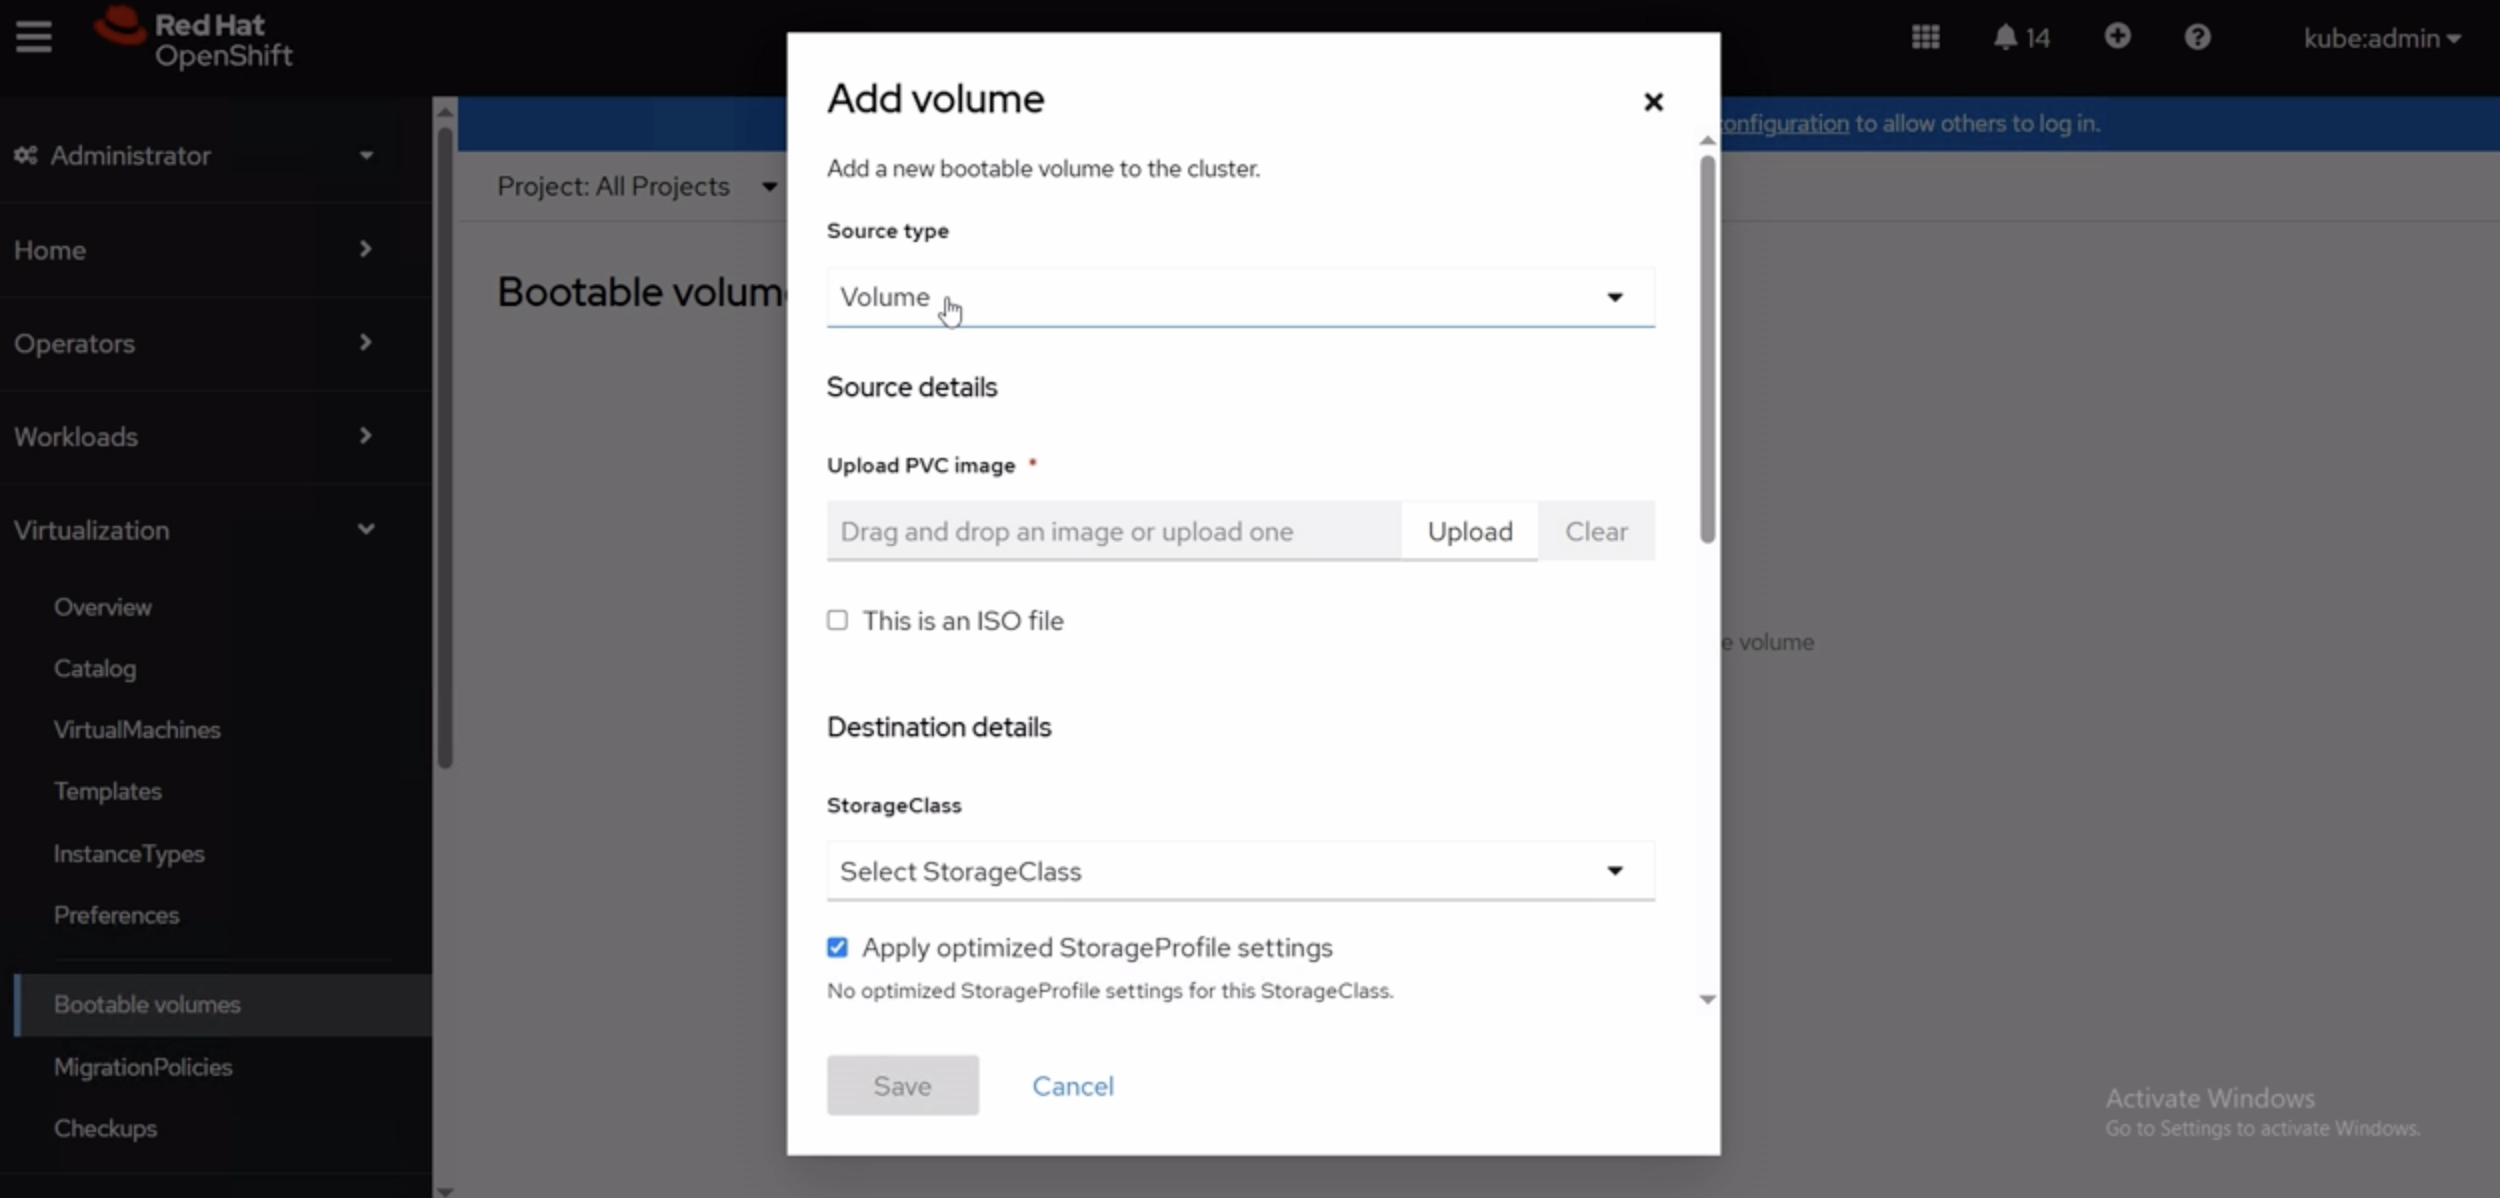
For the Source type field, select Upload new
Volume and specify your previously downloaded image.
-
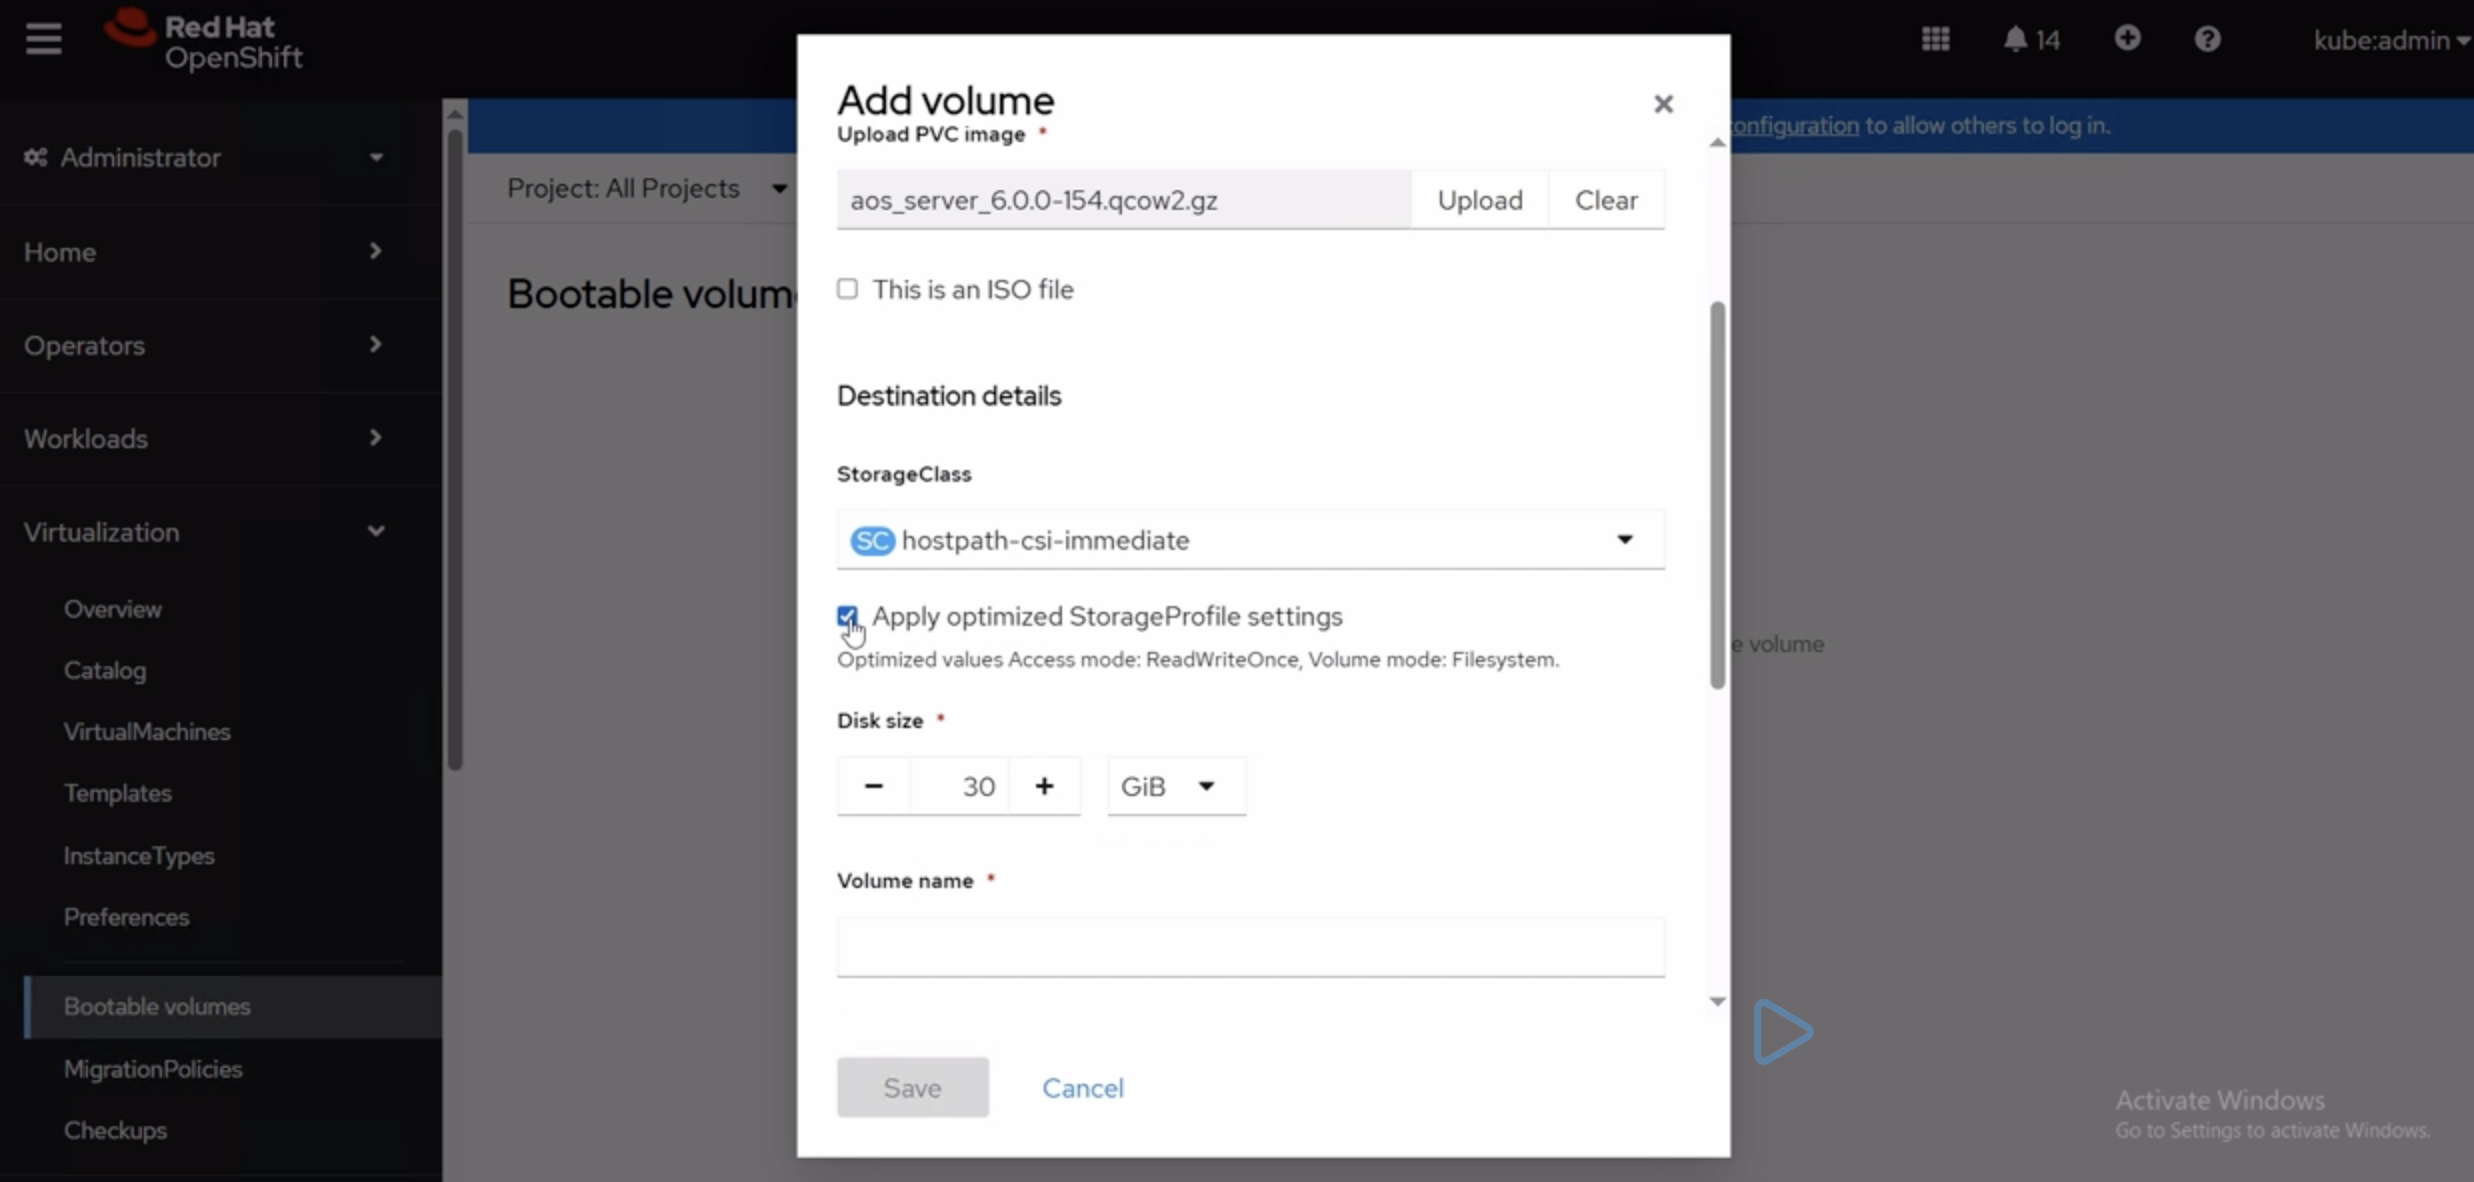
In the Destination details>Storage Class field, select from the drop-down menu
and confirm that the Apply optimized StorageProfile settings box is checked.
-
In the Default Instance Type field, select Red Hat provided>U
series>medium: 1 CPUs, 4 GiB Memory and click
Save.
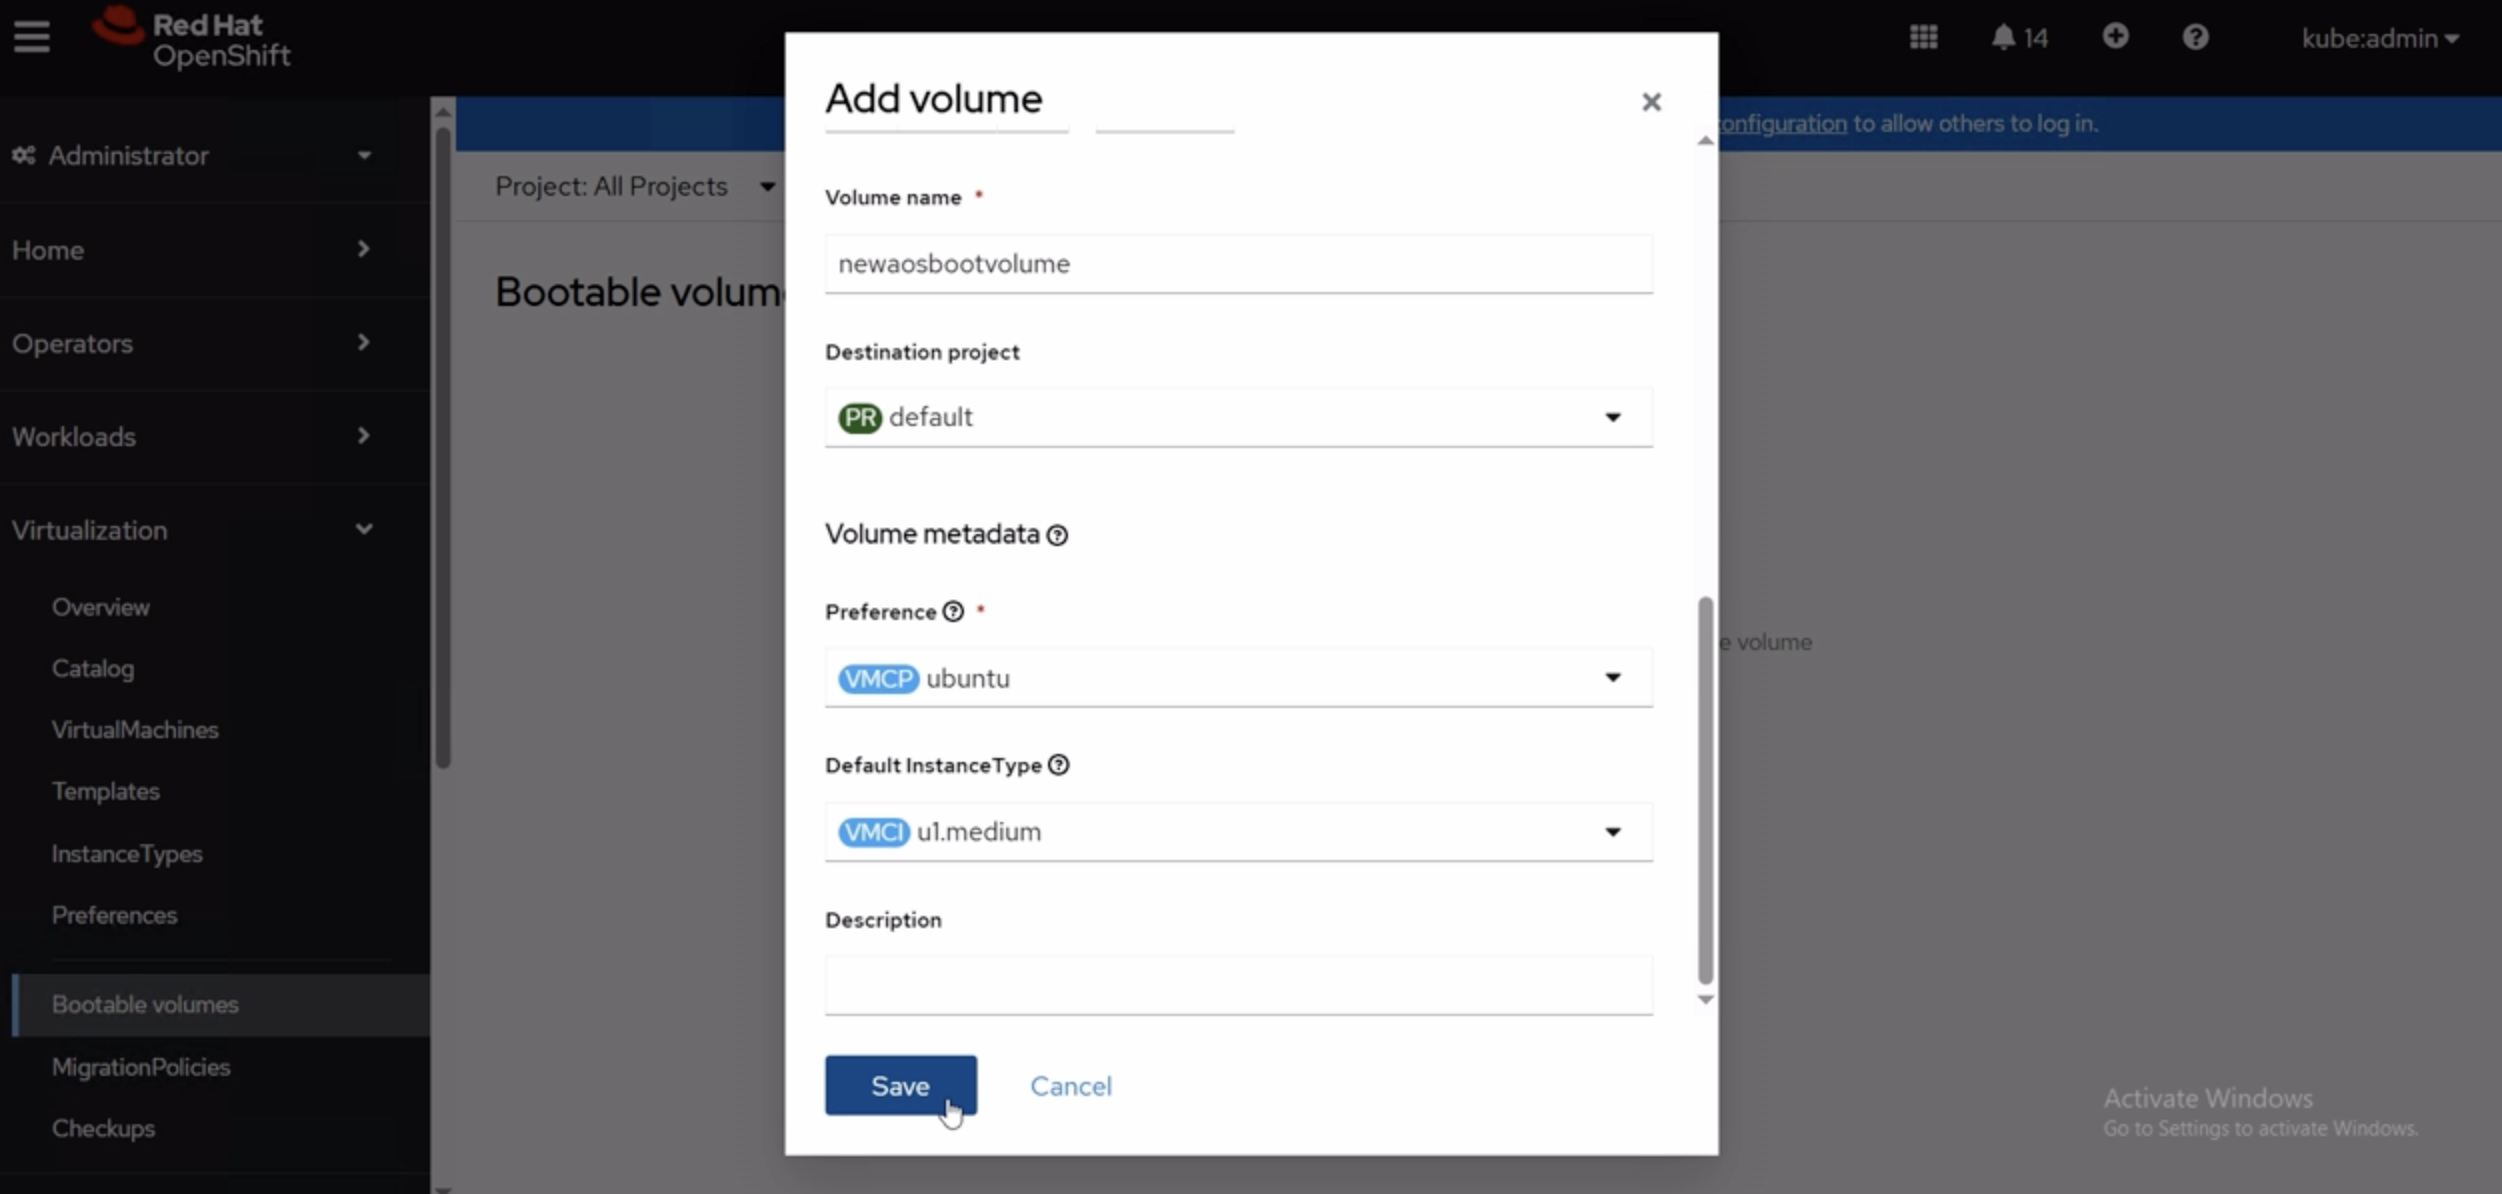 Note: After clicking Save, it can take a few moments for the information to upload. Refresh the Red Hat OpenShift screen to view the newly added bootable volume.
 -
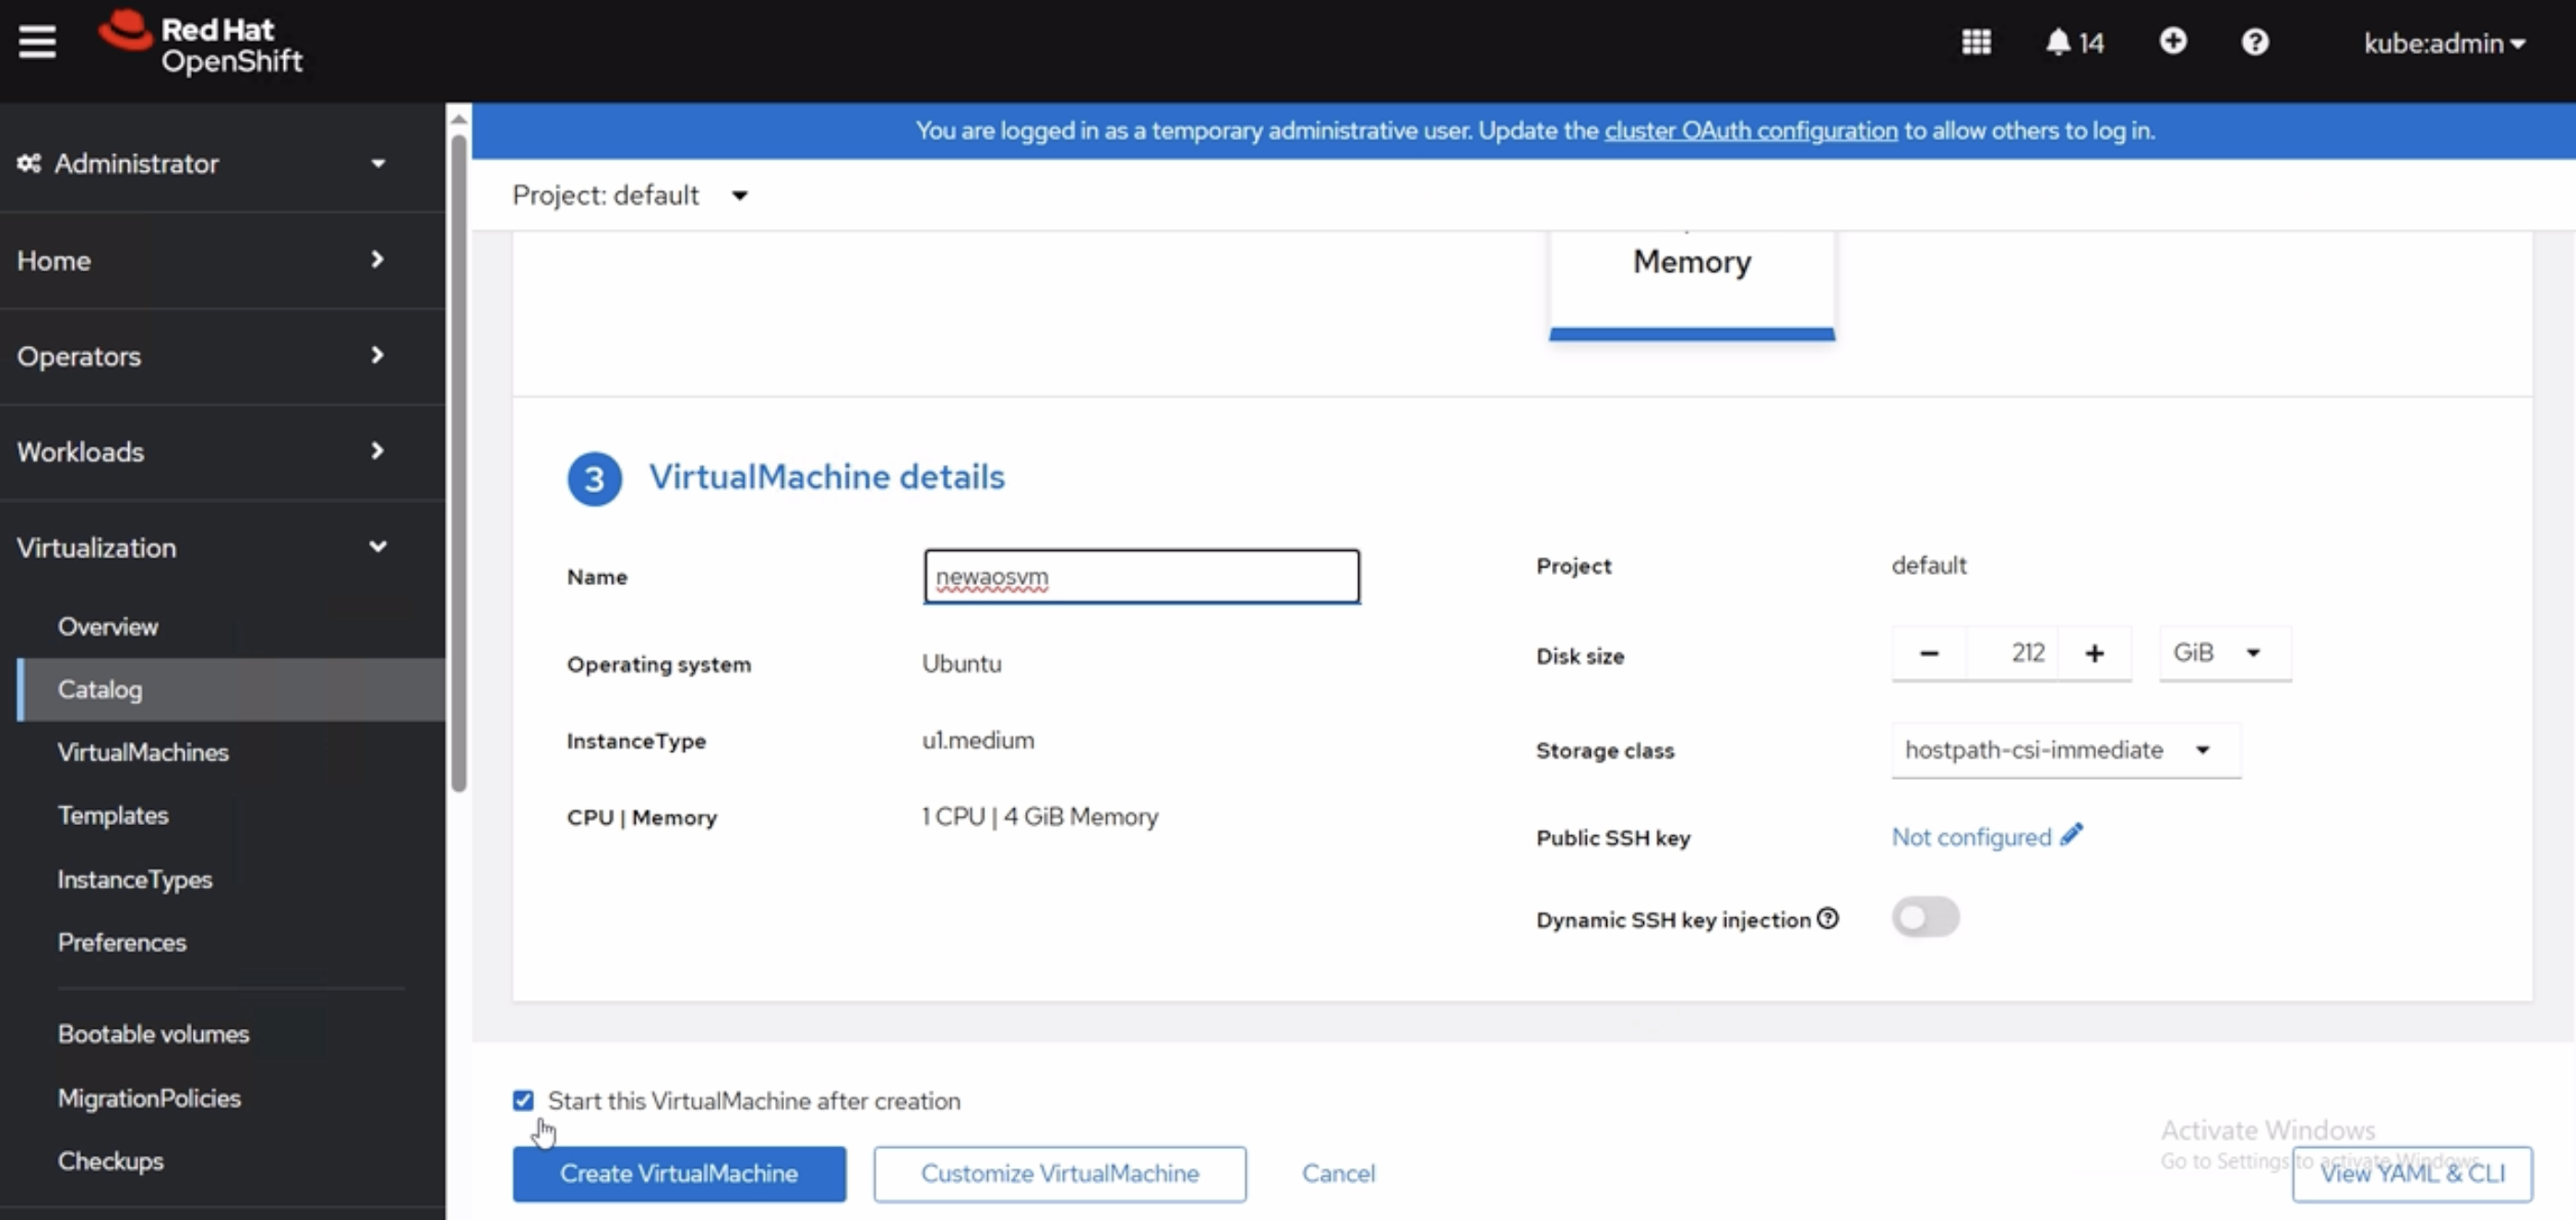
Navigate to the VirutalMachines tab, click on Create
VirtualMachine, and select From Instance Type.

-
Click on the volume you just created. You can adjust the instance type, name, disk
size, and other parameters. Once, ready, select the Start this Virtual Machine
after creation check box and click Create
VirtualMachine.
 Click on the
Status link to view the progress Provisiong bar.
Click on the
Status link to view the progress Provisiong bar.
You're ready to configure the Apstra server.