Step 1: Begin
In this guide, we provide a simple, three-step path, to quickly get you up and running with Juniper Apstra. We'll show you how to install and configure Apstra software release 5.1.0 onto a VMware ESXi hypervisor. From the Apstra GUI, we'll walk through the elements used to create a new user with administrator privileges. Depending on the complexity of your design, other tasks might be required in addition to the ones included in this workflow.
Meet Juniper Apstra
Juniper Apstra automates and validates your data center network's design, deployment, and operations. After specifying outcomes, Apstra sets up the network, ensures security, alerts you to anomalies, and manages changes. The software supports various vendors and topologies. Apstra offers design templates for repeatable blueprints. It uses advanced IBA to continuously validate the network, eliminating complexity, vulnerabilities, and outages.
Get Ready
Apstra software comes pre-installed on a single virtual machine (VM).
For information about supported hypervisors, see Supported Hypervisors and Versions.
You'll need a server that meets the following specifications:
| Resource | Recommendation |
|---|---|
| Memory | 64 GB RAM + 300 MB per installed device off-box agent |
| CPU | 8 vCPU |
| Disk Space | 80 GB |
| Network | 1 network adapter, initially configured with DHCP |
| VMware ESXi installed | Version 8.0, 7.0, 6.7, 6.5, 6.0 |
For more information about Apstra server VM resource requirements, see Required Server Resources.
Install Apstra Server
These instructions are for installing Apstra software on an ESXi hypervisor. For information about installing Apstra software on other hypervisors, see Install Apstra on KVM, Install Apstra on Hyper-V, or Install Apstra on Virtual Box.
You will first download the Apstra VM image file and then deploy it on the VM.
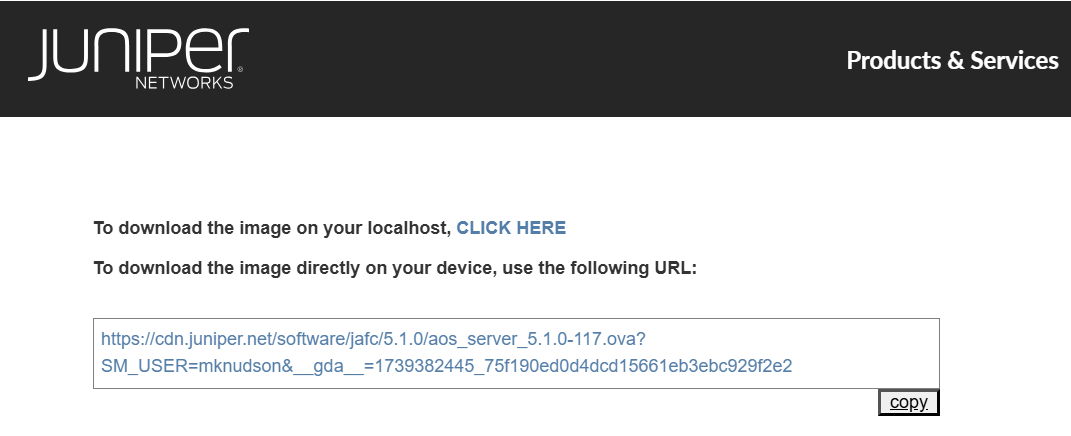
-
As a registered support user, download the latest OVA Apstra VM image
from Juniper Support Downloads.
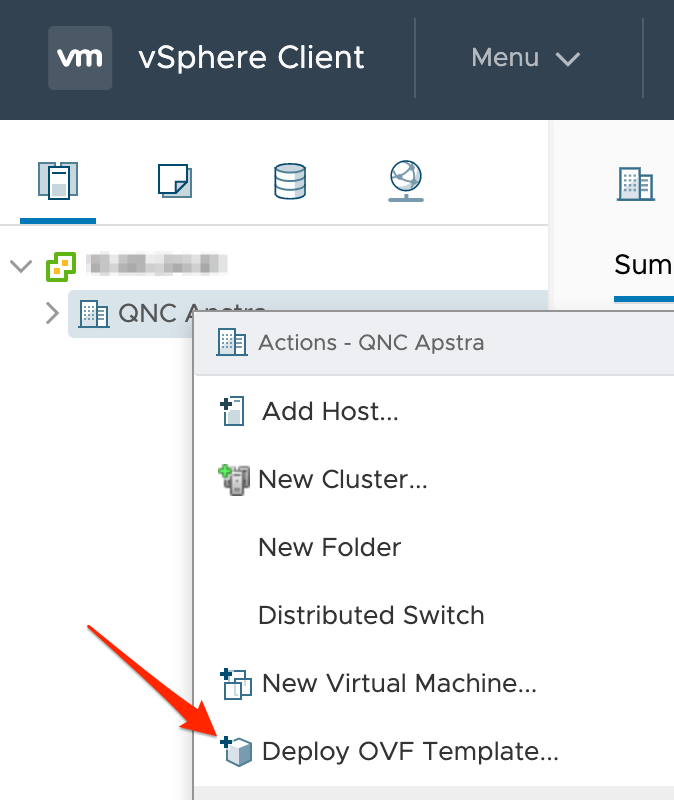
-
Log in to vCenter, right-click your target deployment environment, then
click Deploy OVF Template.
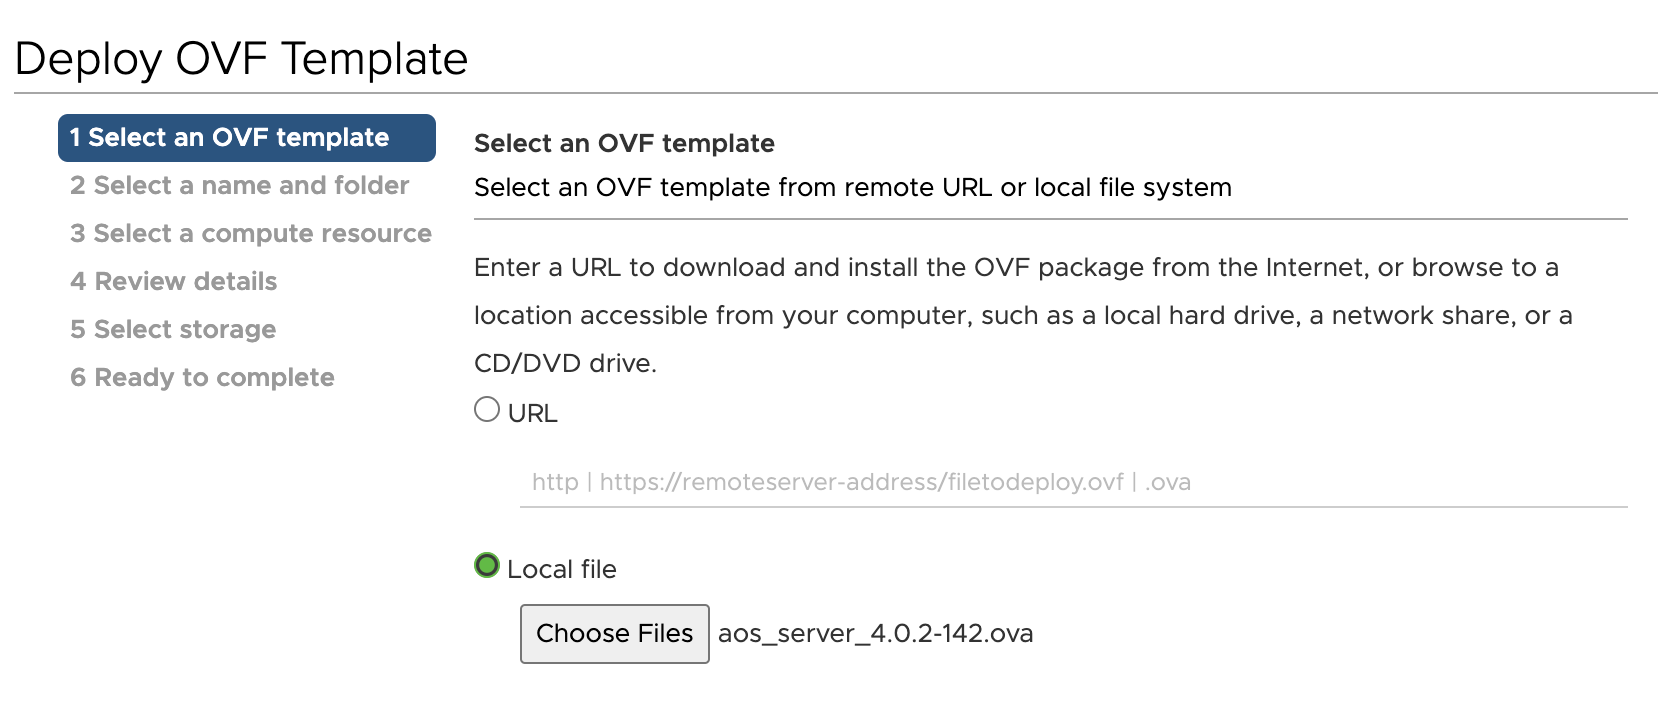
-
Specify the URL or local file location for the downloaded OVA file, then
click Next.
-
Specify a unique name and target location for the VM, then click
Next.

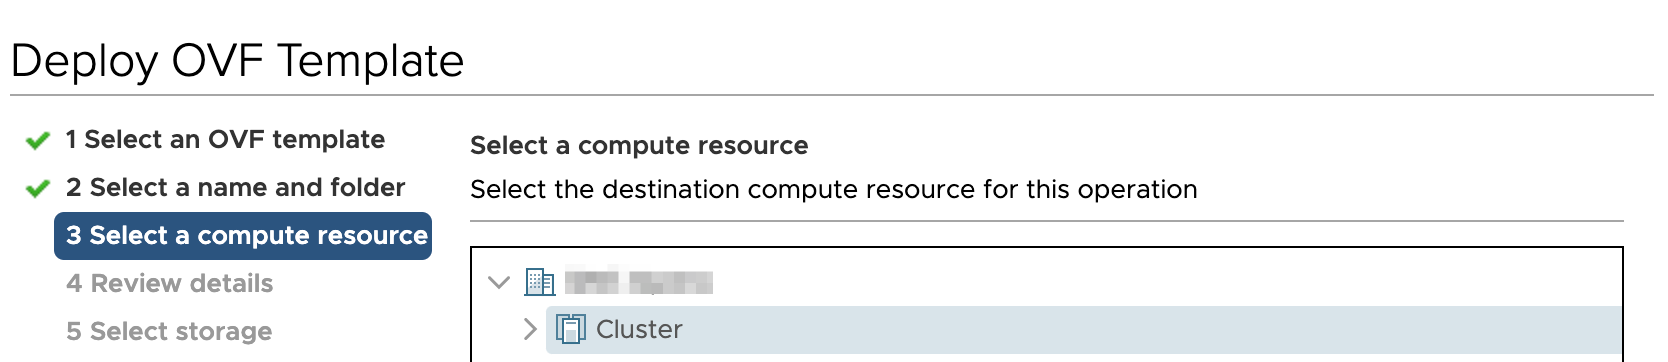
-
Select your destination compute resource, then click
Next.
-
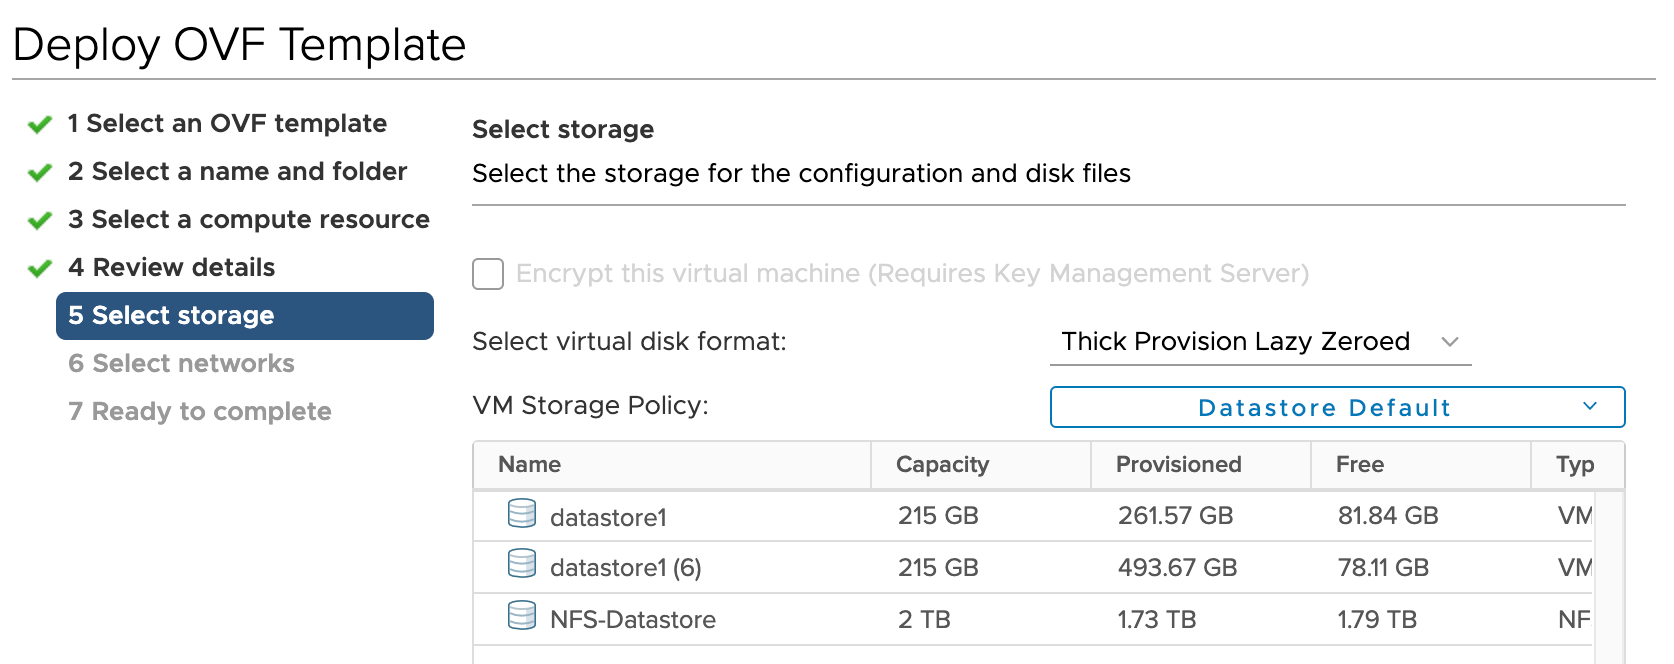
Select storage for the files, then click Next. We
recommend thick provisioning for the Apstra server.
-
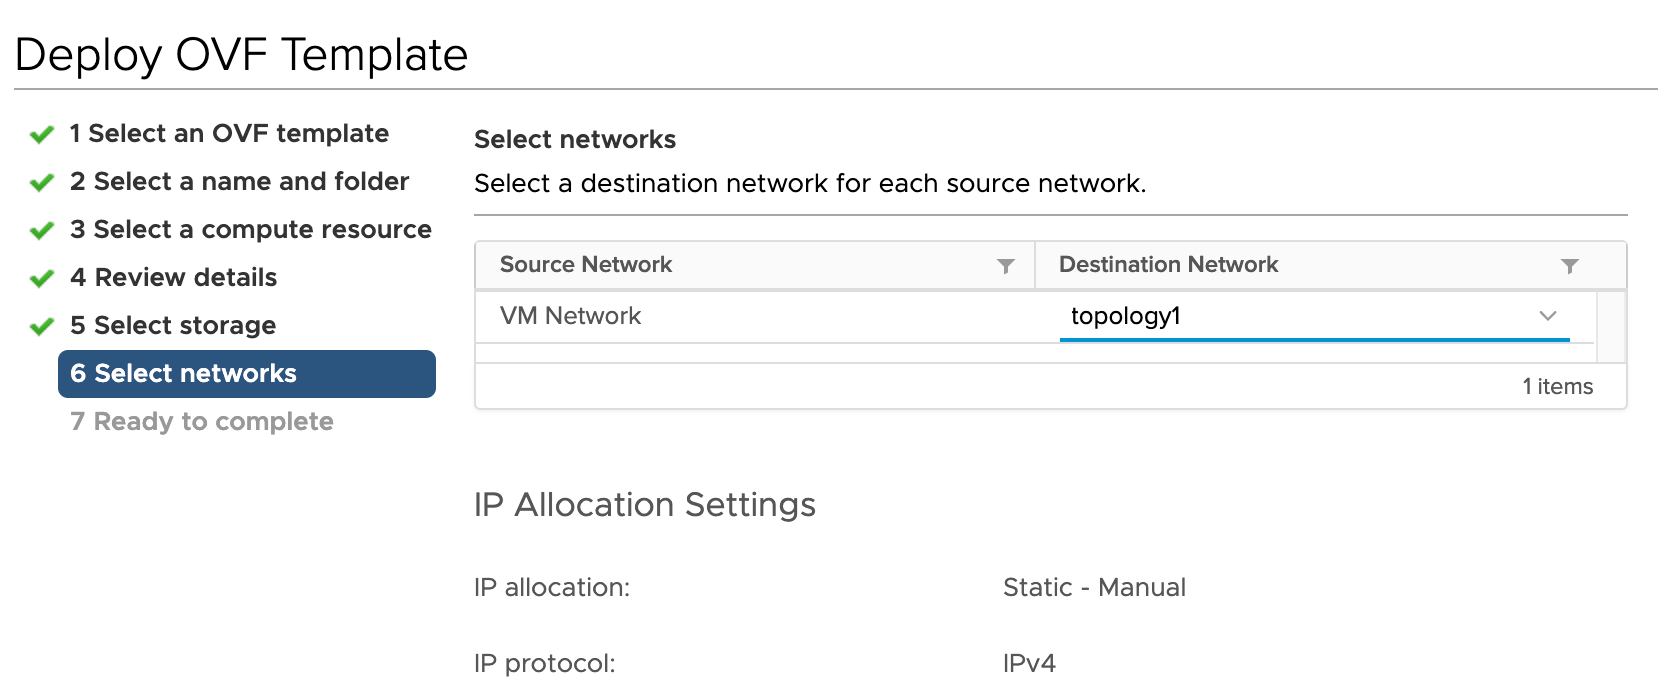
Map the Apstra Management network to reach the virtual networks managed by
the Apstra server, then click Next.
Configure Apstra Server
- Log in to the Apstra server with the default credentials (user:
admin, password: admin) either from the web console or via SSH
(
ssh admin@<apstra-server-ip>where<apstra-server-ip>is the IP address of the Apstra server.) You must change the default password before you can proceed.
- Enter a password that meets the following complexity requirements, then
enter it again:
Must contain at least 14 characters
Must contain an uppercase letter
Must contain a lowercase letter
Must contain a digit
Must contain a special character
Must NOT be the same as the username
Must NOT contain a repeat of the same character
Must NOT contain consecutive sequential characters
Must NOT use adjacent keys on the keyboard
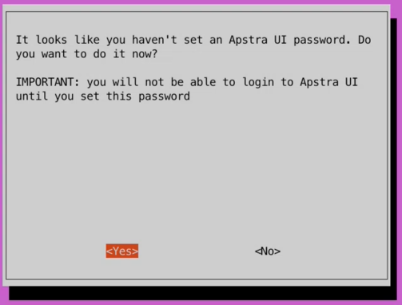
- When you've successfully changed the Apstra server password a dialog opens
prompting you to set the Apstra GUI password. You won't be able to access the Apstra GUI until you set this password. Select Yes and enter a password that meets the following complexity requirements, then enter it again:
Must contain at least 9 characters
Must contain an uppercase letter
Must contain a lowercase letter
Must contain a digit
Must contain a special character
Must NOT be the same as the username
Must NOT contain a repeat of the same character
Must NOT contain consecutive sequential characters
Must NOT use adjacent keys on the keyboard
- A dialog appears stating "Success! Apstra UI password is changed." Select
OK.
The configuration tool menu appears
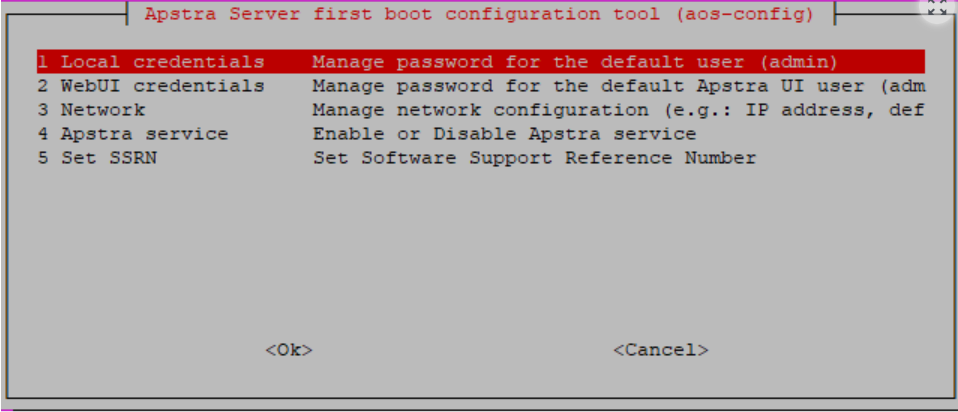
You changed the local and Apstra GUI credentials, so no further management is needed.
The network is configured to use DHCP by default. To assign static IP addresses instead, select Network, change it to Manual, and provide the following:
(Static Management) IP address in CIDR format with netmask (for example, 192.168.0.10/24)
Gateway IP address
Primary DNS
Secondary DNS (optional)
Domain
- Apstra service is stopped by default. To start and stop Apstra service,
select AOS service and select Start or Stop, as
appropriate. Starting service from this configuration tool invokes
/etc/init.d/aos, which is the equivalent of running the commandservice aos start. You can add a Software Support Reference Number (SSRN) to the Apstra GUI. Select Set SSRN, enter the SSRN number you received when you purchased your license, and click Ok.
Note: This step is optional. Setting an SSRN is not required, but may speed up support times. The SSRN number is saved in Apstra ShowTech, and lets JTAC Support know you have a valid Apstra license.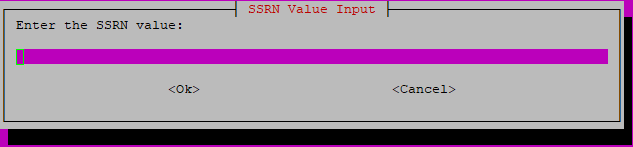
- To exit the configuration tool and return to the CLI, select Cancel
from the main menu. (To open this tool again in the future, run the command
aos_config.)
You're ready to Replace the SSL Certificate on Apstra server with a signed one.
We recommend that you back up the Apstra server on a regular basis (since HA is not available). For backup details, see the Apstra Server Management section of the Juniper Apstra User Guide.