Configure Apstra Server Connection Details
Before configuring Apstra server details, we recommend that you
create a user profile on the Apstra server for the sole purpose of interacting with Apstra
ZTP.
You'll need to specify the Apstra server IP address communicates with ZTP devices and the Apstra ZTP server. The Apstra ZTP server and the devices to be onboarded with ZTP connect to the Apstra server API, for logging and device system agent creation.
-
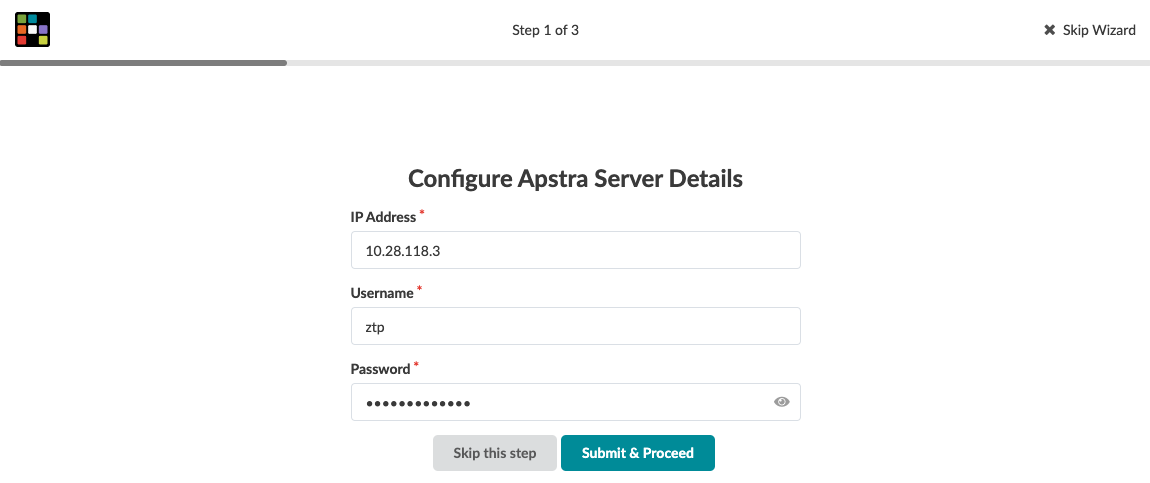
If this is the first time you're logging in after changing the default password, you're
presented with a 3-step wizard. Step 1 of the wizard is to configure Apstra server
details. The wizard runs only the first time you log in with the new password; It won't
appear again. (You can skip this step and come back later to complete this
configuration.)
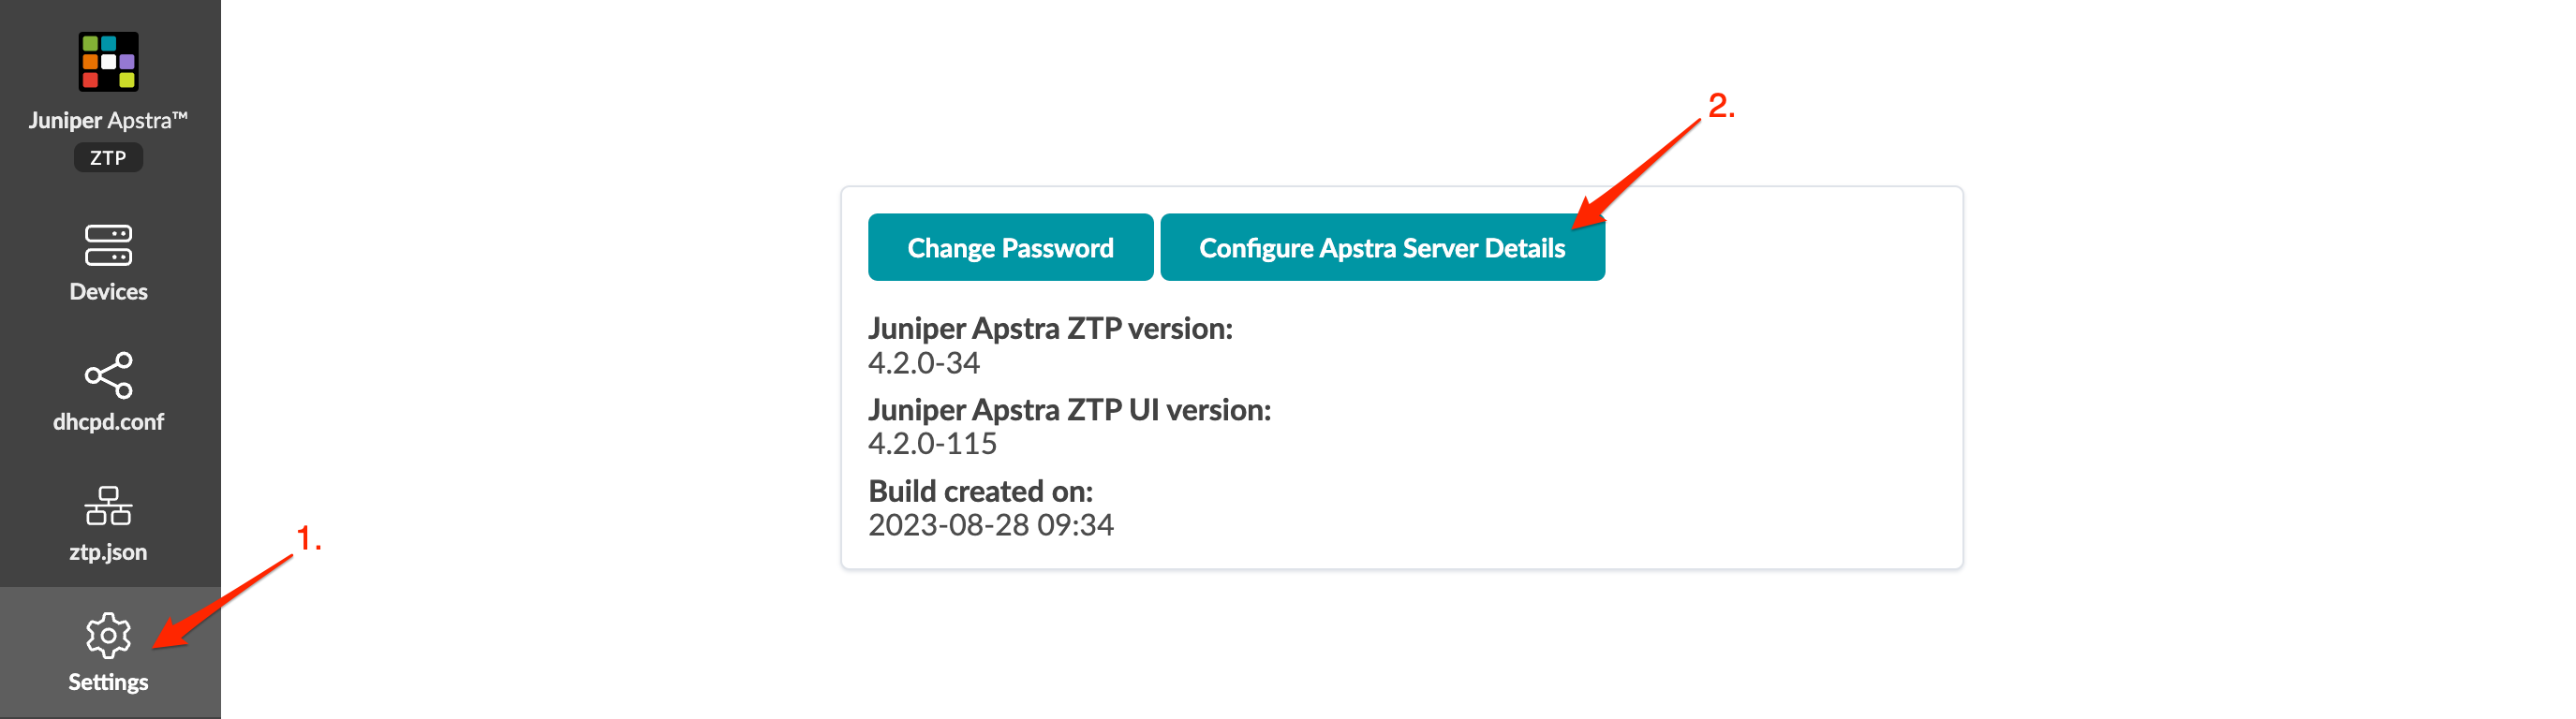
If you're not using the wizard, then from the left navigation menu of the Apstra ZTP GUI, click Settings, then click Configure Apstra Server Details, as shown below.
-
Enter the Apstra server IP address that will communicate with ZTP devices and the
Apstra ZTP server.
Next Step: Configure DHCP Server for Apstra ZTP.