Step 2: Up and Running
Create Organization Account and Add Devices
Enter the UI virtual IP address or FQDN (domain name) in a browser to access the Juniper Security Director login page. Follow on-screen instructions to create and activate your account. For details, see Log In to the Juniper Security Director Web UI.
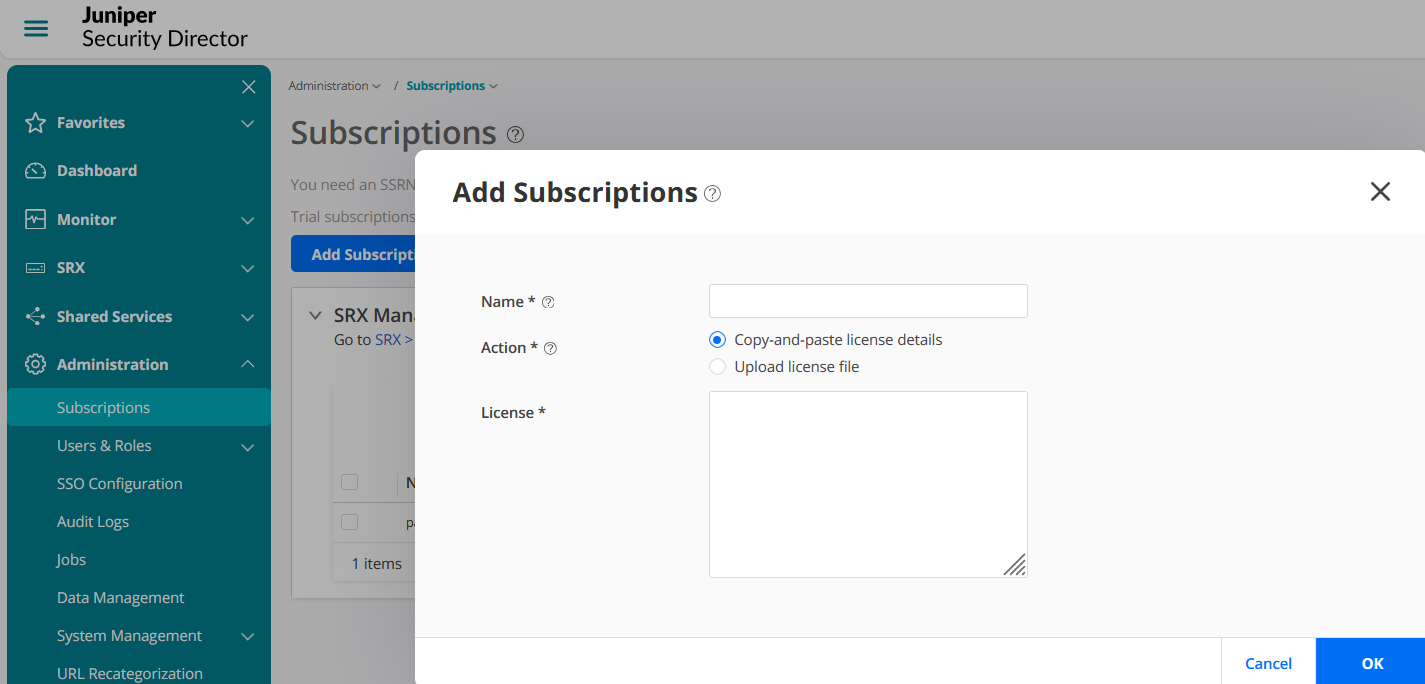
Login to Juniper Security Director, click Add Subscriptions, enter details, and click OK. You can also use a 60-day trial subscription that is available by default.
 Note:
Note:Ensure that your license details or uploaded license file includes the following fields and their values to avoid validation failure:
Issue Date:
Expiry Date:
HW Serial Number:
SSRN:
Feature:
Quantity:
License Type:
License Key:
Any discrepancies, such as mismatched field names, incomplete details, or invalid file extension might prevent you from adding the subscription.
View your added subscriptions from. If you do not see your subscriptions, go to page to view the status.
Select , and click the + icon to add your devices.
Note:To know about supported devices, see Juniper Security Director Supported Firewalls.
Click Adopt SRX Devices and select one of the following:
SRX Devices
SRX Clusters
SRX Multinode High Availability (MNHA) Pairs
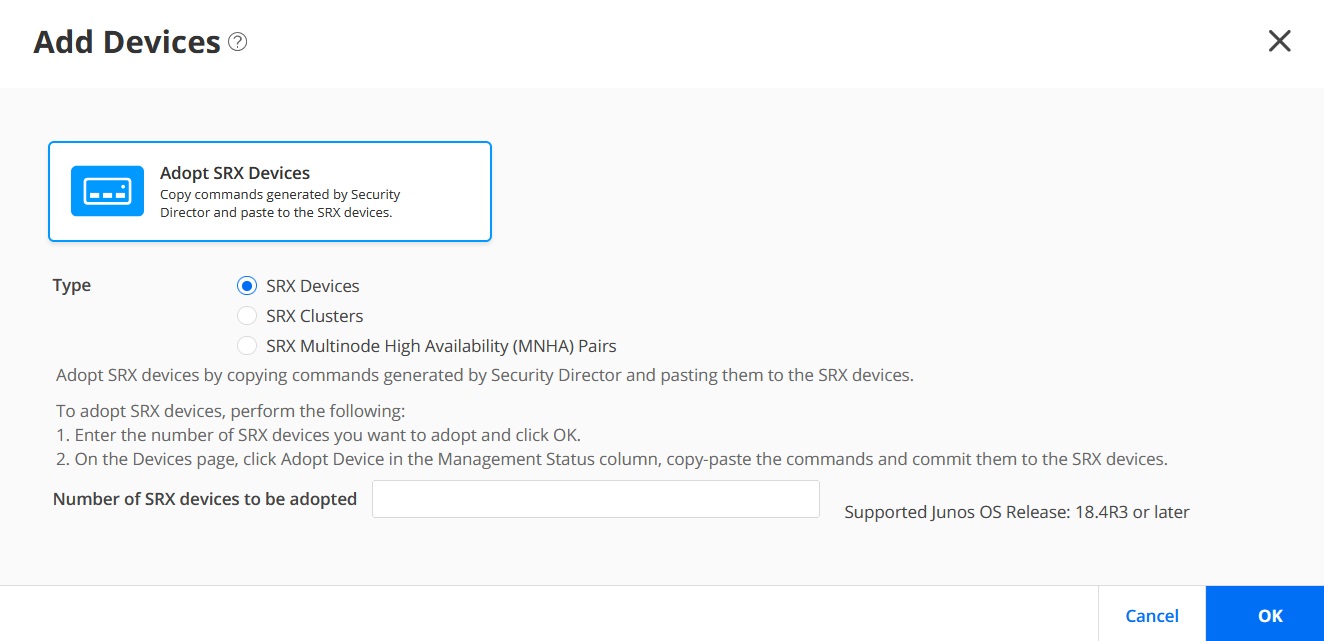 Follow the on-screen instructions to continue. For details, see Add Devices.
Copy and paste commands from the devices page to the SRX Series Firewall or the primary cluster device console, and commit the changes.
It will take few seconds for device discovery. After device discovery is successful, verify the following fields on the Devices page:
Management Status changes from Discovery in progress to Up.
Inventory Status and Device Config Status changes from Out of Sync to In Sync.
Note:In case of discovery failure, go to page to view the status.
Associate Devices with Your Juniper Security Director Subscription
Go to select the device, and click Manage Subscriptions. Follow the on-screen instructions.
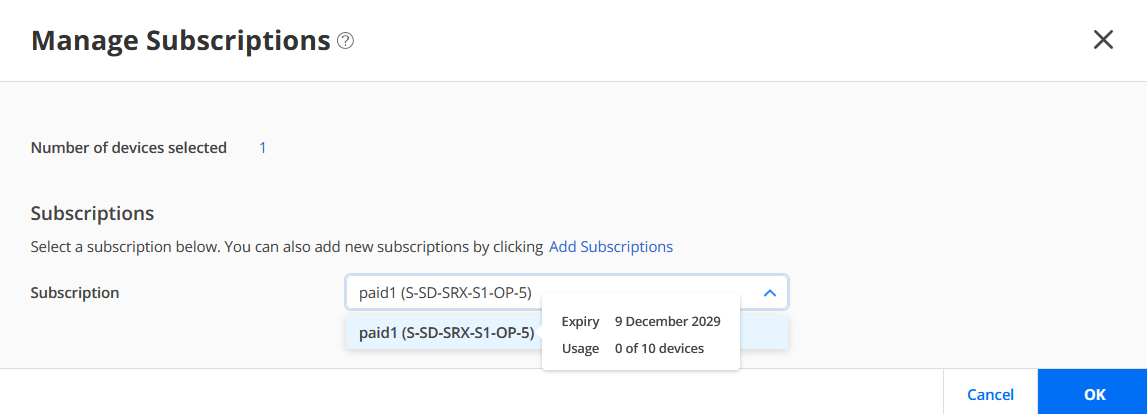
Verify that Subscriptions column displays the subscription name for your device.
Congratulations! You have successfully associated your device to Juniper Security Director.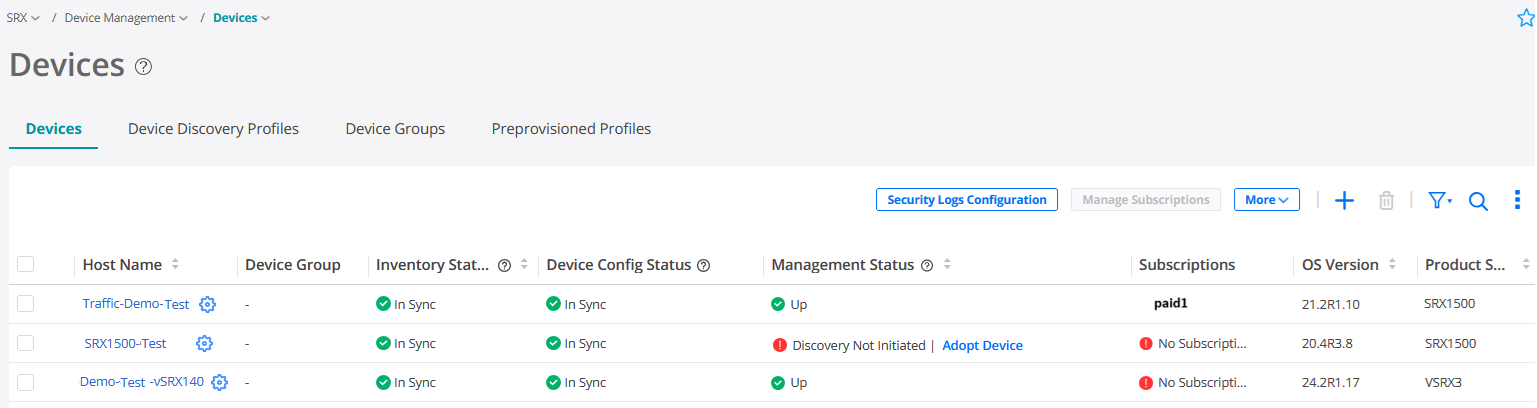
Verify Configuration on Adopted Devices
If you've set up security policy, NAT, IPSec VPN, and logs on the device, these configurations will be imported into Juniper Security Director.
Verify your device configurations in Juniper Security Director.
-
Go to and verify the imported security policies.
-
Go to and verify the imported NAT policies.
-
Go to , click Security Logs Configuration, and verify the security log configurations.