Installing the SRX5600 Mounting Hardware
Installing the SRX5600 Firewall Mounting Hardware for a Rack or Cabinet
The firewall can be installed in a four-post rack or cabinet or an open-frame rack. Install the mounting hardware on the rack before installing the firewall.
An optional air deflector kit is available that lets you install the SRX5600 Firewall in a hot aisle/cold aisle ventilation environment. If you use this air deflector kit, you do not need to install the mounting shelf as described in this section.
Install the mounting shelf, which is included in the shipping container, before installing the firewall. We recommend that you install the mounting shelf because the weight of a fully loaded chassis can be up to 220 lb (100 kg).
Table 1 specifies the holes in which you insert cage nuts and screws to install the mounting hardware required. The hole distances are relative to one of the standard U divisions on the rack. The bottom of all mounting shelves is at 0.02 in. above a U division.
Hole |
Distance Above U Division |
|
|---|---|---|
3 |
1.51 in. (3.8 cm) |
0.86 U |
2 |
0.88 in. (2.2 cm) |
0.50 U |
1 |
0.25 in. (0.6 cm) |
0.14 U |
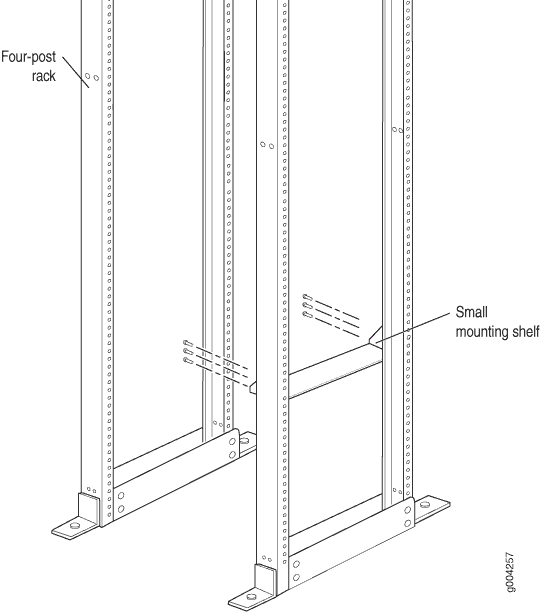
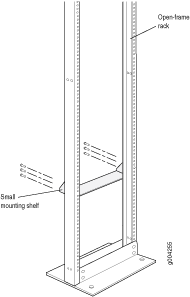
To install the mounting shelf on the front rails of a four-post rack or cabinet, or the rails of an open-frame rack (see Figure 1 or Figure 2):
- If needed, install cage nuts in the holes specified in Table 1.
- On the back of each rack rail, partially insert a mounting screw into the lowest hole specified in Table 1.
- Install the mounting shelf on the back of the rack rails. Rest the bottom slot of each flange on a mounting screw.
- Partially insert the remaining screws into the open holes in each flange of the mounting shelf.
- Tighten all the screws completely.


Moving the Mounting Brackets for Center-Mounting the SRX5600 Firewall
Two removable mounting brackets are attached to the mounting holes closest to the front of the chassis. You can move the pair of brackets to another position on the side of the chassis for center-mounting the firewall.
To move the mounting brackets from the front of the chassis toward the center of the chassis:
