
Perform Initial Software Configuration for SRX400 Firewall
We ship the SRX400 Series Firewalls with preinstalled Junos OS Evolved, which is ready to be configured when you power on the device. You can use the J-Web GUI, Juniper® Security Director on Premise, Juniper® Security Director Cloud, or the CLI to perform the initial configuration.
For information about configuration and deployment procedures, see Configuration Essentials: SRX400 Firewall Series.
Configure the SRX400 Using J-Web
The J-Web interface is a Web-based graphical interface that allows you to operate a firewall without commands.
To access the J-Web interface on a new device that has the factory-default configuration:
-
Open a browser and enter https://192.168.1.1 in the
address bar.
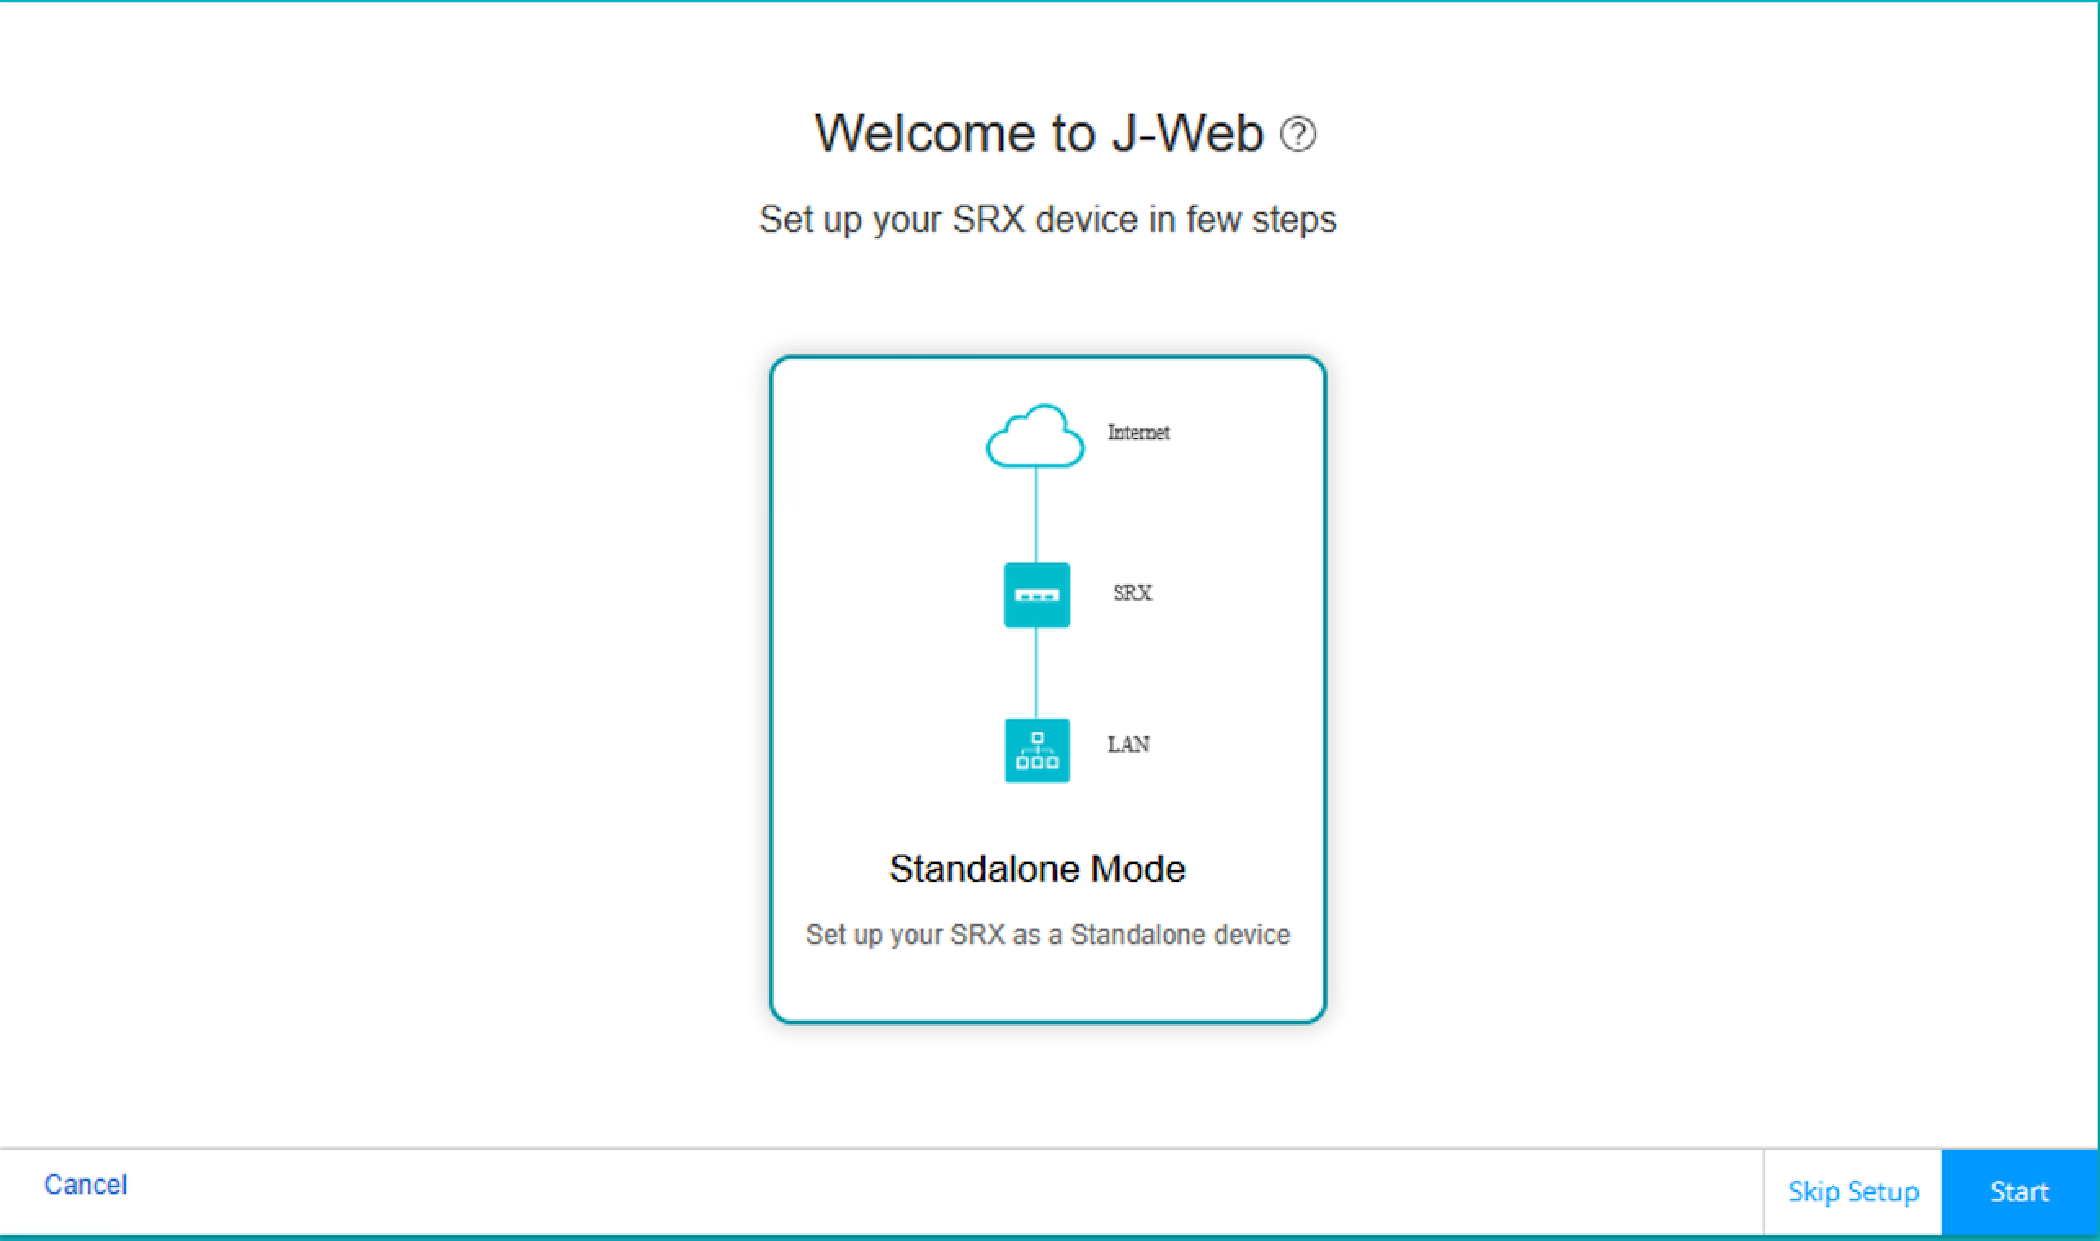
The J-Web Setup page opens.
Configure the SRX400 Firewall Using Juniper® Security Director Cloud
Juniper® Security Director Cloud is a cloud-based software-as-a-solution (SaaS) portal that helps you securely migrate your network to a Secure Access Service Edge (SASE) architecture.
Follow the instructions in the Juniper Security Director Cloud Quick Start guide to configure your device.
Access the CLI on the SRX400
Configure Root Authentication and Management Interface from CLI
You must perform the initial configuration of the device through the console port.
Gather the following information before configuring the device:
-
Root authentication
-
IP address of the management interface
-
Default route
To configure root authentication and the management interface:
Factory-Default Configuration of the SRX400
Your firewall comes configured with a factory-default configuration. The default configuration includes the following security configuration:
-
Two security zones are created: trust and untrust.
-
A security policy is created that permits outbound traffic from the trust zone to the untrust zone.
-
Source Network Address Translation (NAT) is configured on the trust zone.
If the current active configuration fails, you can use the load
factory-default command to revert to the factory-default
configuration.
View the SRX400 Factory-Default Configuration
To view the factory-default configuration of the firewall using the CLI: