Help us improve your experience.

Let us know what you think.

Do you have time for a two-minute survey?


Connecting the QFX5130-32CD to External Devices

Ground the QFX5130-32CD and Connect Power

To ensure proper operation and to meet safety and electromagnetic interference (EMI) requirements, you must connect the QFX5130-32CD to earth ground before you connect it to power.

You must install the QFX5130-32CD in a restricted-access location and ensure that the chassis is always properly grounded. The QFX5130-32CD has a two-hole protective grounding terminal provided on the chassis. See Figure 1. We recommend that you use this protective grounding terminal as the preferred method for grounding the chassis regardless of the power supply configuration. However, if additional grounding methods are available, you can also use those methods. For example, you can use the grounding wire in the AC power cord or use the grounding terminal or lug on a DC power supply. This tested system meets or exceeds all applicable EMC regulatory requirements with the two-hole protective grounding terminal.

CAUTION:

ensure that a licensed electrician has attached an appropriate grounding lug to the grounding cable that you supply. Using a grounding cable with an incorrectly attached lug can damage the device.

Note:

Mount your switch in the rack or cabinet before attaching the grounding lug to the switch. See Moun the QFX5130-32CD in a Rack or Cabinet by Using the QFX5220-32CD-4PRMK Rack Mount Kit.

Ensure that you have the following parts and tools available:

  • Grounding cable for your QFX5130-32CD device—The grounding cable must be 14 AWG (2 mm²), minimum 90° C wire, or as permitted by the local code.

  • Grounding lug for your grounding cable—The grounding lug required is a Panduit LCD10-10A-L or equivalent. The grounding lug attaches to the device chassis through the left-front mounting bracket, providing a protective earthing terminal for the device.

  • Two SAE 10-32 x 0.25 in. screws with number10 split-lock washers—Two screws are used to secure the grounding lug to the protective earthing terminal. These screws and washers are not provided.

  • Number 2 screwdriver.

An AC-powered QFX5130-32CD switch chassis gains additional grounding when you plug the power supply in the switch into a grounded AC power outlet by using an AC power cord appropriate for your geographical location. See AC Power Cord with Type C15 Coupler Specifications.

To connect earth ground to a QFX5130-32CD:

  1. Use the two 10-32 x 0.25 screws with number10 split-lock washers to secure the grounding lug and attached cable to the chassis. Attach the lug through the left mounting bracket to the chassis. See Figure 1.
    Figure 1: Connecting a Grounding Cable to a QFX5130-32CDConnecting a Grounding Cable to a QFX5130-32CD
  2. Connect the remaining end of the grounding cable to a proper earth ground, such as the rack in which the switch is mounted.
  3. Dress the grounding cable and ensure that it does not touch or block access to other device components and that it does not drape where people could trip over it.

Connect a Device to a Network for Out-of-Band Management

Ensure that you have an Ethernet cable that has an RJ-45 connector at either end. Figure 2 shows the RJ-45 connector of the Ethernet cable.

Figure 2: RJ-45 Connector on an Ethernet CableRJ-45 Connector on an Ethernet Cable

You can monitor and manage these devices by using a dedicated management channel. Each device has a management port to which you can connect an Ethernet cable with an RJ-45 connector. Use the management port to connect the device to the management device.

To connect a device to a network for out-of-band management (see Figure 3):

  1. Connect one end of the Ethernet cable to the management port on the device.
  2. Connect the other end of the Ethernet cable to the management device.
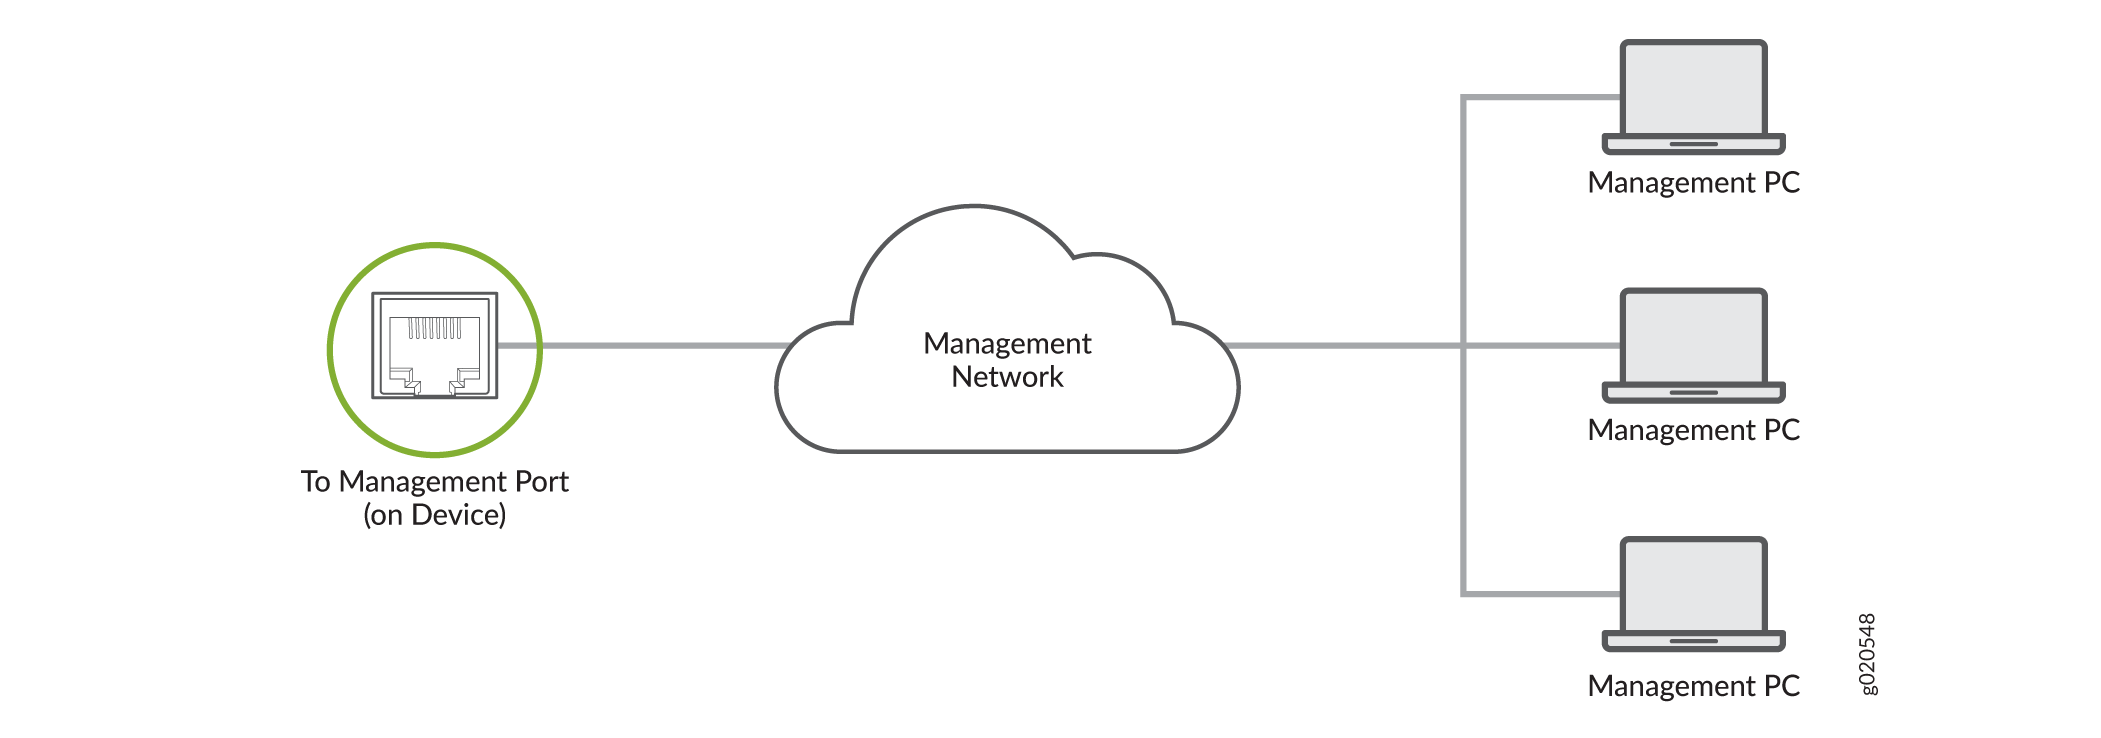
Figure 3: Connect a Device to a Network for Out-of-Band ManagementConnect a Device to a Network for Out-of-Band Management

Connect a Device to a Management Console Using an RJ-45 Connector

Ensure that you have an Ethernet cable that has an RJ-45 connector at either end and an RJ-45-to-DB-9 serial port adapter.

Figure 4 shows the RJ-45 connector on the Ethernet cable.

Figure 4: RJ-45 Connector on an Ethernet Cable RJ-45 Connector on an Ethernet Cable
Note:

If your laptop or desktop PC does not have a DB-9 plug connector pin and you want to connect your laptop or desktop PC directly to the device, use a combination of the RJ-45-to-DB-9 socket adapter and a USB-to-DB-9 plug adapter. You must provide the USB-to-DB-9 plug adapter.

Note:

We no longer include a DB-9 to RJ-45 cable or a DB-9 to RJ-45 adapter with a CAT5E copper cable as part of the device package. If you require a console cable, you can order it separately with the part number JNP-CBL-RJ45-DB9 (DB-9 to RJ-45 adapter with a CAT5E copper cable).

You can configure and manage devices using a dedicated management channel. Each device has a console port that you can connect to using an Ethernet cable with an RJ-45 connector. Use the console port to connect the device to the console server or management console. The console port accepts a cable that has an RJ-45 connector.

To connect the device to a management console (see Figure 5 and Figure 6):

  1. Connect one end of the Ethernet cable to the console port (labeled CON, CONSOLE, or CON1) on the device.
  2. Connect the other end of the Ethernet cable to the console server (see Figure 5) or management console (see Figure 6).
Figure 5: Connect a Device to a Management Console Through a Console ServerConnect a Device to a Management Console Through a Console Server
Figure 6: Connect a Device Directly to a Management ConsoleConnect a Device Directly to a Management Console