Connecting the PTX10003-80C to External Devices
Connecting the PTX10003-80C to a Management Ethernet Device
Ensure that you have an appropriate cable available. See PTX10003 Management Cable Specifications and Pinouts.
You can monitor and manage the PTX10003-80C by using a dedicated management channel. The PTX10003-80C has two management ports—a 10/100/1000BASE-T RJ-45 port for copper connections and a Gigabit Ethernet SFP port for fiber-optic connections. Use the management ports to connect the PTX10003-80C to a network for out-of-band management.
You cannot use the management ports to perform the initial configuration of the PTX10003-80C. You must configure the management ports through the console connection before you can successfully connect to the PTX10003-80C by using these ports. See Performing the Initial Software Configuration for the PTX10003.
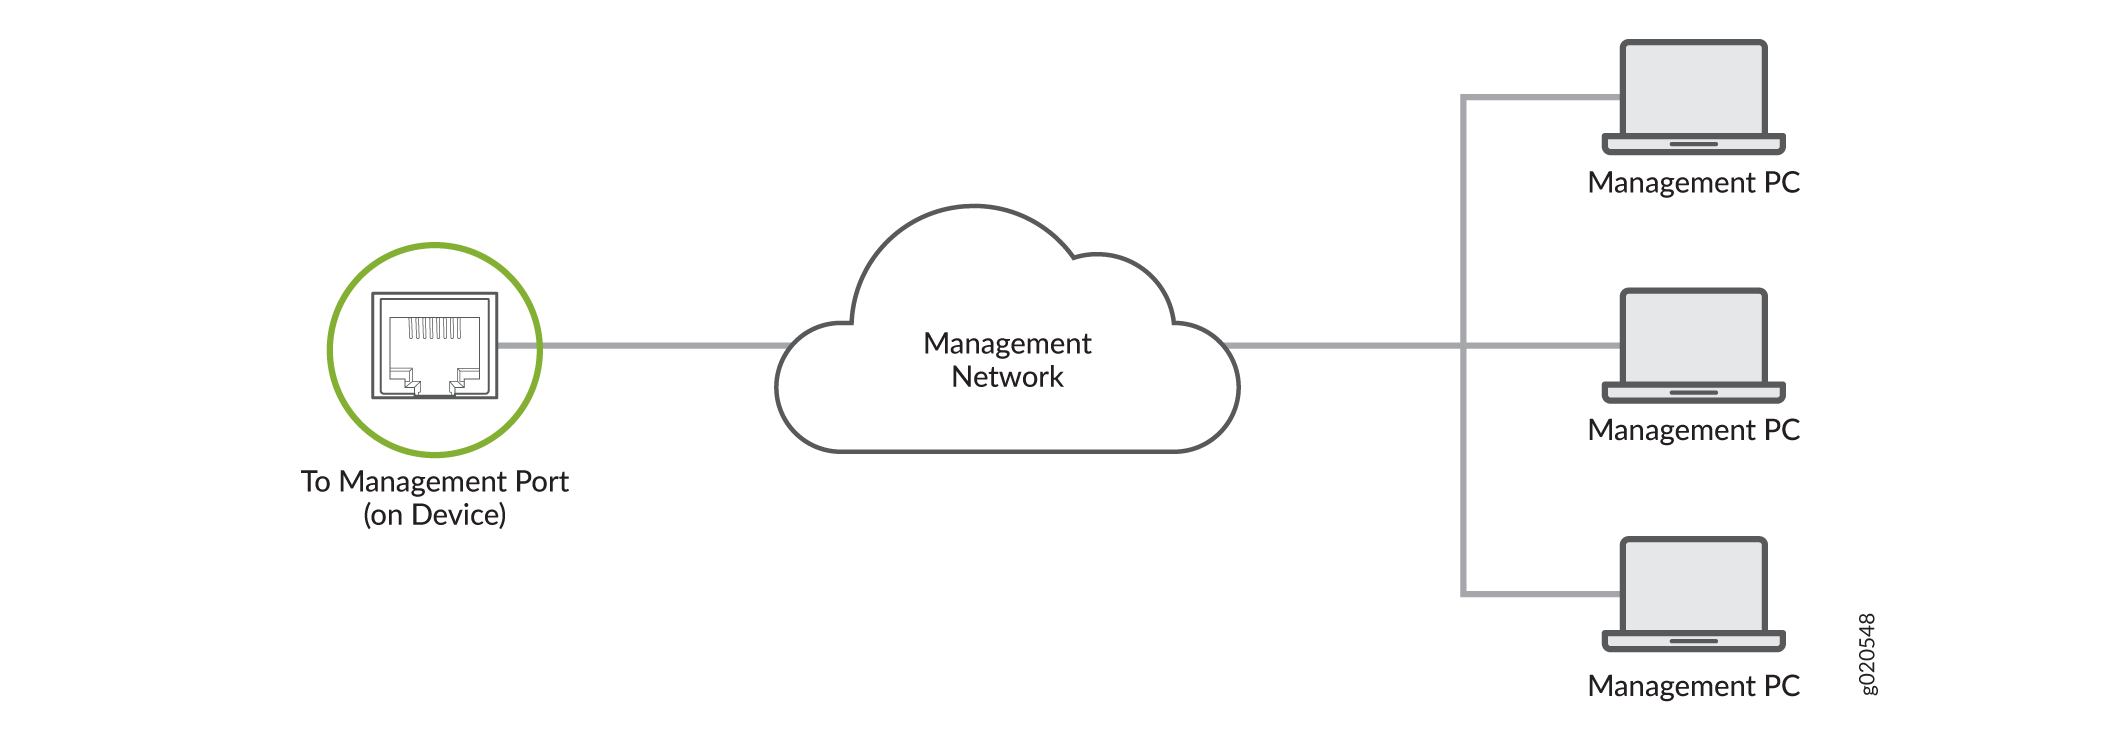
To connect a PTX10003-80C to a network for out-of-band management (see Figure 1):
- Connect one end of the cable to one of the two management ports—labeled MGMT—on the PTX10003-80C.
- Connect the other end of the cable to the management network device.
Connecting the PTX10003-80C to a Management Console
Ensure that you have an RJ-45 to DB-9 rollover cable available.
If your laptop or PC does not have a DB-9 plug connector pin and you want to connect your laptop or PC directly to the PTX10003-80C, use a combination of the RJ-45 cable and RJ-45 to DB-9 adapter (not provided) and a USB to DB-9 plug adapter (not provided).
We no longer include the RJ-45 console cable with the DB-9 adapter as part of the device package. If the console cable and adapter are not included in your device package, or if you need a different type of adapter, you can order the following separately:
-
RJ-45 to DB-9 adapter (JNP-CBL-RJ45-DB9)
-
RJ-45 to USB-A adapter (JNP-CBL-RJ45-USBA)
-
RJ-45 to USB-C adapter (JNP-CBL-RJ45-USBC)
If you want to use RJ-45 to USB-A or RJ-45 to USB-C adapter you must have X64 (64-Bit) Virtual COM port (VCP) driver installed on your PC. See, https://ftdichip.com/drivers/vcp-drivers/ to download the driver.
The PTX10003-80C has a console port with an RJ-45 connector. Use the console port to connect the router directly to a management console, such as a laptop, or to a console server.
To connect the PTX10003-80C to a management console (see Figure 2 or Figure 3):
- Connect one end of the RJ-45 Ethernet cable to the console port (labeled CON) on the PTX10003.
- Connect the other end of the Ethernet cable directly to a management console or console server.