
Remove an QSFP-DD or QSFP28 Transceiver
Use the information in this topic to remove QSFP-DD or QSFP28 optical transceivers and fiber-optic cables. Juniper Networks transceivers are hot-removable and hot-insertable field-replaceable units (FRUs). You can remove and replace them without powering off your device or disrupting device functions. To understand how to install or remove a transceiver and fiber-optic patch cables of your device, read the following sections.
Before you remove a transceiver from a device, take the necessary precautions for safe handling of lasers (see Laser and LED Safety Guidelines and Warnings).
The Juniper Networks Technical Assistance Center (JTAC) provides complete support for Juniper-supplied optical modules. However, JTAC does not provide support for third-party optical modules that are not qualified or supplied by Juniper Networks. If you face a problem running a Juniper device that uses third-party optical modules, JTAC may help you diagnose host-related issues if the observed issue is not, in the opinion of JTAC, related to the use of the third-party optical modules. Your JTAC engineer will likely request that you check the third-party optical module and, if required, replace it with an equivalent Juniper-qualified component.
Use of third-party optical modules with high-power consumption (for example, coherent ZR or ZR+) can potentially cause thermal damage to or reduce the lifespan of the host equipment. Any damage to the host equipment due to the use of third-party optical modules is the users’ responsibility. Juniper Networks will accept no liability for any damage caused due to such use.
Ensure that you have the following parts and tools available:
-
An antistatic bag or an antistatic mat
-
Rubber safety caps to cover the transceiver and fiber-optic patch cable connector
-
A dust cover to cover the port or a replacement transceiver
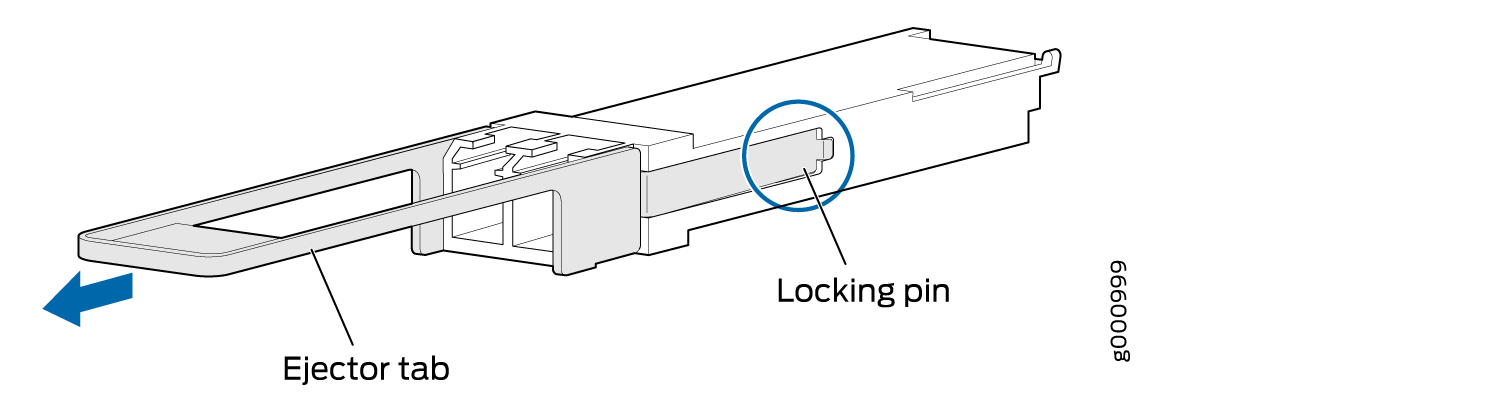
To remove an QSFP-DD or QSFP28 transceiver:
-
Gently slide the transceiver straight out of the port and place the transceiver on the
antistatic mat or in the electrostatic bag.
Figure 1: Remove an QSFP-DD or QSFP28 Transceiver
 CAUTION:
To avoid ESD damage to the transceiver, do not touch the electrical connector pins at the end of the transceiver.
Note:After you remove a transceiver or after you change the media-type configuration, wait for 6 seconds for the interface to display operational commands.