Router Migration
This process is used to migrate an existing conductor-managed router to a new conductor and infrastructure. From the PCLI, the command can be run from the existing conductor to automatically migrate the router to the new conductor, or it can be run from the router itself. Before perfoming the procedure below, the new conductor must be installed and configured, and both the old and the new conductors must be reachable. For steps to install a conductor, see Single Conductor Interactive Installation.
PCLI
The migrate command automates the process of migrating a router to a new conductor.
- Export the router configuration from the old conductor, and import and commit the router configuration to the new conductor.
A.) From the router PCLI (this will include only configuration for the specific router), run show config running flat > /tmp/router_config.txt. The router configuration is exported to the temp directory as a text file.
B.) Open the router_config.txt file and remove the conductor-address from the configuration. This prevents the import operation from overwriting the new conductor address with the old one. Adjust any routing configuration necessary for the router to reach the new conductor.
C.) From the PCLI of the new conductor, import /tmp/router_config.txt.
< /tmp/router_config.txt
D.) Perform migration using the migrate command as shown in step 2 below.
- Run the
migratecommand from the old conductor:
migrate conductor <new-address> router <router>
The migrate conductor command uses WAN IP(s) to migrate a router from one conductor to another. Because of this, the command cannot be used when both the old and new conductor are behind the same head-end router and use dest-nat or SVR to reach the Conductor. In this case, the WAN IP will be the same for both conductors and the migration will not work.
In some situations, such as debugging or for monitoring purposes, the migrate command can be run from the router: migrate conductor <new_address>. However, it is recommended to execute the command from the conductor.
GUI
When using the GUI, a Migrate button is visible for Routers that are possible to migrate.
- From the Authority menu, select Routers.
- On the Routers page, choose the router to migrate.
- At the top of the Router page, select the More list (three vertical dots) to display the Migrate button.
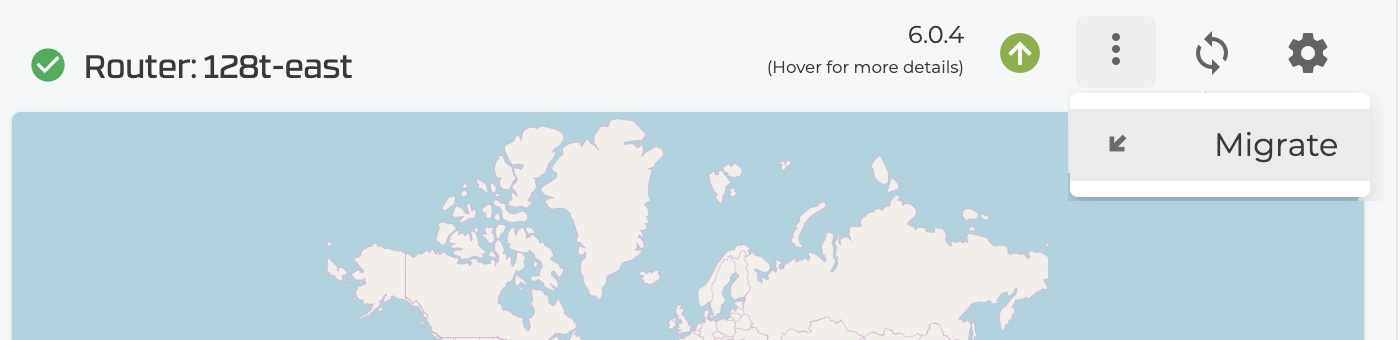
- Click the button to display the Migrate Router dialog.
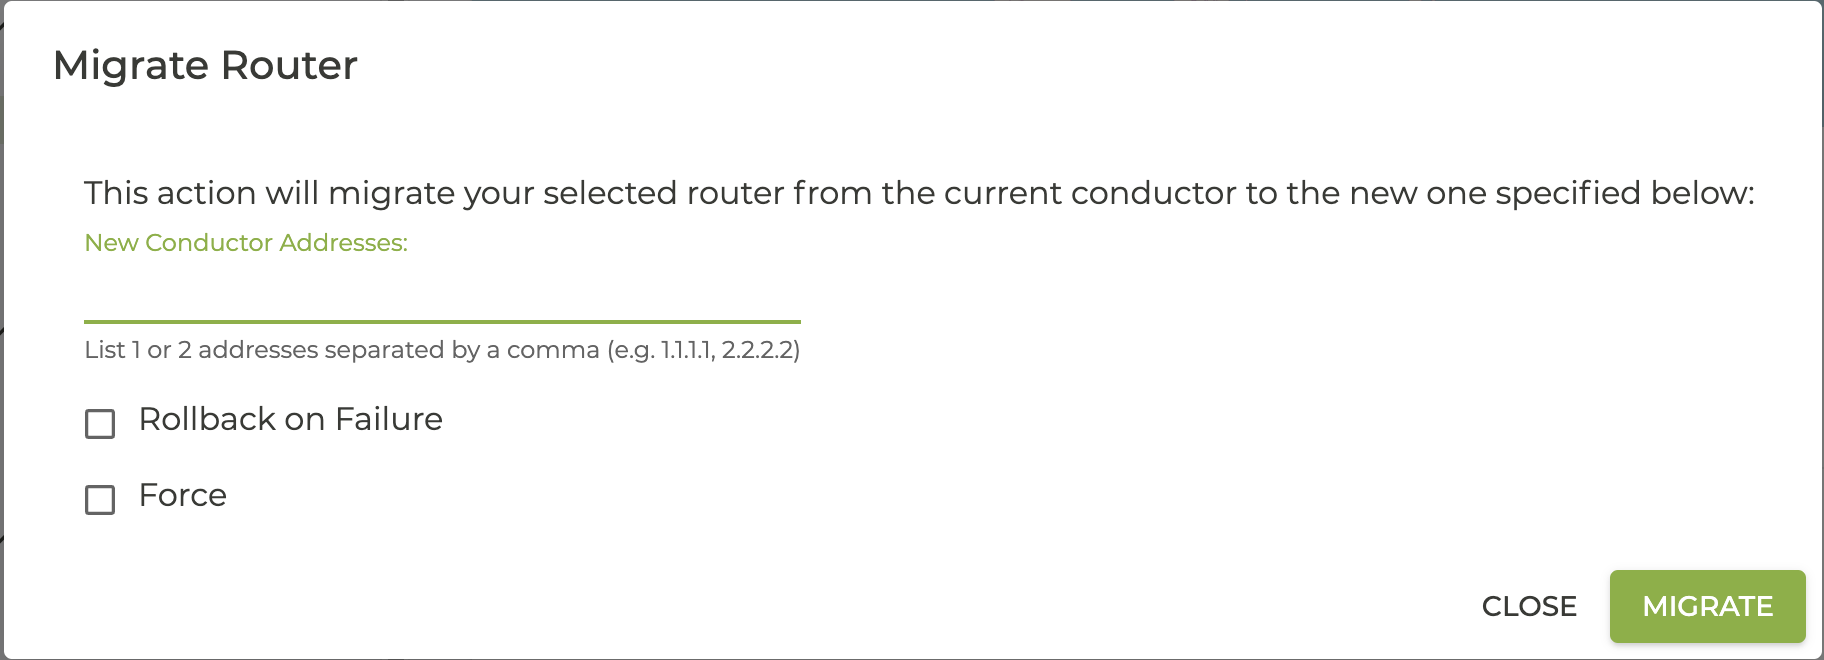
- Enter the new Conductor address(es). You can also choose to rollback to the existing configuration if there is a failure (recommended), or to force the configuration change regardless of errors.
- Click Migrate.
Verify Migration
After the migration command is run, you will see a Connected state on the conductor showing the migration was successful. The router(s) will transition to running after a few minutes. If a router does not migrate successfully, an error message will be displayed and no action will be taken.
- Verify that the TCP ports 930, 4505 and 4506 on the conductor are enabled. The routers use these ports to communicate with the conductor.
- If there is a firewall in front of the conductor, these same TCP ports must be enabled.
Additional Considerations with Strict Host Key Checking
If a router is configured for strict inter-router host-key-checking (set to yes), but does not have accept-new configured, it will be necessary to manually provision the new conductor key prior to migrating the router to the conductor. This will require the administrator to retrieve the host key of each node of the new conductor and configure this in the router.
On the conductor, identify the key for each node using the command show system connectivity host-keys node all.
From the router PCLI, provision each conductor key using the following command:
create system connectivity known-hosts node <node> <conductor address> ssh-rsa <key> <comment>
<node>is the router node. The key should be added on each router node in an HA pair.<conductor address>is the conductor address. This should be added for each conductor address of an HA conductor pair.<key>is theKeyretrieved from the previous step.<comment>is an option that can be used to identify the key; for exampleConductor1.
The following example manually configures the key to the conductor node 192.168.1.13:
create system connectivity known-hosts router RTR_EAST_COMBO node combo-east-1 [192.168.1.13]:930 ssh-rsa <public key contents>
For additional information, see create system connectivity known-hosts.
See Enable Strict Host Key Checking for configuration information.