Install vSRX Virtual Firewall with KVM
You use virt-manager or virt-install to install vSRX Virtual
Firewall VMs. See your host OS documentation for complete details on these
packages.
To upgrade an existing vSRX Virtual Firewall instance, see Migration, Upgrade, and Downgrade in the vSRX Virtual Firewall Release Notes.
Install vSRX Virtual Firewall with virt-manager
Ensure that sure you have already installed KVM, qemu, virt-manager, and libvirt on your host OS. You must also configure the required virtual networks and storage pool in the host OS for the vSRX Virtual Firewall VM. See your host OS documentation for details.
You can install and launch vSRX Virtual Firewall with the KVM
virt-manager GUI package.
To install vSRX Virtual Firewall with virt-manager:
- On your host OS, type virt-manager. The Virtual Machine Manager appears. See Figure 1.Note:
You must have admin rights on the host OS to use
virt-manager.Figure 1: virt-manager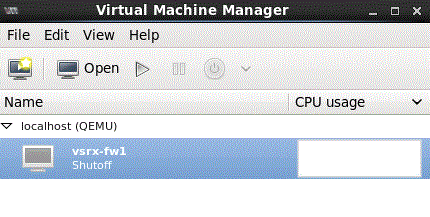
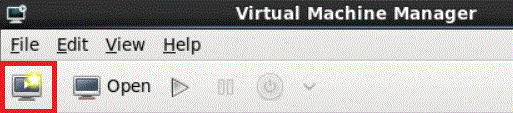
- Click Create a new virtual machine as seen
in Figure 2. The New VM wizard appears .Figure 2: Create a New Virtual Machine
The default vSRX Virtual Firewall VM login ID is root with no password. By default, if a DHCP server is on the network, it assigns an IP address to the vSRX Virtual Firewall VM.
Install vSRX Virtual Firewall with virt-install
Ensure that sure you have already installed KVM, qemu, virt-install, and libvirt on your host OS. You must also configure the required virtual networks and storage pool in the host OS for the vSRX Virtual Firewall VM. See your host OS documentation for details.
You must have root access on the host OS to use the virt-install command.
The virt-install and virsh tools are CLI alternatives to
installing and managing vSRX Virtual Firewall VMs on a Linux host.
To install vSRX Virtual Firewall with virt-install:
The following example shows the relevant portion of the vSRX Virtual Firewall XML file on a CentOS host:
<cpu mode='custom' match='exact'>
    <model fallback='allow'>host-passthrough</model>
    <vendor>Intel</vendor>
    <feature policy='require' name='pbe'/>
    <feature policy='require' name='tm2'/>
    <feature policy='require' name='est'/>
    <feature policy='require' name='vmx'/>
    <feature policy='require' name='osxsave'/>
    <feature policy='require' name='smx'/>
    <feature policy='require' name='ss'/>
    <feature policy='require' name='ds'/>
    <feature policy='require' name='vme'/>
    <feature policy='require' name='dtes64'/>
    <feature policy='require' name='monitor'/>
    <feature policy='require' name='ht'/>
    <feature policy='require' name='dca'/>
    <feature policy='require' name='pcid'/>
    <feature policy='require' name='tm'/>
    <feature policy='require' name='pdcm'/>
    <feature policy='require' name='pdpe1gb'/>
    <feature policy='require' name='ds_cpl'/>
    <feature policy='require' name='xtpr'/>
    <feature policy='require' name='acpi'/>
    <feature policy='disable' name='invtsc'/>
   </cpu>
The default vSRX Virtual Firewall VM login ID is root with no password. By default, if a DHCP server is on the network, it assigns an IP address to the vSRX Virtual Firewall VM.