Upload the vSRX Virtual Firewall Image
Contrail integrates with OpenStack for public, private, or hybrid cloud orchestration. You can install the vSRX Virtual Firewall image and use this installed image to provide security services in a service chain with Contrail.
Before installing vSRX Virtual Firewall, ensure that you have installed either Contrail and, optionally, OpenStack Glance.
You can upload the vSRX Virtual Firewall image with either Horizon, the OpenStack GUI dashboard, or Glance, the OpenStack CLI-based image services project.
To upgrade an existing vSRX Virtual Firewall instance, see Migration, Upgrade, and Downgrade in the vSRX Virtual Firewall Release Notes.
Upload the vSRX Virtual Firewall Image with OpenStack Horizon
To upload a vSRX Virtual Firewall image with Horizon:
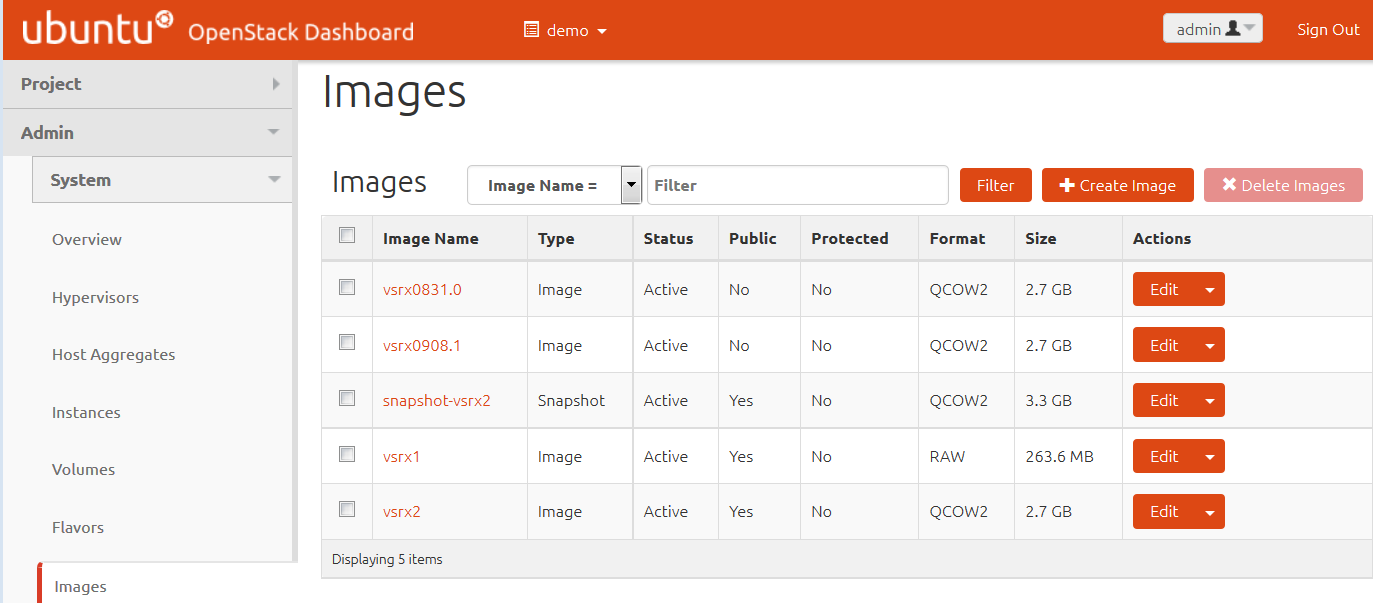
- From the Horizon GUI, select your project, and select Compute>Images. The list of existing images appears, as shown
in Figure 1.Figure 1: OpenStack Images
- Click Create Image. The Create Image dialog
box appears, as shown in Figure 2.Figure 2: Create an Image
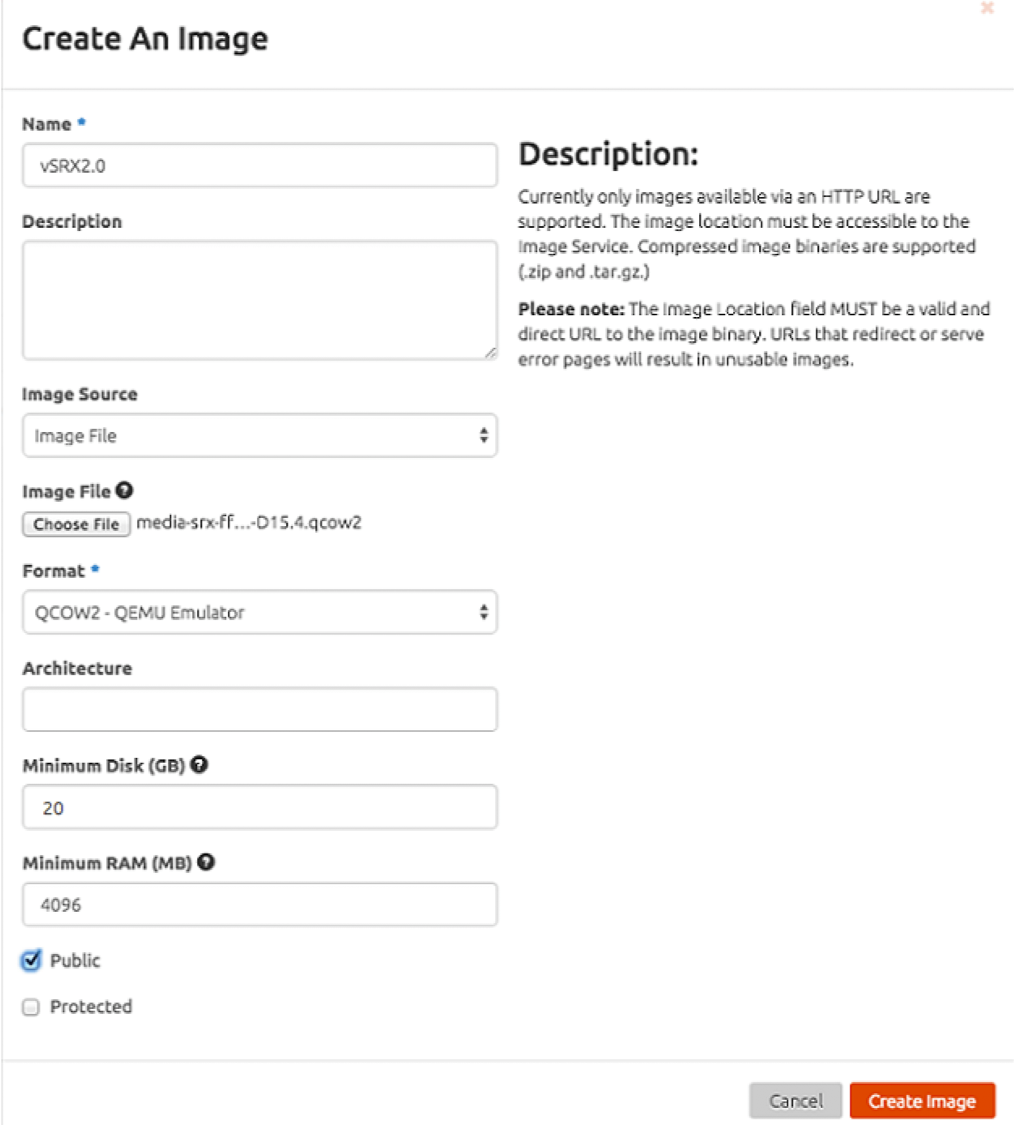
The default vSRX Virtual Firewall VM login ID is root with no password. By default, vSRX Virtual Firewall is assigned a DHCP-based IP address if a DHCP server is available on the network.
Upload the vSRX Virtual Firewall Image with the OpenStack Glance CLI
To upload a vSRX Virtual Firewall image with the Glance CLI:
The default vSRX Virtual Firewall VM login ID is root with no password. By default, vSRX Virtual Firewall is assigned a DHCP-based IP address if a DHCP server is available on the network.