Help us improve your experience.

Let us know what you think.

Do you have time for a two-minute survey?


Create a Virtual Network

The Azure Virtual Network service enables you to securely connect Azure resources to each other with virtual networks. A virtual network is a representation of your own network in the cloud. It is a logical isolation of the Azure cloud dedicated to your subscription. You can also connect virtual networks to your on-premises network.

If you do not have an existing Azure virtual network, follow the steps outlined in this procedure.

To create an Azure virtual network:

  1. Log in to the Microsoft Azure portal using your Microsoft account user name and password. 
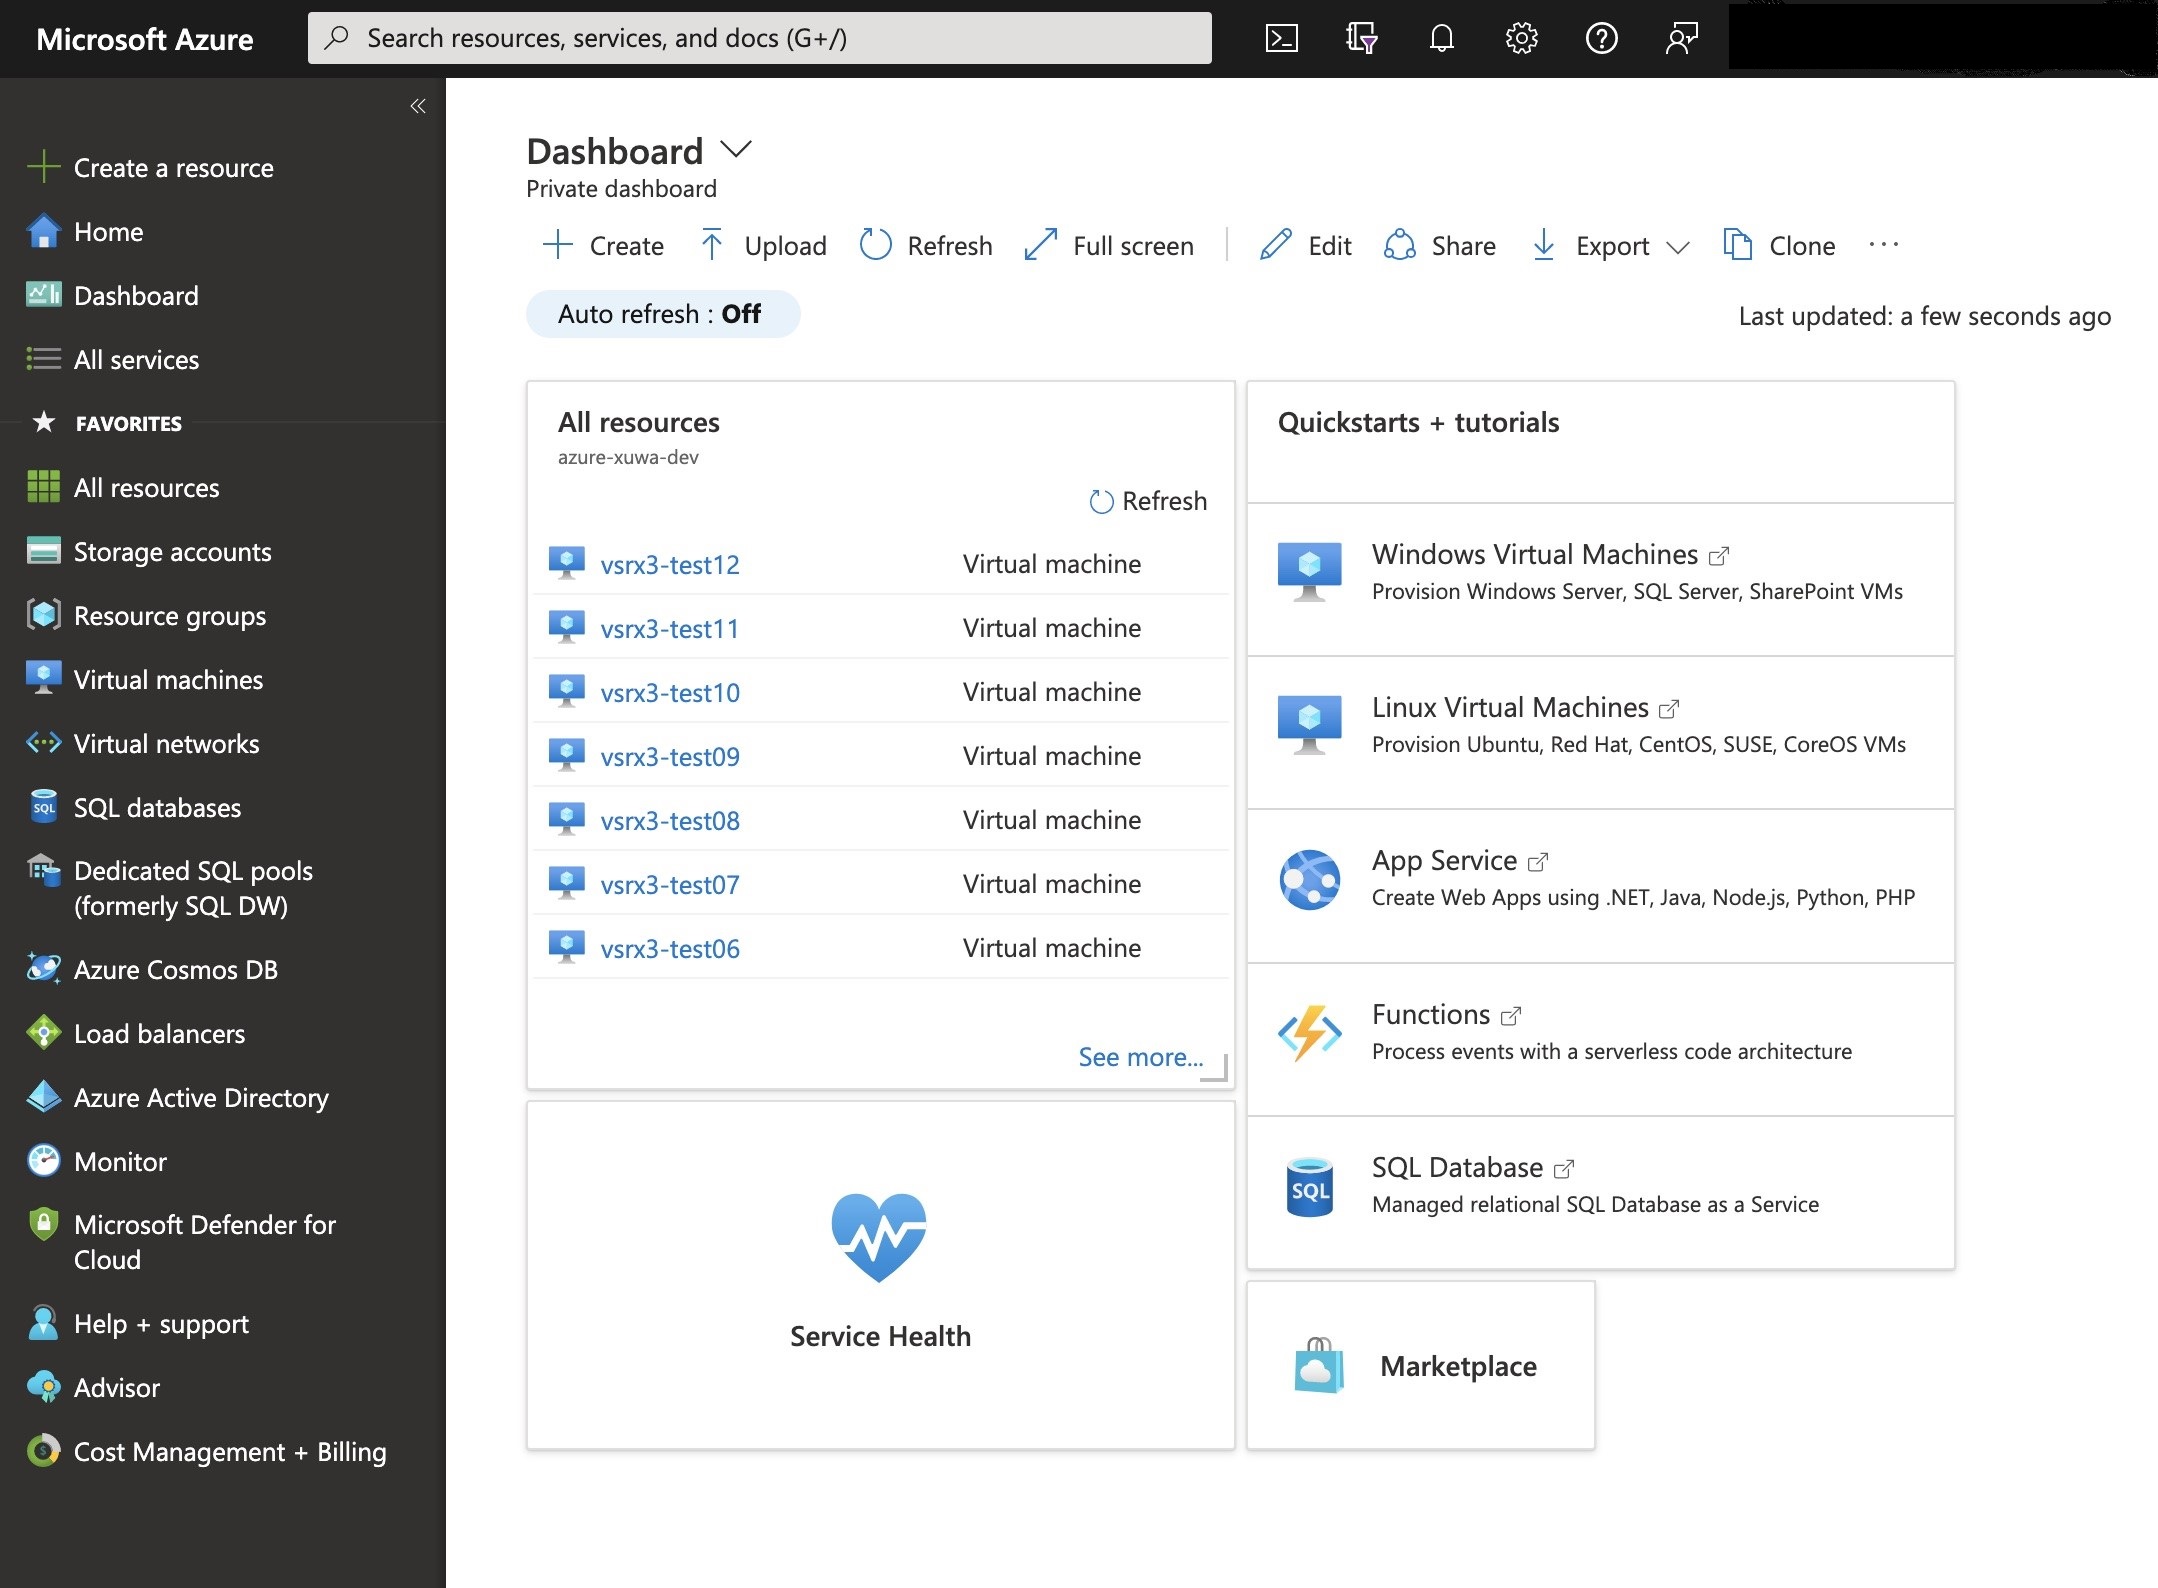
The Dashboard appears in the Azure portal (see Figure 1). You will see a unified dashboard for all your assets in Azure. Verify that the dashboard includes all subscriptions to which you currently have access, and 
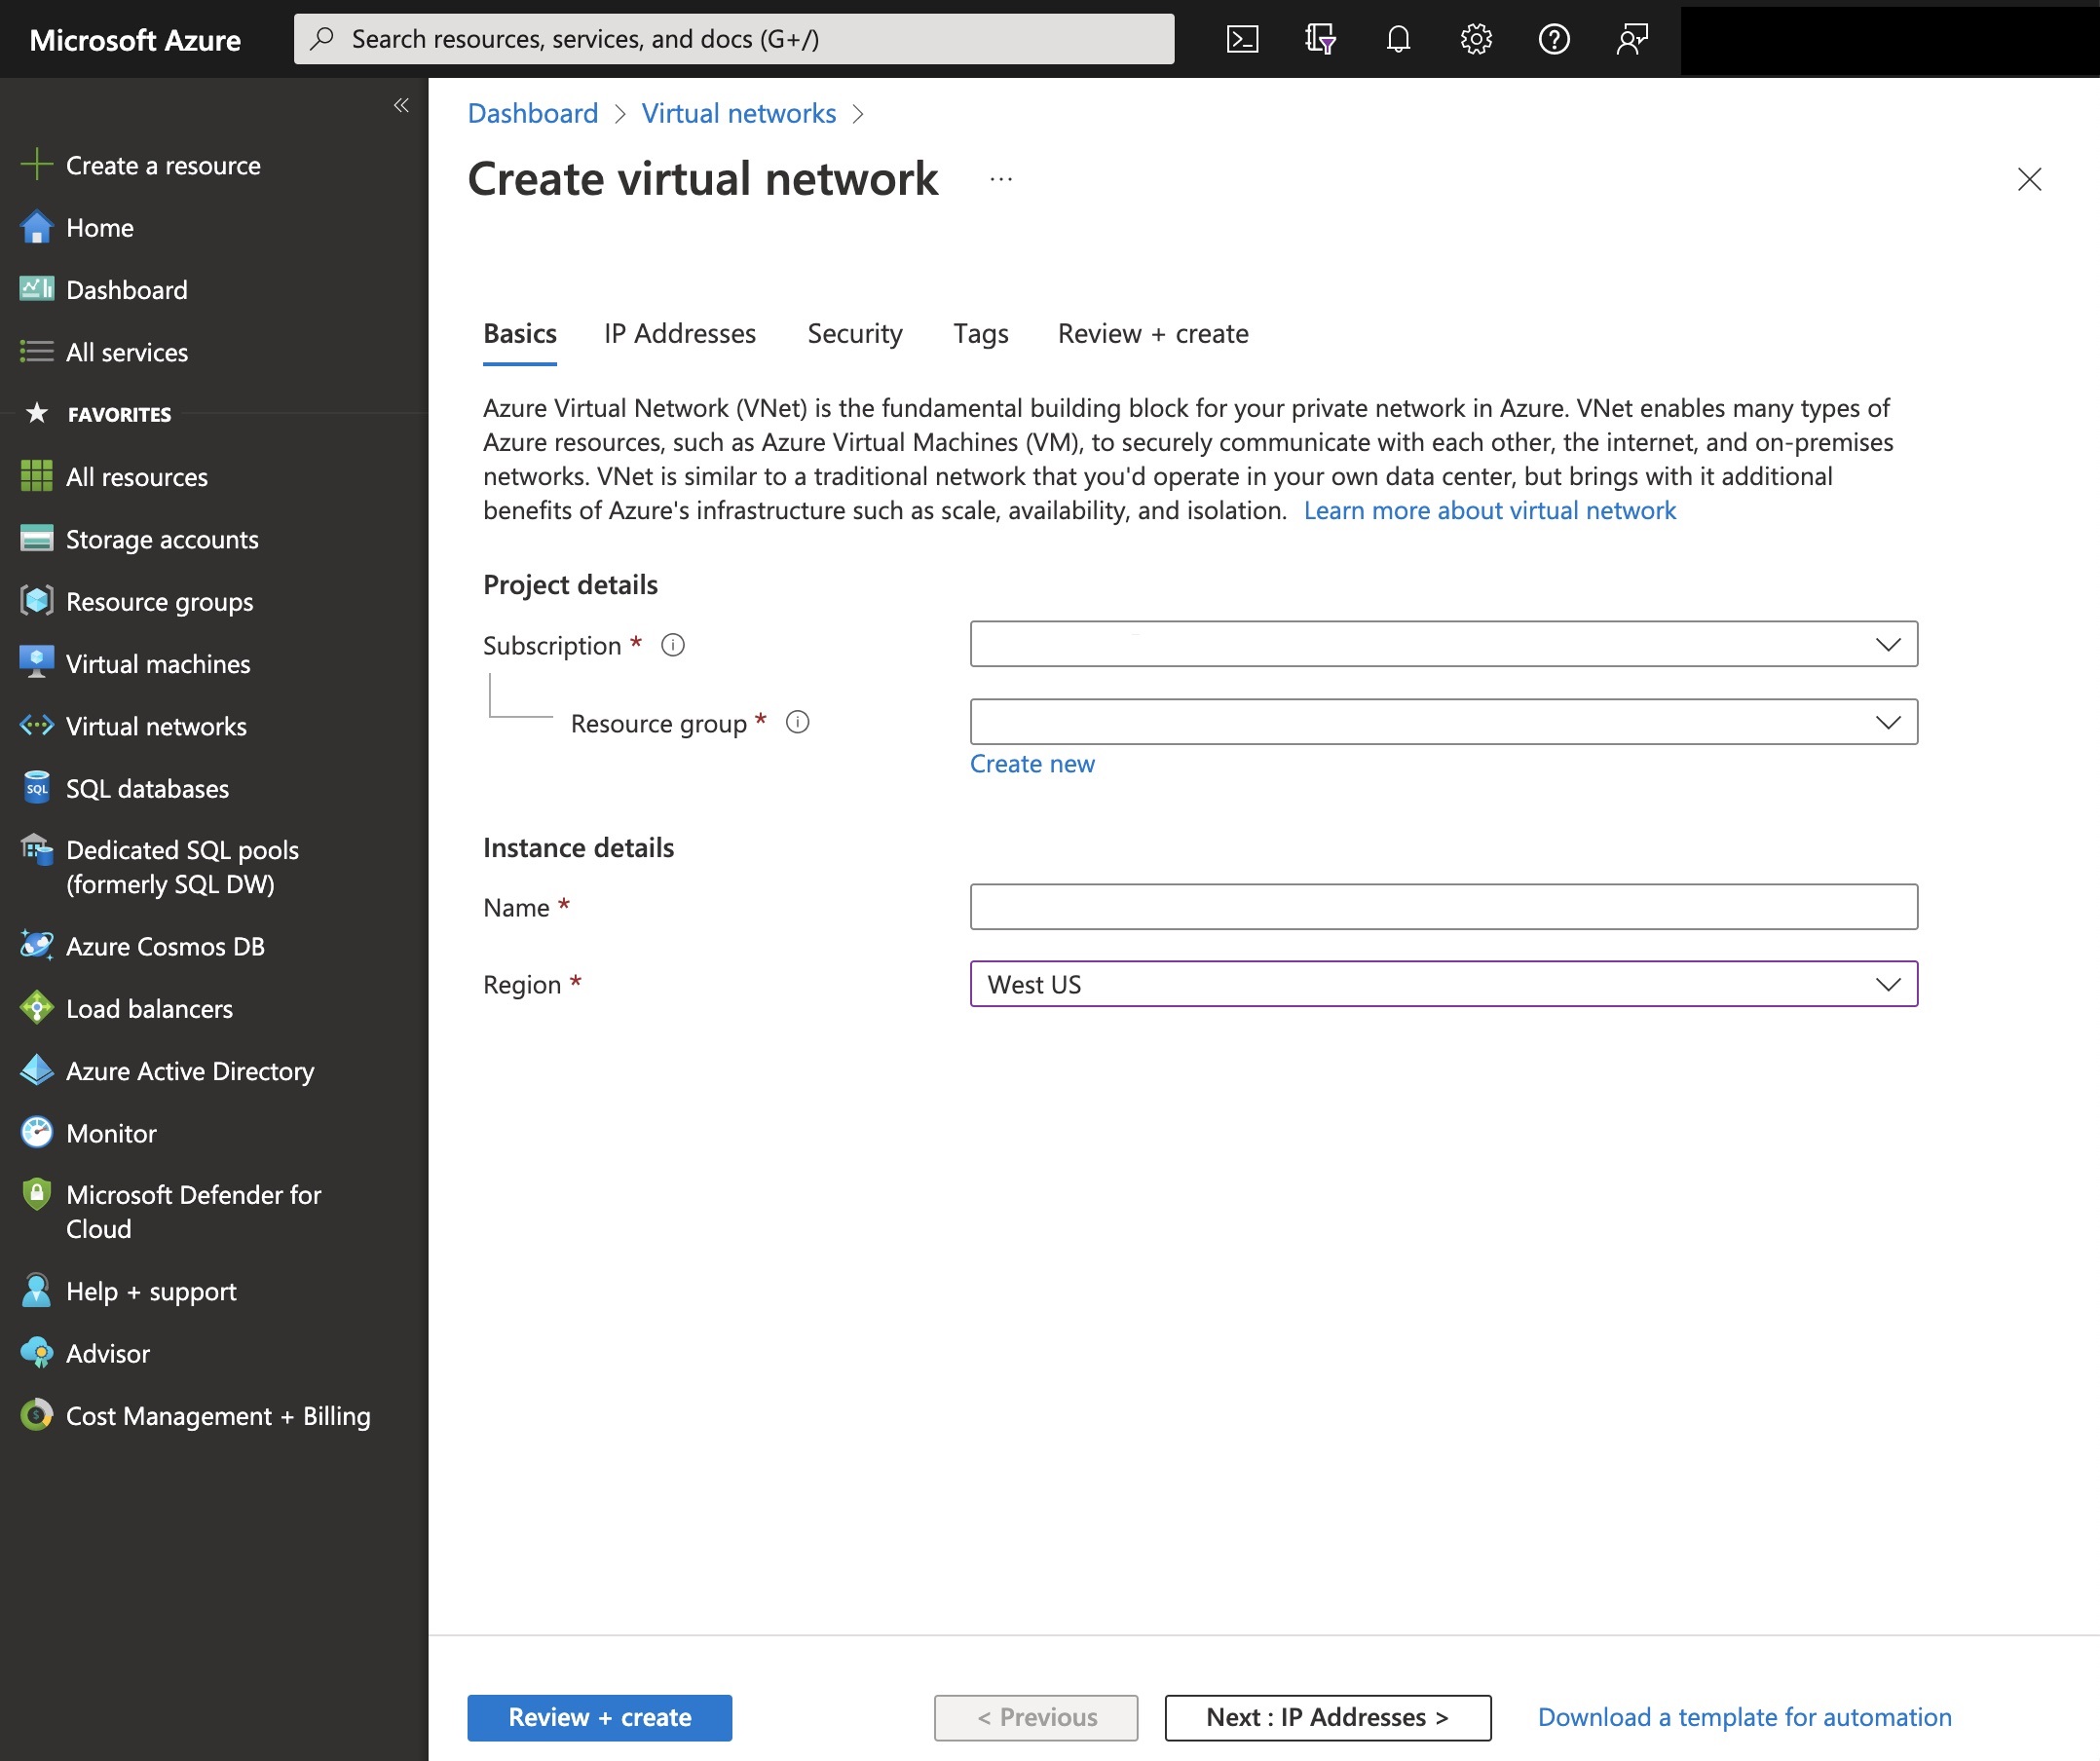
all resource groups and associated resources.
    Figure 1: Microsoft Azure Portal Dashboard Microsoft Azure Portal Dashboard
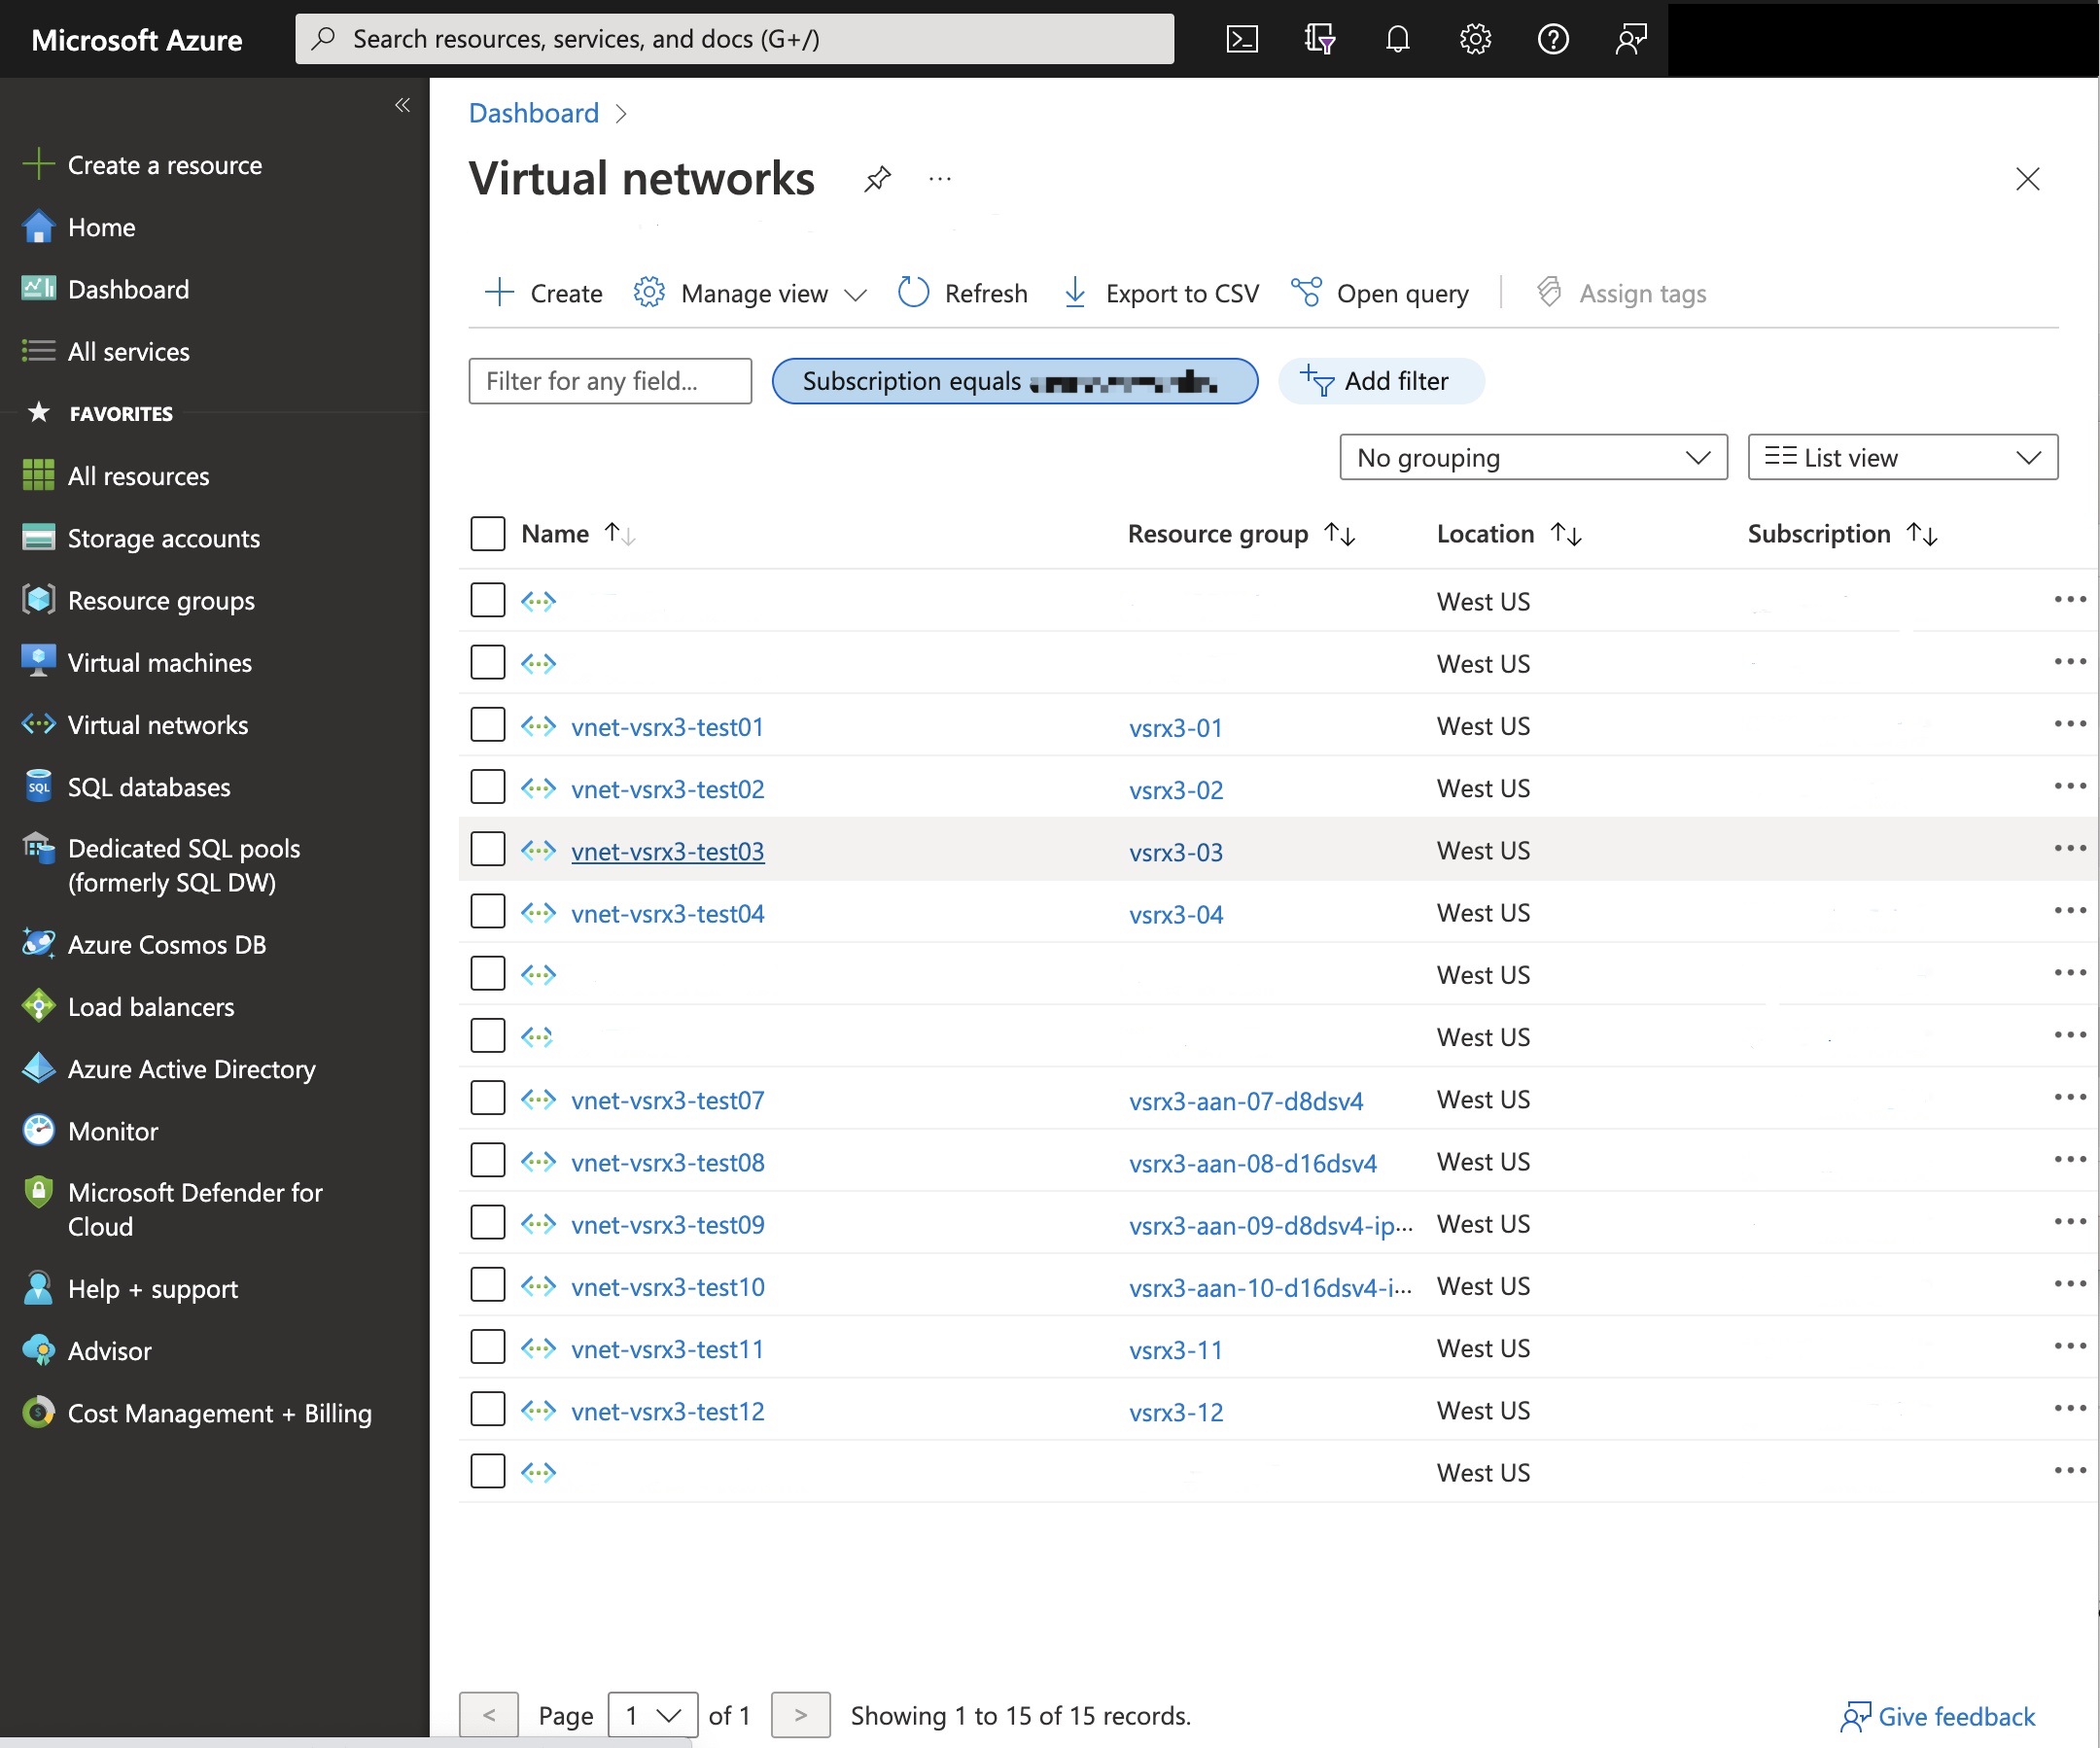
  2. Click Virtual Networks from the menu of services to access the Virtual Networks blade (see Figure 2).
    Figure 2: Azure Portal Virtual Networks Azure Portal Virtual Networks
  3. Click Add (+) to create a new virtual network. The Create Virtual Network blade appears (see Figure 3).
    Figure 3: Creating a Virtual Network Creating a Virtual Network
  4. Provide the following information for the new virtual network.

    Parameter

    Description

    Name

    Enter a unique name for your new virtual network. The virtual network name must begin with a letter or number, end with a letter, number, or underscore, and the name may contain only letters, numbers, underscore, periods, or hyphens.

    Address Space

    Enter the virtual network’s address range in CIDR notation. By default, the address range is 10.0.0.0/24.

    Note:

    Ensure that the address space does not overlap with an existing network.

    Subnet name

    Enter a unique name for the subnet of the Azure virtual network. The subnet name must begin with a letter or number, end with a letter, number, or underscore, and the name may contain only letters, numbers, underscore, periods, or hyphens.

    Subnet Address Range

    Enter a network subnet address range in CIDR notation. It must be contained by the address space of the virtual network, as defined in the Address Space field. Subnet address ranges cannot overlap one another. By default, the address range is 10.0.0.0/24.

    The subnet is a range of IP addresses in your virtual network to isolate VMs. Public subnets have access to the Internet gateway, but private subnets do not.

    Note:

    The address range of a subnet that is already in use cannot be edited.

    Subscription

    Select your Microsoft Azure subscription.

    Resource Group

    Select an existing resource group or create a new one (see Create a Resource Group).

    Location

    Select the Azure data center geographic region in which you are deploying the vSRX Virtual Firewall VM. Typically, select the location that is closest to your physical location.

  5. Click Create. The virtual network might take a few seconds to create. Once it is created, you will see the virtual network on the Azure portal dashboard.