
Get Started with Juniper Secure Edge
Add Secure Edge Subscription
Decide the Juniper Secure Edge Subscriptions you need and reach out to your sales representative or account manager to purchase the selected subscriptions.
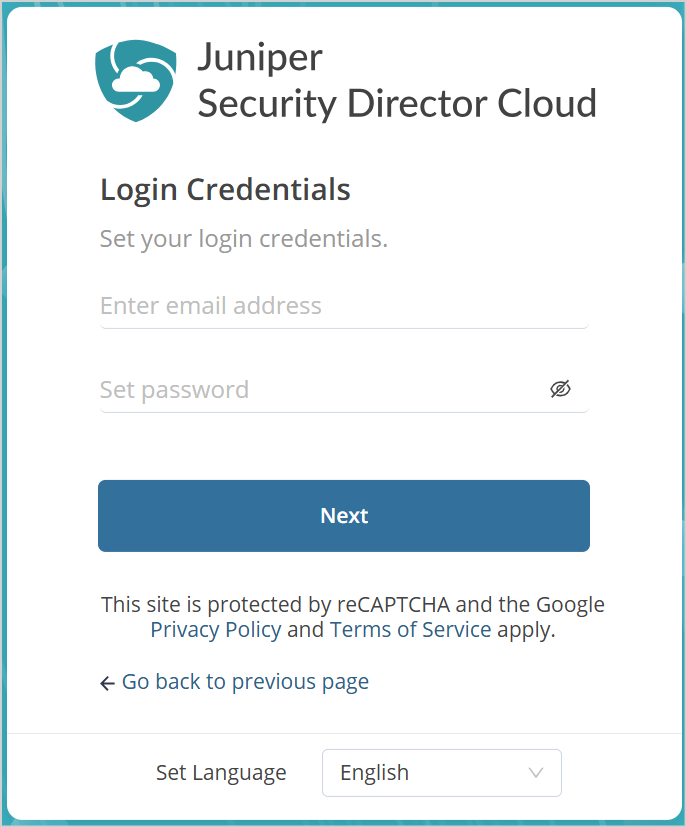
- Go to https://sdcloud.juniperclouds.net/ and click Create an organization
account.
Follow the on-screen instructions to activate your account. You’ll receive an e-mail about the status of your organization account activation within 7 working days. If you already have an organization account with Juniper Security Director Cloud, skip to Step 2.
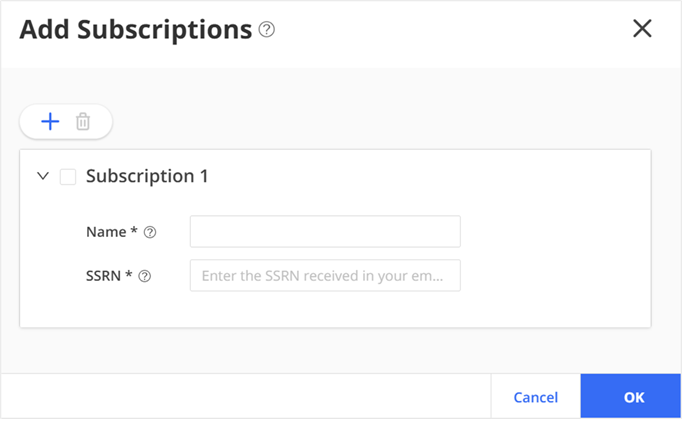
- Log in to Juniper Security Director Cloud, click Add
Subscriptions, enter details, and click OK.
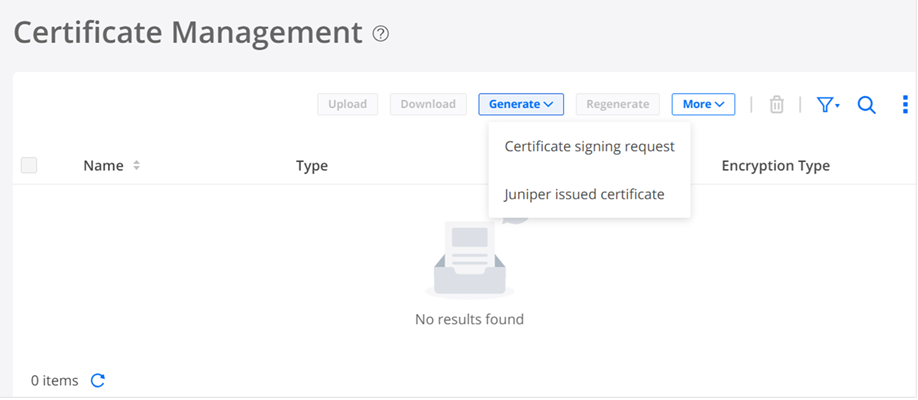
- Go to , and click Generate.
-
If your company maintains a Private Key Infrastructure (PKI) and Certificate Authority (CA), select Certificate Signing Request (CSR). Enter the details, click OK, and download the CSR file. Get your CA's signature on the certificate and upload the signed certificate.
-
If your company does not have a CA, select Juniper Issued Certificate, enter the details, and click OK. Download and distribute the certificate among your managed devices.
You must install the certificate in your browser's trusted root store. Only one certificate is supported at a time.
-
Set Up Service Location
-
Go to and click the plus (+) sign.
Provide the service location details, link the Secure Edge subscriptions, and click OK.
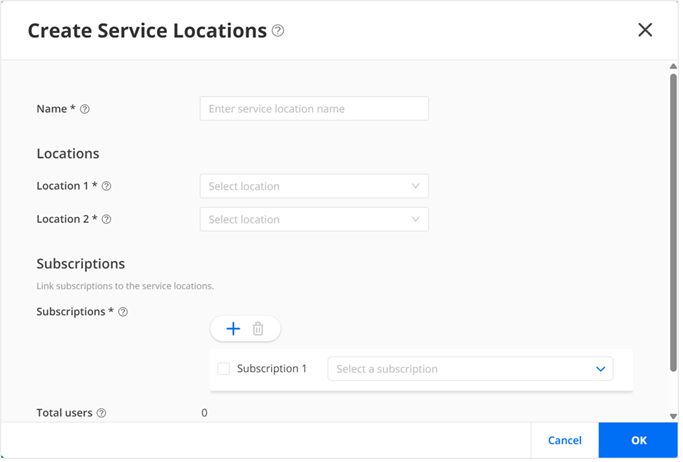
You must set up at least two service locations.
Configure User Profiles
Now that you've set up your service location, you're now ready to configure Juniper Secure Edge policies for on-premises and roaming users.
For On-Premises Users
-
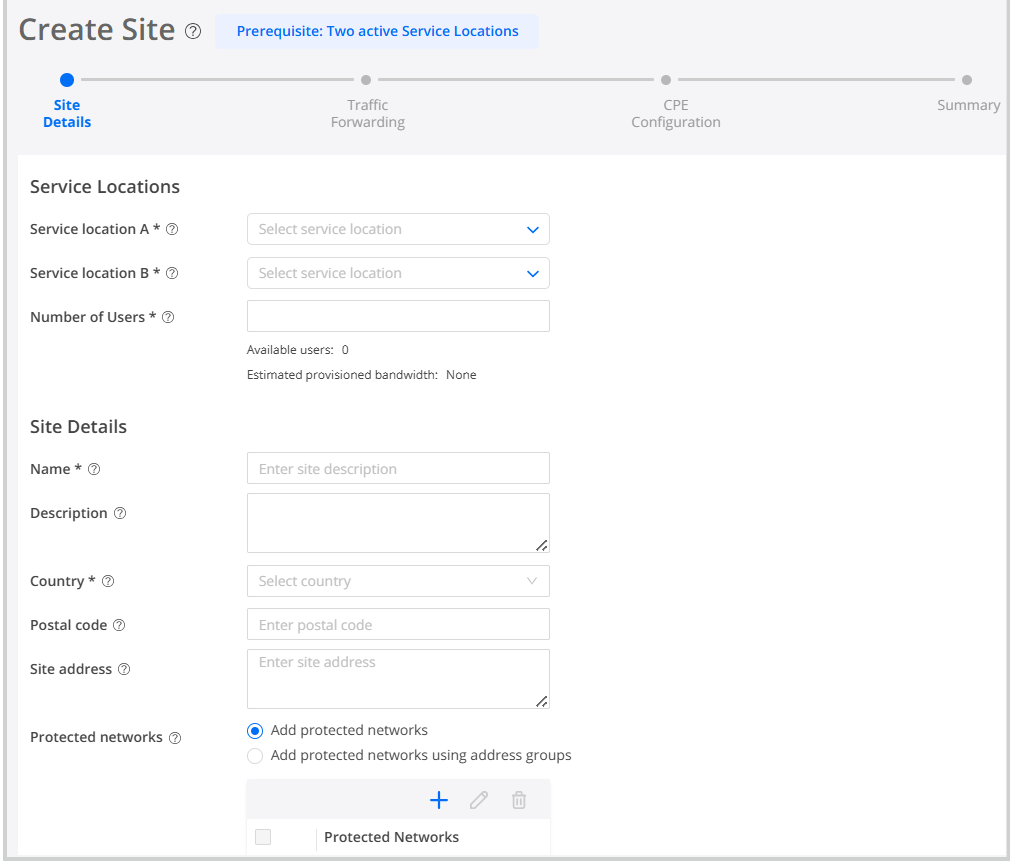
Select and click the plus (+) sign. Select the service locations, enter the site details, traffic forwarding information (customer premises equipment (CPE) and interfaces), configure CPE routing configuration (optional), and click Finish.
-
Expand the site details, go to . The configuration is auto-generated for SRX Series firewall. Click Copy to Clipboard. Paste the configuration in the CLI of your CPE device and commit the changes.
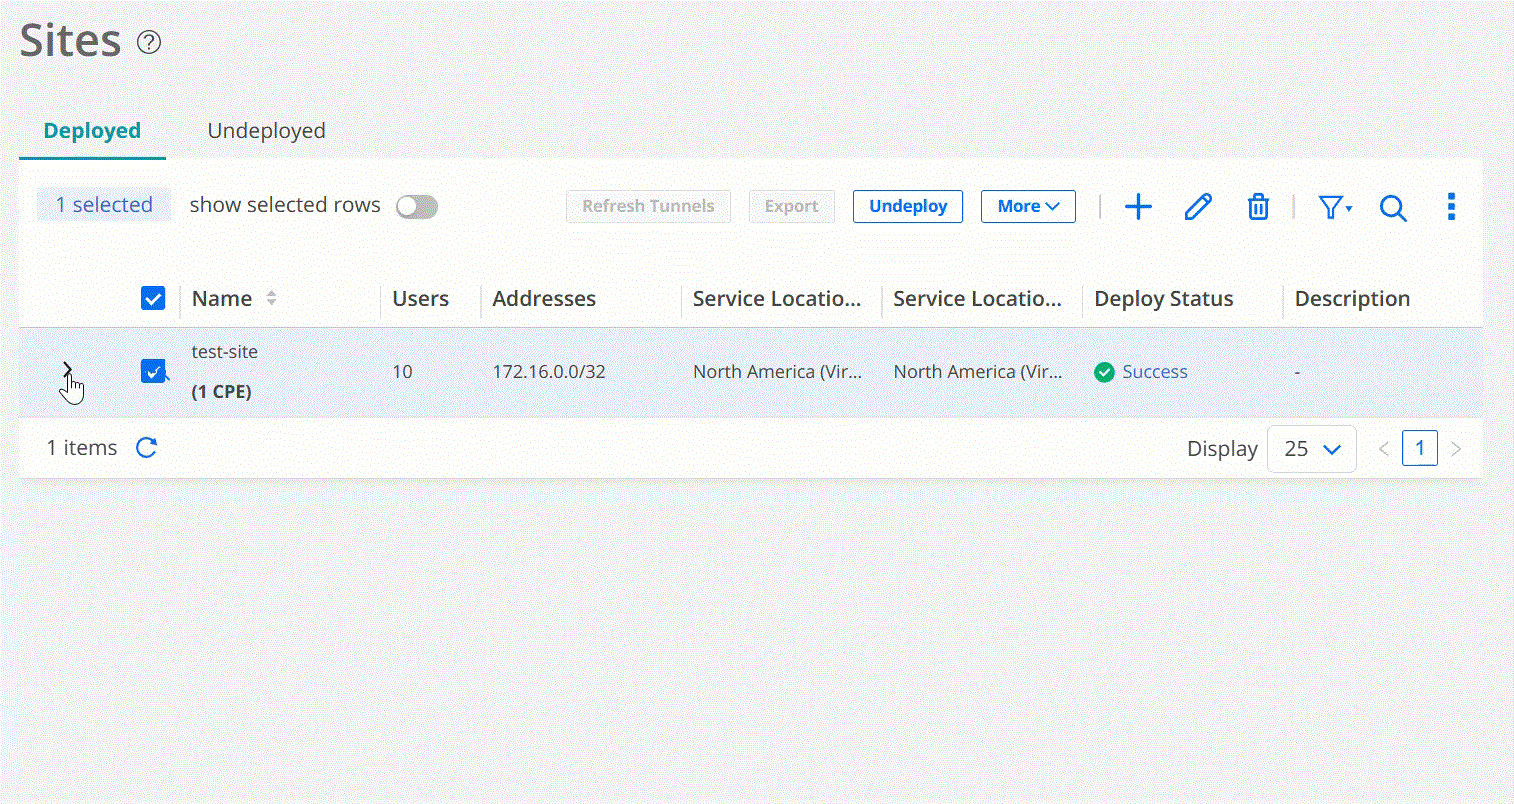
For non-SRX Series Firewalls, a generic configuration summary is provided.
-
Select , click the plus (+) sign, enter the required information, and click OK.
For Roaming Users
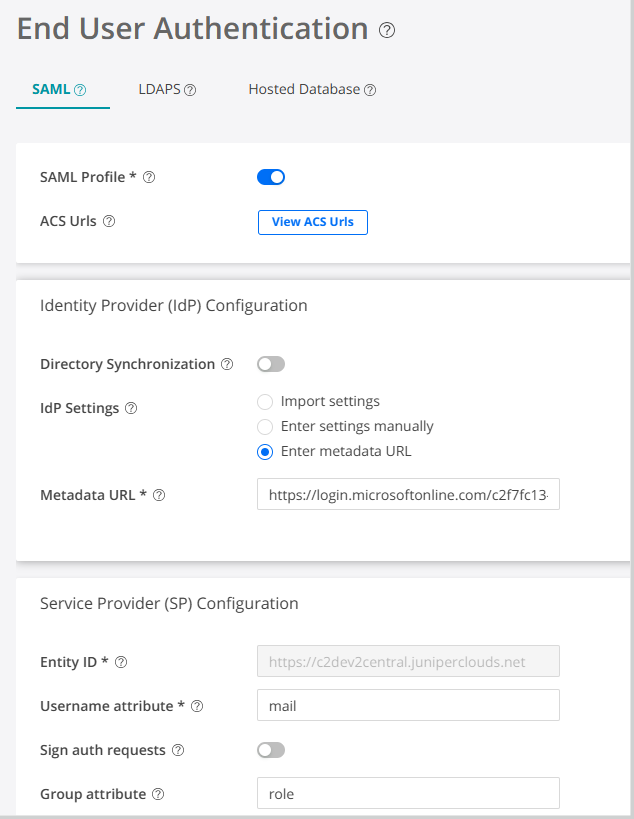
- Go to , select an authentication method—Security Assertion Markup Language
(SAML), Lightweight Directory Access Protocol (LDAP), or Hosted Database, enter the
required configuration, and click Save.
- Select . Enter the port number of the proxy server and select the decrypt profile from the list. If you do not have a decrypt profile, click Create Decrypt Profile, enter the required information, and click Save.
- Select . Recommended proxy auto-configuration (PAC) file is auto-generated. Select the PAC file and click Copy URL.
- Go to the browser proxy settings on your device, paste the URL of the PAC file, and click Save.
Deploy Secure Edge Policy
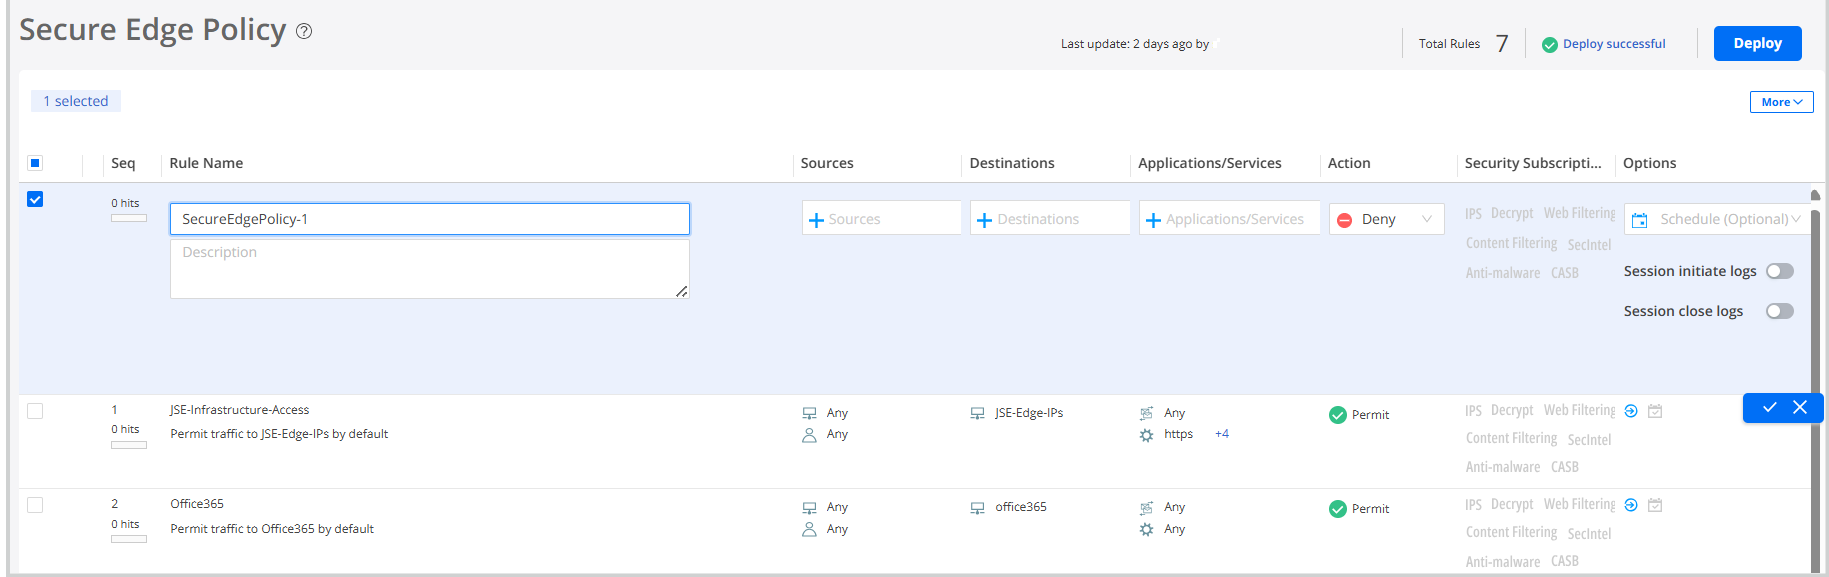
- Select and click plus (+) sign to create new rule.
-
Enter the required information, click ✓ to save the policy, and click Deploy.
For on-premise users, the site tunnel status displays as  in the portal. For roaming users,
after authentication in to the portal, the end user authentication status displays as
Success.
in the portal. For roaming users,
after authentication in to the portal, the end user authentication status displays as
Success.
Congratulations! You have successfully deployed Juniper Secure Edge for on-premises and roaming users!
Explore Secure Edge Features
Now that Juniper Secure Edge is onboarded, explore the Secure Edge features to meet your business needs. Here are some features we think you'll find especially helpful.
| If You Want To | Then |
|---|---|
| Configure anti-malware profiles to inspect malware | See Create Anti-malware Profile |
| Configure content filtering policies to prevent access to malicious content | See Create a Content Filtering Policy |
| Configure Secure Edge policy rule to specify actions for a transit traffic | See Add a Secure Edge Policy Rule |