Viewing Equal Cost Multiple-Paths
Equal Cost Multiple-Paths (ECMP) reports provide a list of all the ECMPs available in your network. You can also view each individual paths highlighted in a separate window.
To view ECMPs in your network:
-
Right-click on the topology map and select Labels > Link Labels
> Show Link Metrics.
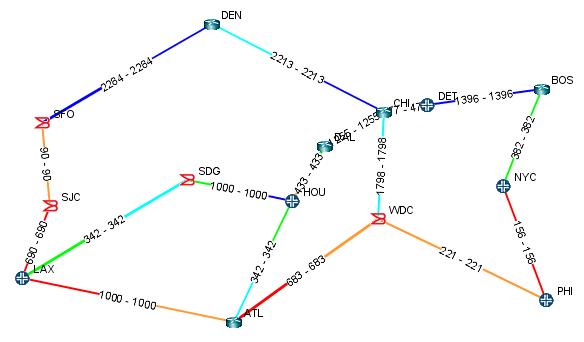
Figure 1: Show Link Distance
-
The link metrics are displayed.
Figure 2: Topology Map with Link Distances
-
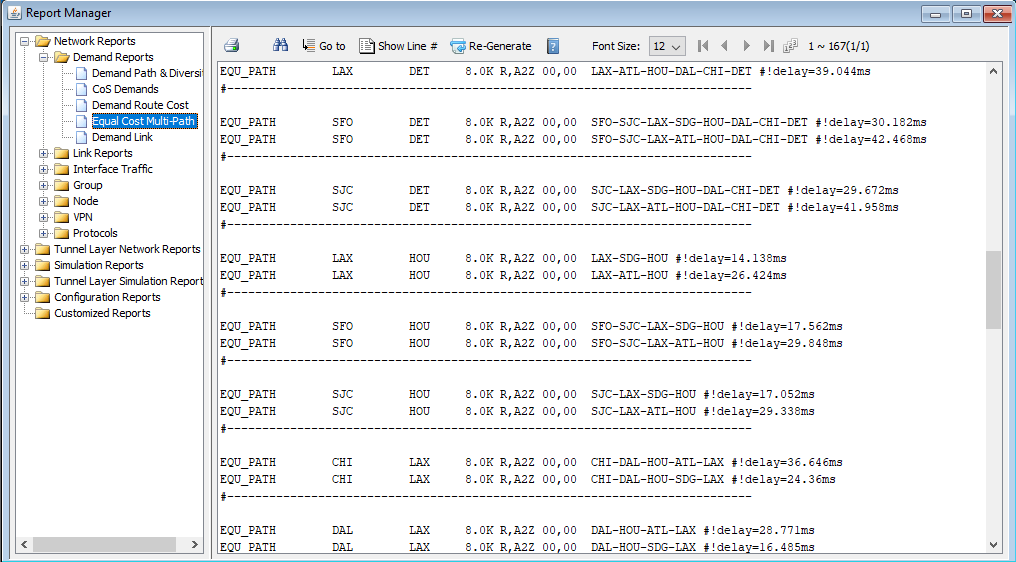
Select Network Reports > Demand Reports > Equal Cost
Multi-Path Report from the left panel to bring up the report
listing all of the equal cost multiple-paths of the network. As can be seen in
Figure 3, there are many such paths. This report is also saved on the server as
EQPATHRPT. runcode. Note that the ECMP paths are calculated based on IP
metric only, and do not factor in the influence of MPLS traffic engineering
tunnels on the demand routing.
Figure 3: Equal Cost Multiple-Paths Report
-
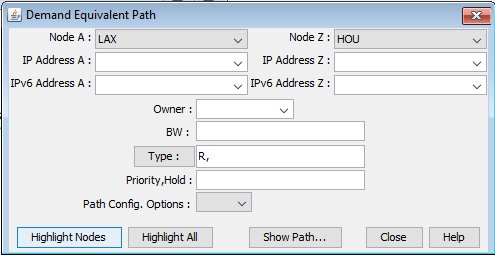
Select Network > Path & Capacity > Equivalent
Path to bring up the Demand Equivalent Path window.
Note:
Use the Equivalent Path option to view ECMPs when there is no demand between two locations.
Figure 4: Network > Path & Capacity > Equivalent Path
-
Select Node A and Node B, then
click Show Path. The Path window is displayed.
Figure 5: Demand Equivalent Path
-
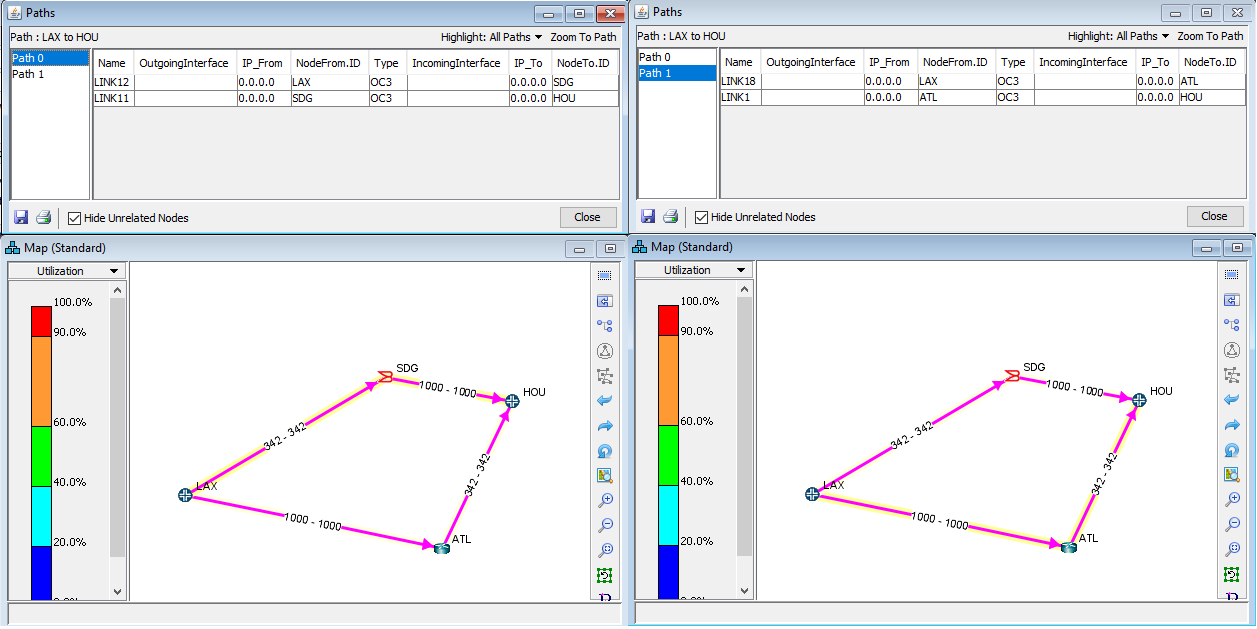
All of the equivalent paths (paths with equal costs) between the two selected
nodes will be displayed in the Paths window. Select a path to view its detailed
information and highlight it on the topology map.
Alternatively, select All Paths from the Show Path drop-down list to highlight all the paths between the two locations.Figure 6: Equivalent Cost Paths
-
If you choose your link metrics wisely (such as using the real distance in
miles like in Figure 7), you can increase the variability of the path costs which will make it less
likely for equal cost multiple-paths to occur.
Figure 7: Topology Map With New Link Distances

-
Open up the Equal Cost Multi-Path Report again and you will see that there no
equal cost multiple-paths in the network with the new link metrics.
Figure 8: New Equal Cost Multiple-Paths Report