Viewing Tunnel Info
Load the /u/wandl/sample/IP/fish/spec.mpls-fish network example if you wish to follow along with this tutorial. When prompted, “Update demand routing tables?”, press “Yes”.
In View or Design action mode, select Network > Elements > Tunnels. Right-click a tunnel to view the various options available for tunnels.
Figure 1: All Tunnels Window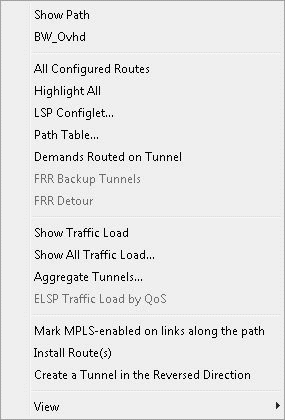
Click the “Show Path” button to see the tunnel highlighted on the map, including all defined routes.
Note:
If more than one tunnel are selected, only their primary paths will be highlighted together on the map.
In the resulting path window, there will be 2 colors, including a special color for the currently highlighted tunnel in the path window.