Help us improve your experience.

Let us know what you think.

Do you have time for a two-minute survey?


Getipconf - Router Configuration Extraction

The getipconf (“get IP configurations”) program is located in $WANDL_HOME/bin/getipconf (e.g. /u/wandl/bin/getipconf). When run, this utility extracts information to create the corresponding NorthStar Planner network model files for the network nodes, links, interfaces, tunnels, bgp, vpn and so on. This utility is also available through the NorthStar Planner client though running getipconf from the command line offers a few more options not available in the graphical interface. Both methods for importing configuration files into NorthStar Planner, command line and NorthStar Planner client, are described in the following sections.

Graphical User Interface

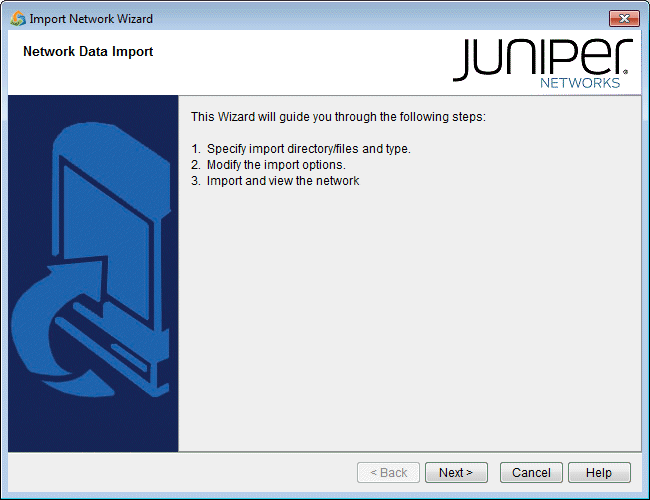
  1. Select File > Create Network > From Collected Data to open the “Import Network Wizard.” Click Next.
    Figure 1: Import Network Wizard - Introduction PageImport Network Wizard - Introduction Page
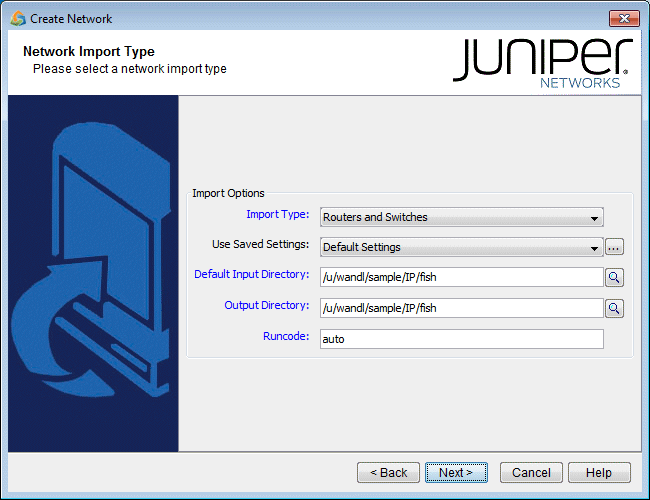
  2. Use the Import Type “Routers and Switches”.
    Figure 2: Selecting the Import Type (Options vary)Selecting the Import Type (Options vary)
  3. The Default Import Directory is the default directory in which to search for network input directories for config, interface, bridge, tunnel_path, equipment_cli, tunnel_path, transit_tunnel, etc. The default directory for the live network is /u/wandl/data/collection/.LiveNetwork.
  4. Enter in the output directory and runcode for the new project. The output directory is where the network project will be created during the import. It is recommended to use a different directory from the import directory. The Runcode is the file extension identifier that will be appended to all the generated NorthStar Planner network files. (Note that spaces are not allowed in the runcode.)
  5. Click Next to continue.