Importing Raw Network Data into NorthStar Planner
When you create a Device Collection task in NorthStar Controller, you have the option to add the raw network data into the database where it can be accessed by the NorthStar Planner. For a recurring task, all instances of the task are saved in the database, even though only the latest is available to the NorthStar Operator. Any instance can be used to create a network in the NorthStar Planner. Operator and Planner are independent of one another with regard to deleting tasks or instances of tasks.
See Scheduling Device Collection for Analytics in the NorthStar Controller User Guide for information on creating a device collection task with the necessary option (Add to Database) selected. Note that the default for the option is No, so you must deliberately enable it.
To create a network in the NorthStar Planner from raw data imported from a NorthStar Controller device collection task, start by clicking the Collection tab in the Network Browser. The Collection tab displays all collection instances that are available. From this window, you can select an instance to import into the NorthStar Planner as a network, using the Import Network Wizard (see Import Network Wizard).
Figure 1 shows an example of the Collection tab display. Table 1 describes the features available in this view.
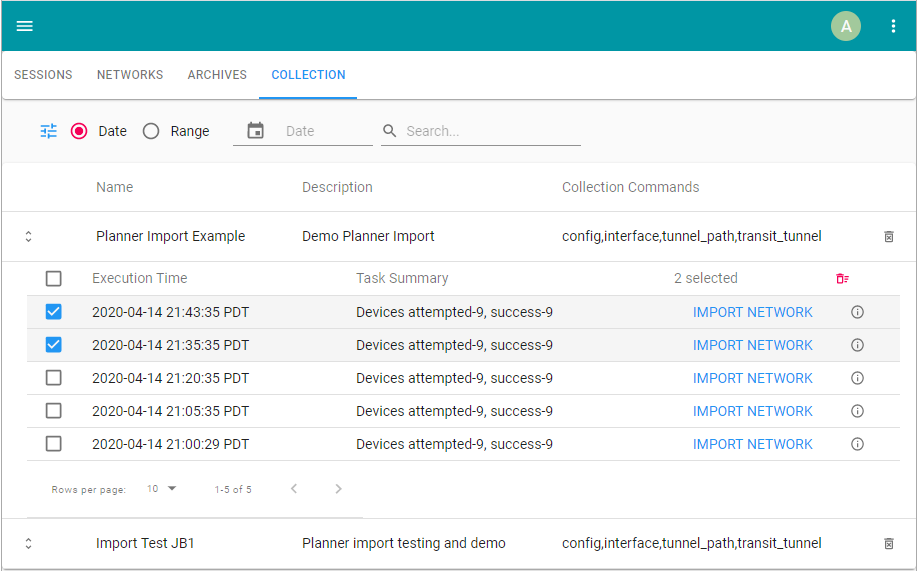
Collection Tab Feature |
Description |
|---|---|
|
Click to toggle between showing or hiding the search functions including Date/Range fields and the field for entering the search string. |
|
Select the radio button for Date or Range. The buttons are mutually exclusive. Appropriate date or range fields are displayed accordingly. |
|
Click the Up or Down arrows to expand or collapse the list of recurring collection instances for that task. Only one task can be expanded at a time. |
|
Click the task-level Trash icon to delete the entire task and all of its instances. |
|
Select one or more collection task instances using the check boxes at the far left. Click the instance-level Trash icon to delete all instances that you have selected. |
|
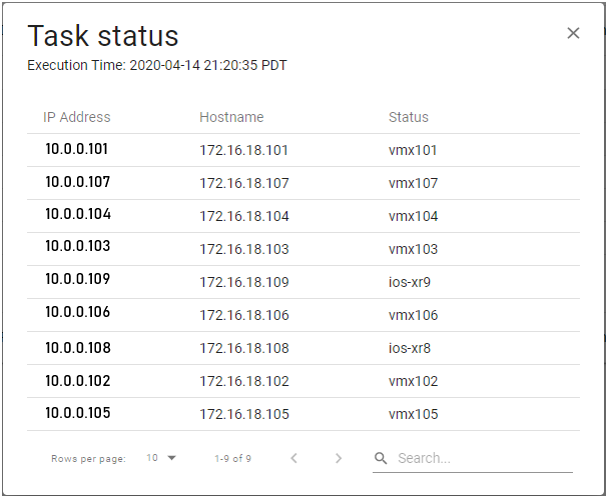
Click the Information icon to see details associated with the collection task instance. See Figure 2 for an example. |
|
Use the drop-down menu to select 10, 25, or 50 rows per page. |
|
Use the Left/Right arrows to advance through the rows of data. |
|
Click Import Network to launch the Import Network Wizard for the collection instance. The Collection Task Data field is pre-populated for you. |

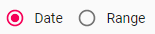


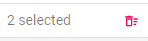

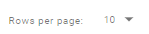


Figure 2 shows an example of the information displayed when you click on the Information icon.
Once you use the Import Network Wizard to import the data, the new network is available in the Networks tab of the Networks Browser.