Adding One-Hop Tunnels
Using the one-hop tunnel feature, users can create a pair of one-hop tunnels for each link, one for each direction. These tunnels are created with an explicit route that force them to use the direct link.
The following commands are the corresponding Cisco commands for creating one-hop tunnels:
mpls traffic-eng auto-tunnel primary onehop
mpls traffic-eng auto-tunnel primary tunnel-num [min num] [max num]
 mpls traffic-eng auto-tunnel primary config unnumbered-interface interface
The one-hop tunnel feature should only be used for networks where an IGP is deployed on the interfaces for which a one-hop tunnel will be created.
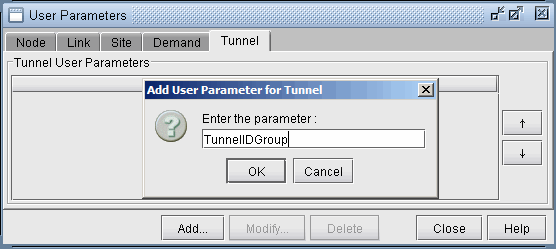
Select Network > Elements > Tunnels. Click on the Tunnel tab in the Network Info table. Click Add... and add a user parameter to store the Tunnel Group ID, such as TunnelGroupID.

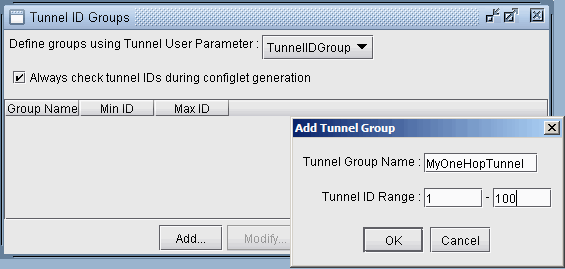
Select Modify > Selected > User Parameters... and select the tunnel user parameter that was just created. Then click Add... to enter in a group name and ID range. The One Hop Tunnels you create will be given the group name as prefix and a number in the ID range as suffix.

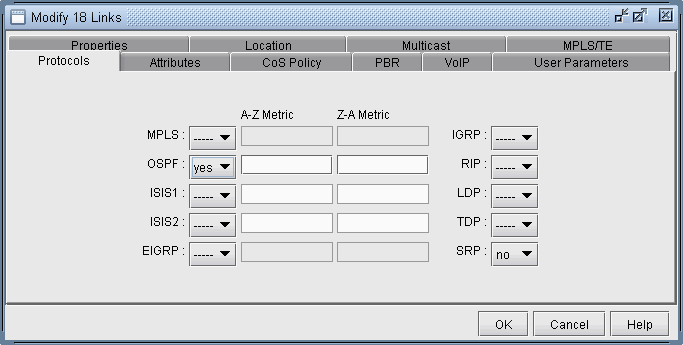
Note that you can only add one-hop tunnels for links that have an IGP enabled. To enable an IGP protocol, modify the links through Network > Elements > Links... and click the Modify button. In the Protocols tab turn on either OSPF or ISIS and click OK.

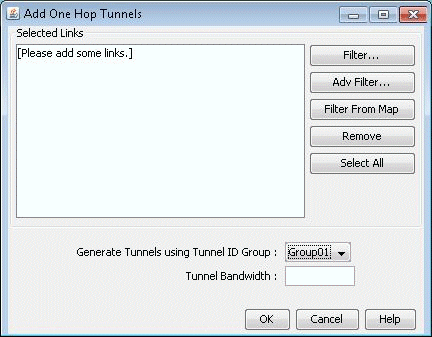
Select Network > Elements > Tunnels, Add > One Hop Tunnels... Select some links by filtering for them. An easy way is to highlight them on the map and then click Filter from Map. Select the Tunnel ID Group to use to create the one hop tunnels and add a tunnel bandwidth. Click “OK” to add the one hop tunnels.

Select Modify > Elements > Tunnels to view the newly added one hop tunnels. Several nodes can have tunnels with the same TunnelID but different tunnels originating from a node should have unique tunnelIDs.

Note the explicit path given in the Configured column of the following table. Double-click on a newly added one-hop tunnel to view the configured route. Then select the User Parameters tab. The tunnel user parameter for Tunnel ID Group is specified here.
To generate configlets for these one hop tunnels, switch to Tunnel mode Design > Configlets/Delta > LSP Configlet... Click Submit in the resulting window. The configlet includes in the description line the interface name used for the first hop of the tunnel.
