Migrate Policy Enforcer Release 23.1R1 to Policy Enforcer Release 24.1R1.
Starting in Junos Space Security Director Release 24.1R1, you cannot use standalone Policy Enforcer. You'll need to migrate to Policy Enforcer running on Security Director Insights 24.1R1.
You must migrate the standalone Policy Enforcer Release 23.1R1 data to Security Director Insights 24.1R1.
Policy Enforcer migration procedure is based on the existing backup and restore functionality.
You must migrate the standalone Policy Enforcer Release 23.1R1 data to Security Director Insights 24.1R1.
Before migrating Standalone Policy Enforcer to Security Director Insights Policy Enforcer, you must first upgrade from Junos Space Network Management Platform 23.1R1 or Security Director 23.1R1 to Junos Space Network Management Platform 24.1R1 or Security Director 24.1R1 respectively.
For more details on the upgrade procedure, see Upgrade to Junos Space Network Management Platform Release 24.1R1.
To migrate Standalone Policy Enforcer to Security Director Insights Policy Enforcer:
-
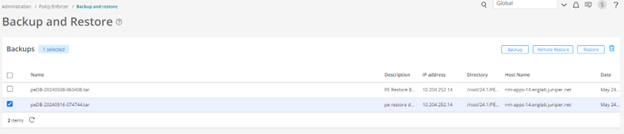
Initiate the restore process as shown in Figure 1.
Figure 1: Backup and Restore
-
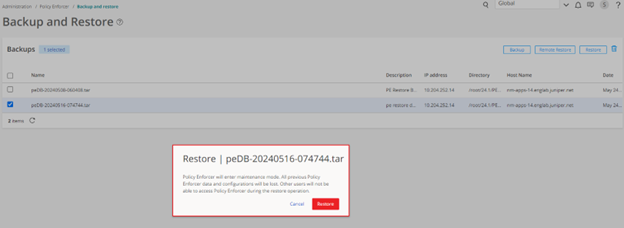
When the restore process is complete as shown in Figure 2,
re-add Policy Enforcer.
Figure 2: Restore Status

-
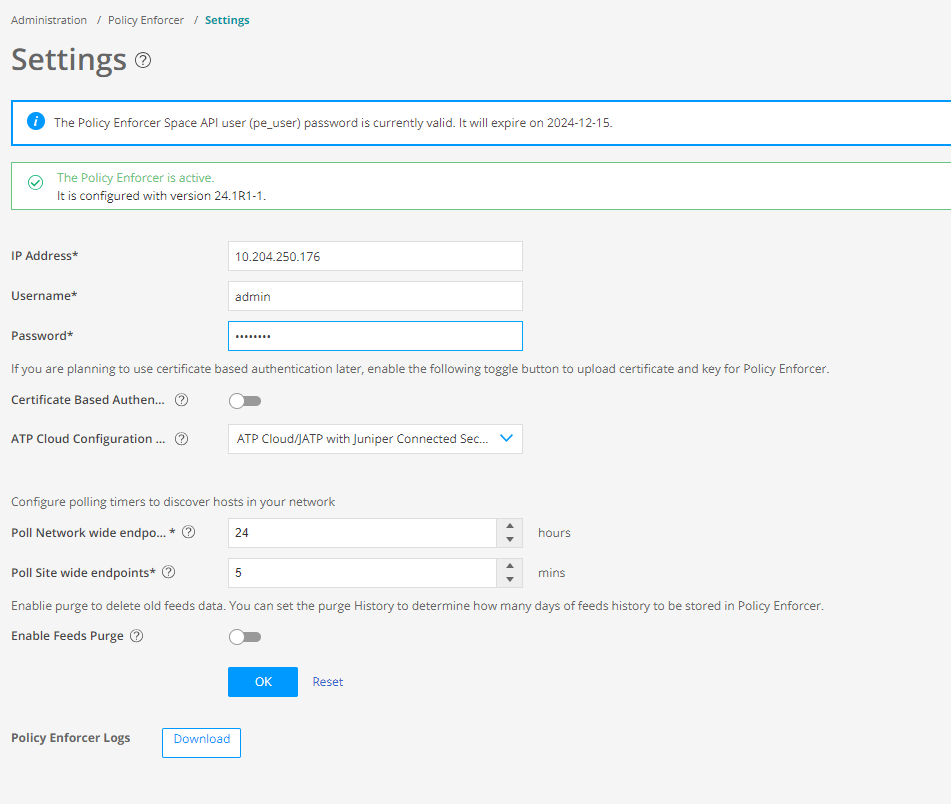
Go to Administration > Policy Enforcer >
Settings and enter the required details on the settings window
and click OK. See Figure 3 for
more details.
Figure 3: Re-add Policy Enforcer
-
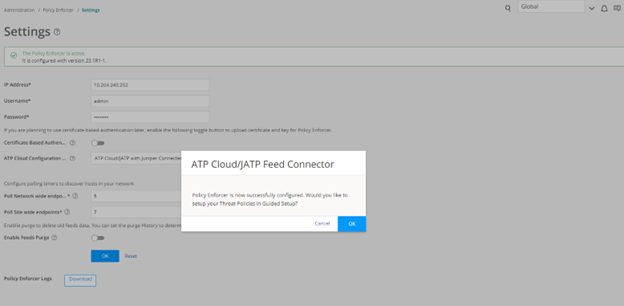
After Policy Enforcer is configured, a prompt appears to confirm if you want to setup
the Threat Policies in a guided setup as shown in Figure 4.
Click OK but ignore the guided setup for Threat Policies, as it is
redundant.
Figure 4: Threat Policy Prevention
-
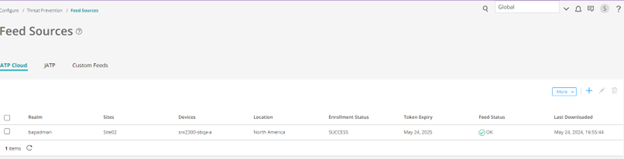
Make sure the realm comes to sync in sometime and feed status is
OK as shown in Figure 5.
Figure 5: Feed Sources
-
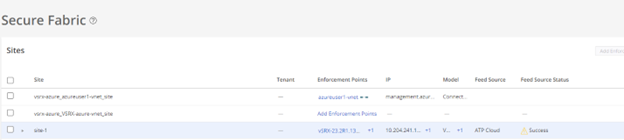
Navigate to Secure Fabric > Sites and
verify if the Feed Source Status shows
Success. For more details see, Figure 6
Figure 6: Secure Fabric
-
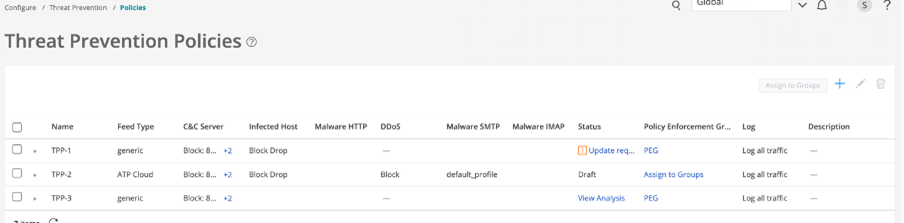
Navigate to Configure > Threat Prevention
> Policies > Threat Prevention Policies and
verify the status of the policy recovered from backup. For details, see Figure 7.
Figure 7: Threat Prevention Policies
-
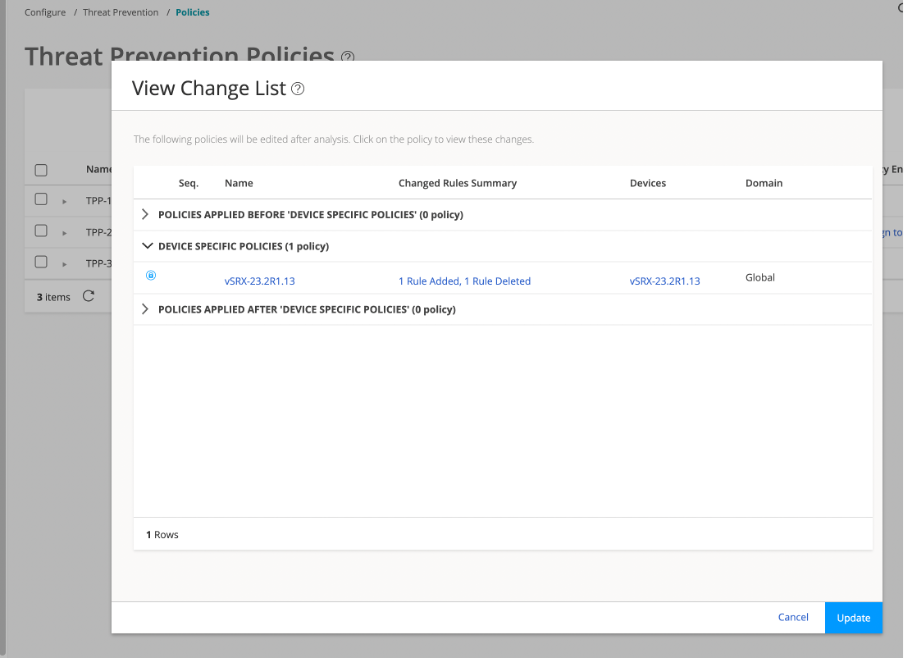
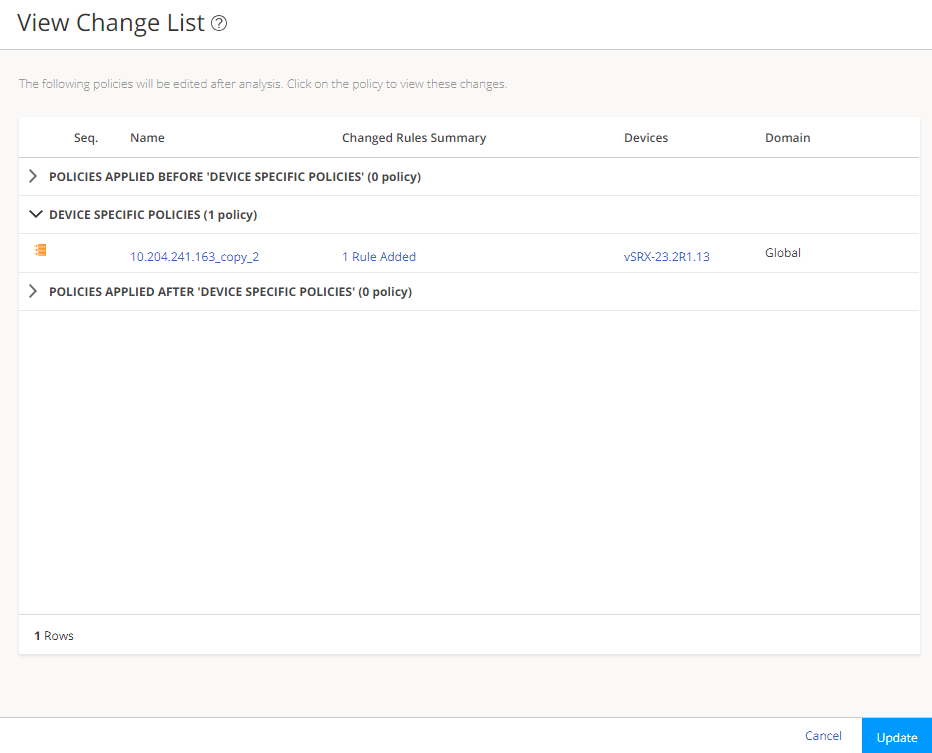
Click Update required under the status tab for Threat Prevention
Policies and proceed with the update.
Older policies gets replaced by the newer ones as shown in Figure 8.Figure 8: Policy Change List
-
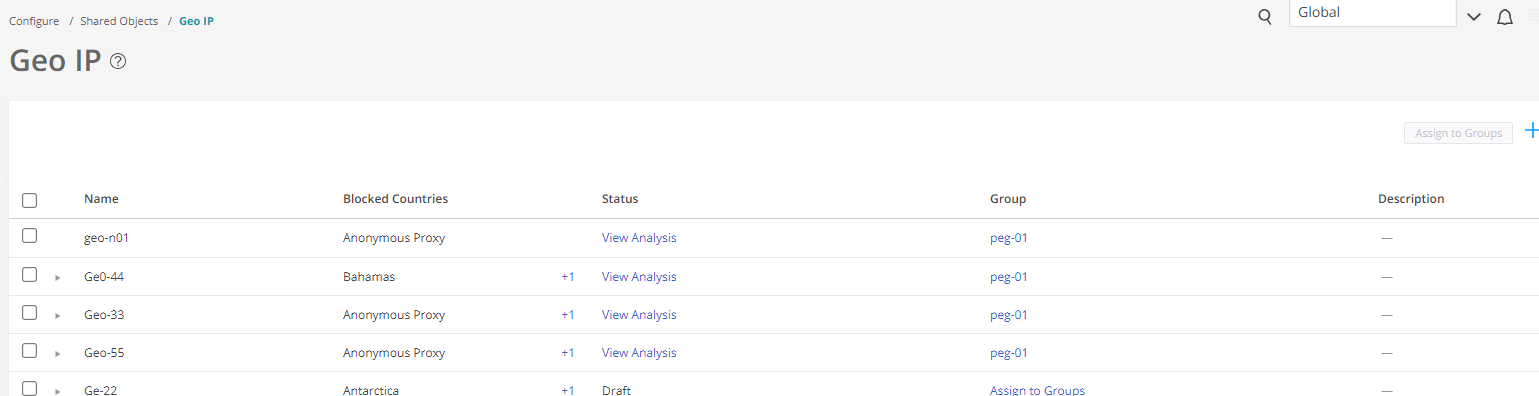
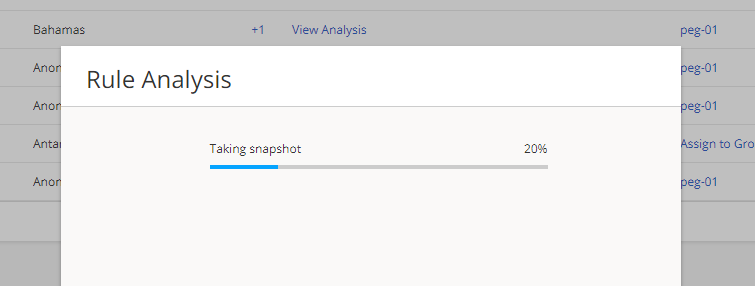
Go to Configure > Shared Objects >
Geo IP and perform the Geo IP analysis and update the generated
policies to the device. For details see Figure 9.
Figure 9: Geo IP
-
Go to Administration > Policy Enforcer >
Connectors as shown in Figure 10.
Figure 10: Connectors
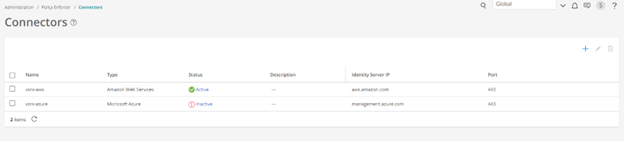 The status of the connector shows Inactive by default.