Enable Geofencing
As an extra precaution against unauthorized use of your WLAN, you can enable geofencing.
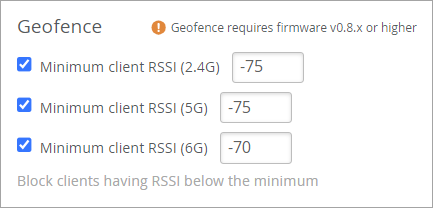
Geofencing is when the AP prevents clients with an RSSI below a set level from connecting to the network, for example to keep users from outside your facility from using your wireless network. It is available for the 2.4-GHz, 5-GHz, and 6-GHz radio bands (for the 2.4-GHz and 5-GHz bands, the APs need to be running firmware version 0.8.x or later, and the 6-GHz radio band requires firmware version 0.12.x or later).
For existing clients who already have an established connection on the network, geofencing will not drop or block them in the even their RSSI signal falls below the set level. Those existing connections are preserved.
Geofencing supports tracking the following entities:
-
Connected Wi-Fi Clients
-
Named Assets
-
SDK Clients
-
BLE (Bluetooth)
To enable geofencing on a WLAN:
-
From the Mist portal, select Site > Wireless | WLAN and click the Add WLAN button or select an existing WLAN from the list.
-
Scroll down the WLAN setting page to the Geofence section.
-
Select the radio band for which you want to enable a geofence, and then enter a value for minimum RSSI, for example -70 or -75.
-
Scroll to the top of the page and click Save.
After enabling geofencing for a given WLAN, you can apply it to any collection of APs you want using a device profile. Do this by including your SSID (WLAN) in a WLAN template and attaching that template to a device profile. Add APs to the device profile, and when you save the profile, the attached APs will inherit the geofence.
Automatic Geofencing
You can also set up automatic geofences, also known as Inclusion Zones, for new floor plans. When you upload a new floorplan to the Mist Location Live View, it automatically detects the building outline and creates an Inclusion Zone—a virtual boundary that ensures location estimates stay within the building. See Import Floorplan for more information.
To do the same with existing floorplans, use the Re-run Geo-Fence option to refresh zone boundaries without the need for a full site reconfiguration. See Upload Floorplan for more information.