Select the Alerts Scope, Recipients, and Types to Monitor
To select alerts:
- From the left menu, select Monitor > Alerts, and then click Alerts Configuration.
-
On the left side of the page, click the template to configure.
All organizations are preconfigured with a default template. You can create different templates for different locations or purposes.
-
Under Applies to Scope, select one of these options:
-
Entire Org—The alerts that you select in this template apply to the entire organization.
-
Sites—The alerts that you select in this template apply to the specified sites. Click + to add a site. Or click X to remove a selected site.
-
-
(Optional) Under Email Recipient Settings, identify personnel to
receive any email notifications that you enable.
Note: Here, you're identifying the recipients. In the Alert Types section, you'll enable the notifications for the alerts that you want to monitor via email.
You can select all organization admins, all admins for the sites specified in the Scope section, or additional recipients who aren't Juniper Mist admins.
Note: This feature requires that the selected admins enable email notifications in their account settings. They can find their account settings by clicking the Mist Account button (person icon) at the top-right corner of the Mist portal. -
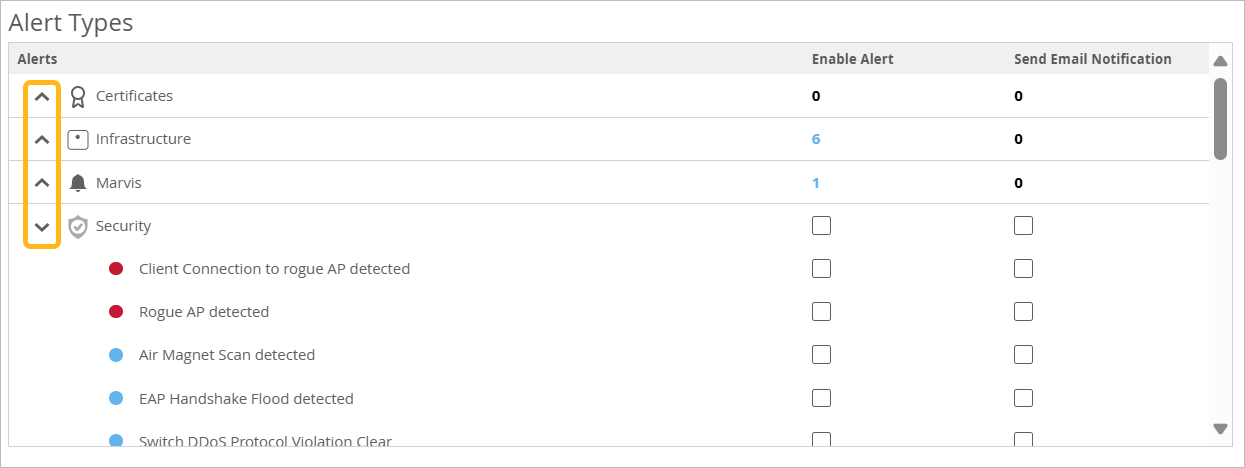
Under Alert Types, select the events that you want to monitor on
the Monitor > Alerts page (Enable Alert check box) or via email
(Send Email Notification check box).
-
For information about the various alerts, see Juniper Mist Alert Types.
-
Use the expand/collapse icons on the left side of the alert Types section to focus on specific alert types.
-
-
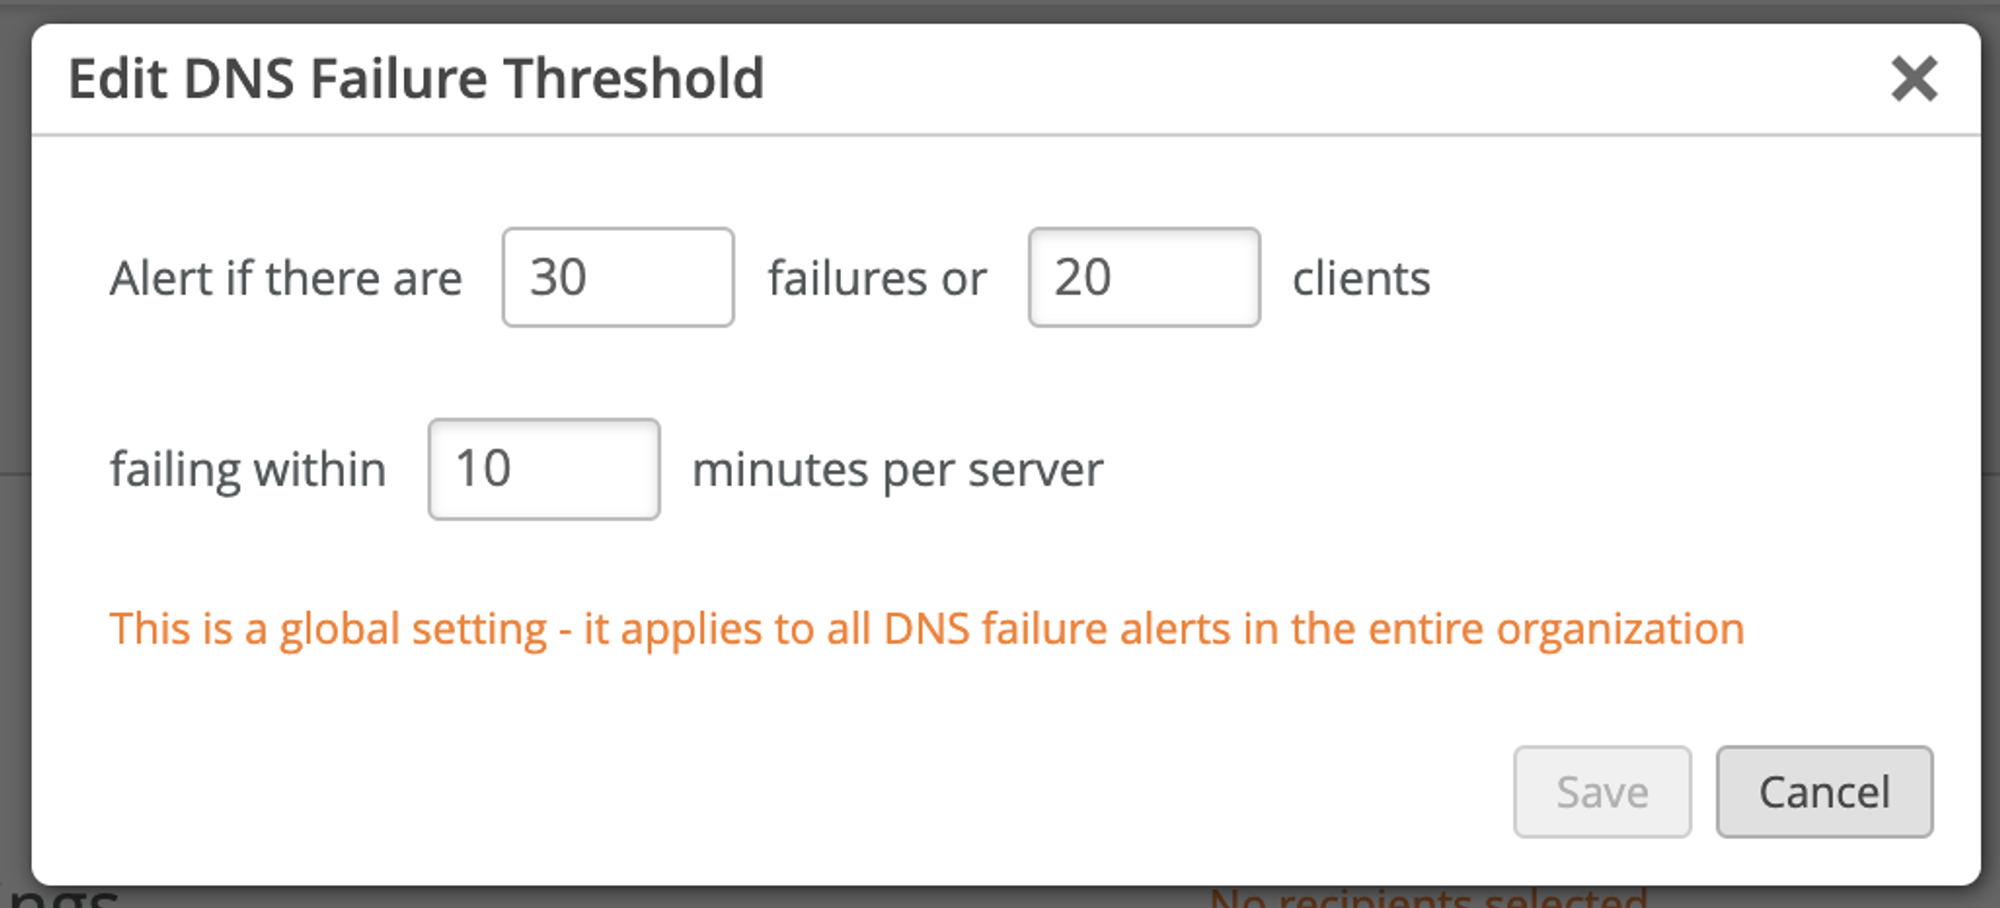
If an alert has a pencil icon, click it to configure the settings.
For example, if you click the pencil icon for DNS Failure, you can set the threshold based on the number of failures, the impacted clients, and the duration.
- Click Save at the top-right corner of the configuration area.