Auto Zone: Add Location Zones to a Floorplan (BETA)
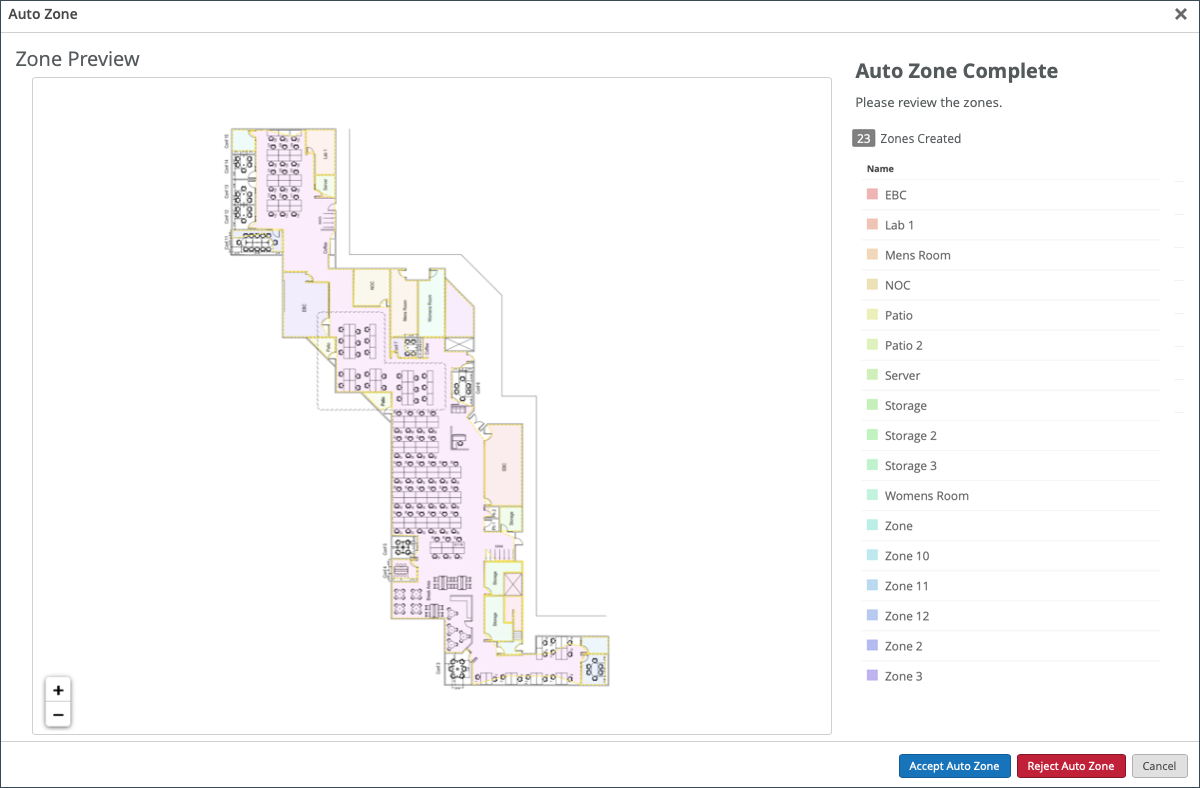
Auto Zone automatically identifies location zones for you based on the boundaries of a given floorplan. This can be especially useful for large deployments containing a vast number of buildings and rooms, as it automatically identifies and names the zones for you, thus allowing for more precise analytics to be gathered. For more information on location zones, see Add Location Zones to a Floorplan.
Auto Zone identifies location zones on a floorplan via Juniper's AI-powered image segmentation models, which extract zone information directly from the floorplan and enable logical zone grouping. These models also provide insight into occupancy and traffic flow. For more information, see Occupancy Analytics Zone.
Auto Zone merely suggests location zones for you. You must make adjustments and finalize as you see fit.
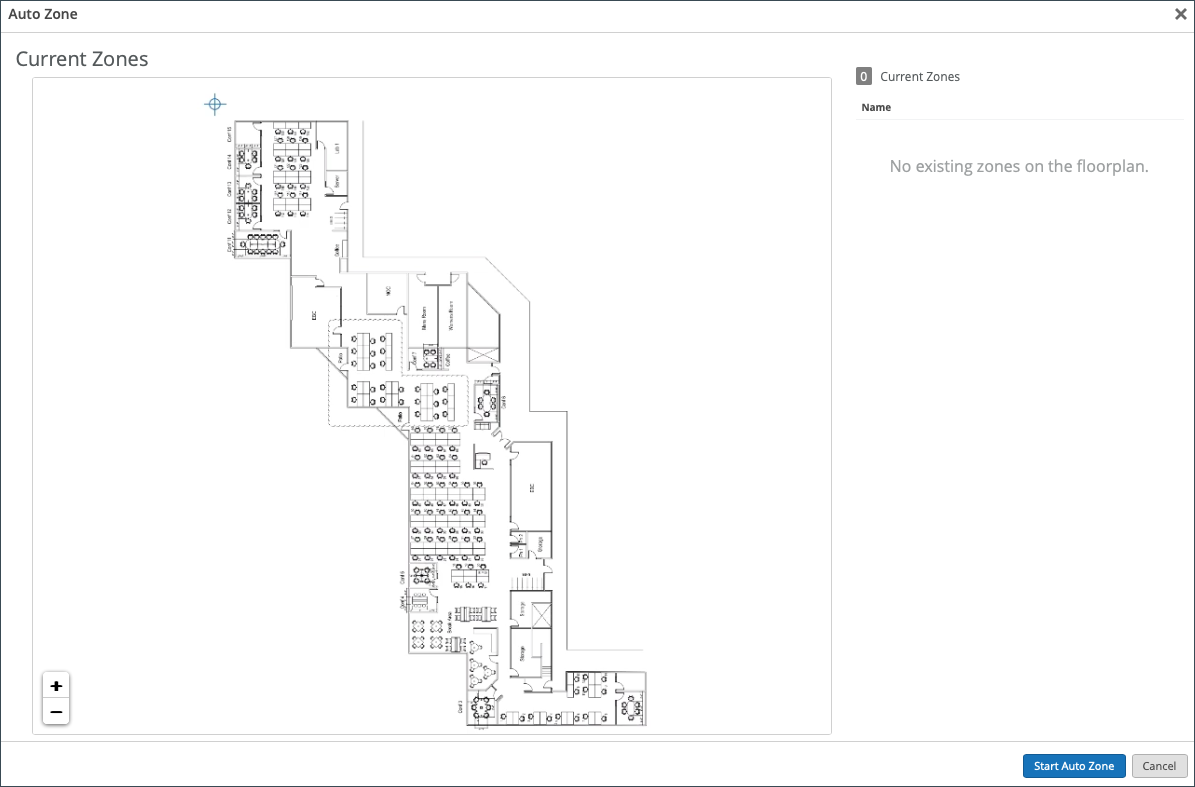
Prior to using Auto Zone, ensure the following:
-
Your floorplan is properly scaled. See Scale a Floorplan.
-
Your floorplan is as clean as possible. For example, when rooms are the only thing featured on the floorplan, and there is no additional clutter such as furniture or excessive lines, this ensures the most accuracy.
-
Clear all existing zones from the floorplan to avoid overlapping zones. You can do this from the list in the Location Zones tab to the right of the floorplan.
To use Auto Zone:
-
At the bottom of the Auto Zone window, select Start Auto Zone.
-
Once Auto Zone completes, review the zones, then select Accept or Reject.
A pop-up window will appear asking you to confirm your action.