J-Web Interface—Platform Package
With the J-Web Platform package, you can:
Configure Ethernet interfaces.
Configure static routing.
Configure system properties, such as:
User management and authentication management.
Management access, such as, HTTPS, HTTP, Telnet, or SSH.
Manage software upgrades or schedule a reboot.
J-Web Platform Package—First Look
Each page of the J-Web interface is divided into panes (see Figure 1).
Top pane—It is located at the top of the page. It displays the J-Web logo and hostname, tasks–Configure, Monitor, and Maintain, Commit, Update Available logo (if available), and username and Help.
Side pane—It is located on the left side of the page. It displays suboptions of the tasks– Configure or Maintain– currently selected in the top pane. Click a suboption to access it in the work area.
Work area—This is the main work area of the J-Web interface, located below the top pane and to the right of the side pane. It displays various text boxes, selection boxes, buttons and other options corresponding to the suboption that you select in the side pane. It is the location where you monitor, configure, and manage (maintain) the switch.
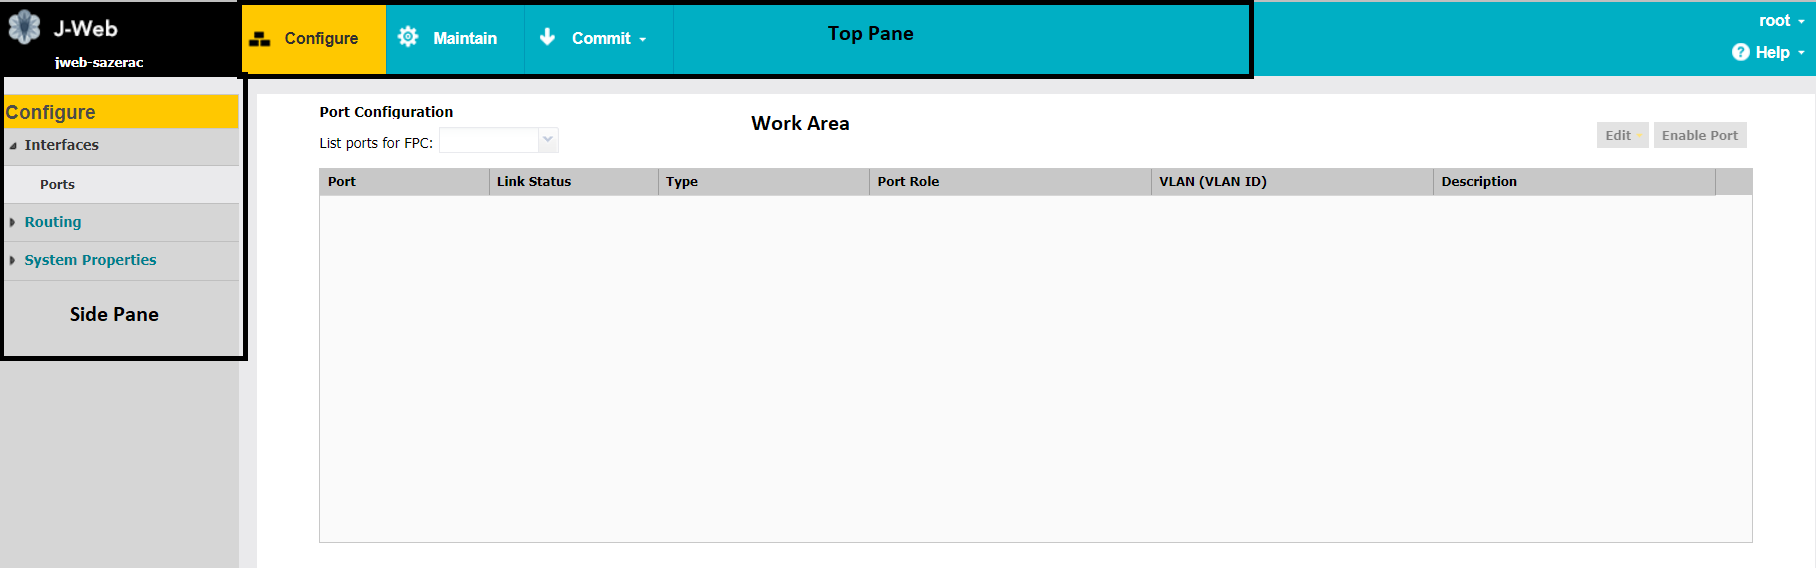
The layout of the panes enables you to quickly navigate through the interface. Table 1 summarizes the elements of the J-Web Platform interface.
Element |
Description |
|---|---|
| Top Pane | |
J-Web Hostname |
The J-Web logo and hostname of the switch. |
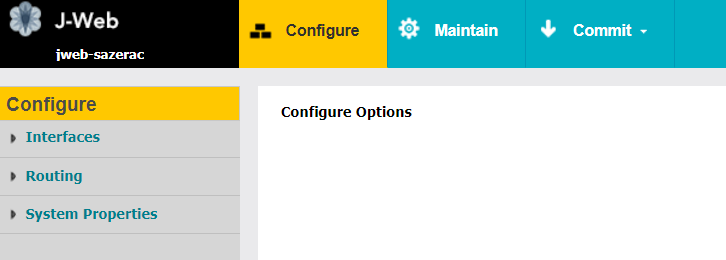
Taskbar—Configure |
Configure—Configure the switch, and view the configuration history. Figure 2: Example of the Configure Tab
|
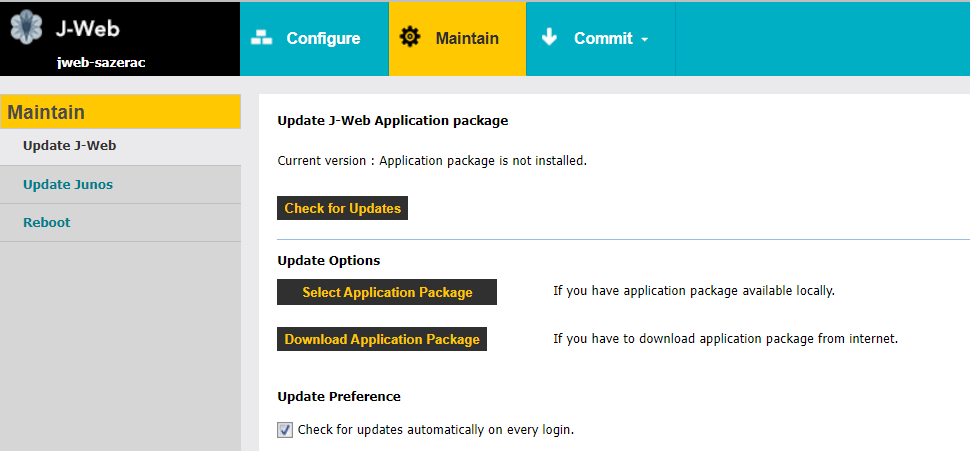
| Taskbar—Maintain |
Maintain—Update J-Web interface, upgrade Junos OS, and reboot the switch. Figure 3: Example of the Maintain Tab
|
Commit Options |
A set of options using which you can configure committing multiple changes with a single commit.
|
Update Available |
This icon message appears only if there is a J-Web Application package update available on the Juniper Networks server. Mouse over the icon to know the latest version of J-Web Application package available on the Juniper Networks server. Click on the icon to update the J-Web Application package. |
username |
The username you used to log in to the switch. The down arrow option displays Logout. Logout ends your current session with the switch and returns you to the login page. |
Help |
Displays links to help topics and information about the J-Web interface.
|
| Work Area | |
Configuration hierarchy |
(Applies to the Junos OS CLI configuration editor only) Displays the hierarchy of committed statements in the switch configuration.
|