Device and Interface Profiles Overview
Onboarding profiles comprise device, interface, and port profiles. A device onboarding profile defines the following parameters associated with a device:
-
IP address
-
Protocols—BGP, IS-IS, and OSPF
-
Traffic engineering (TE)
-
Segment routing (SR)
-
Neighboring devices, DNS servers, Internet endpoints, and cloud provider endpoints for checking connectivity.
-
Placement resources for reserving resources (bandwidth, MAC addresses, and routes) to provision service.
-
Routing protocol analytics to enable BGP and IGP data collection.
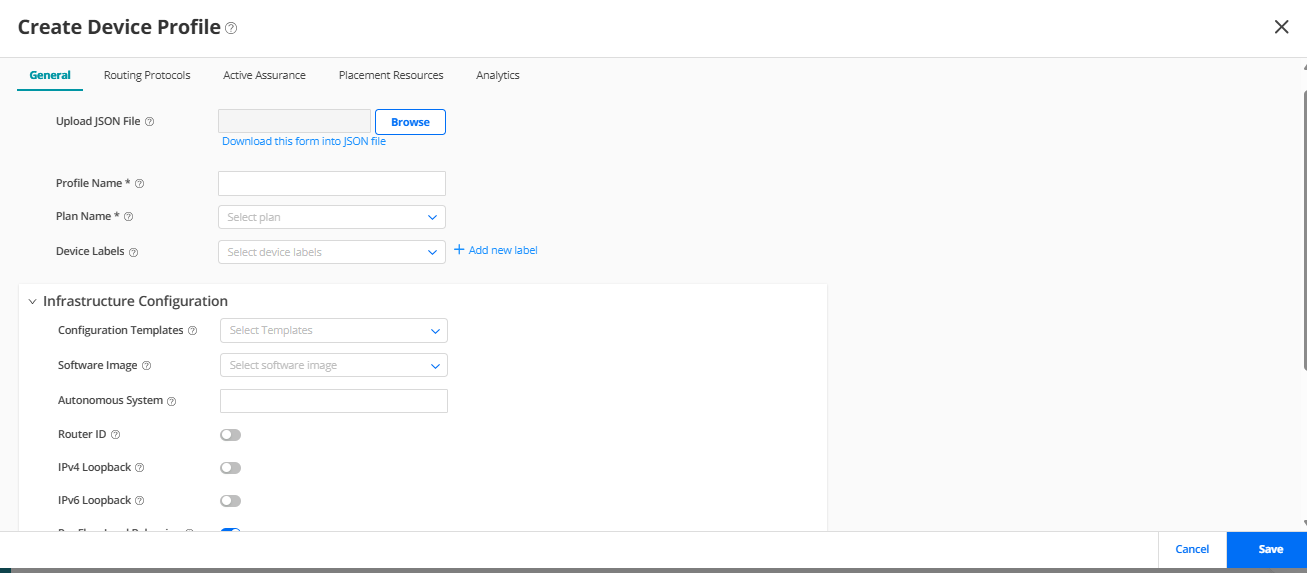
A network architect creates a device profile based on the role of the device in the network. For example, a device might be a provider edge (PE) device or a metro router. For the PE router, you can configure BGP, IS-IS, and add tunnels in your device profile, whereas for a metro router, you can configure only the BGP and IS-IS protocols. See Add a Device Profile for information about adding a device profile.
Figure shows the Create Device Profile page.
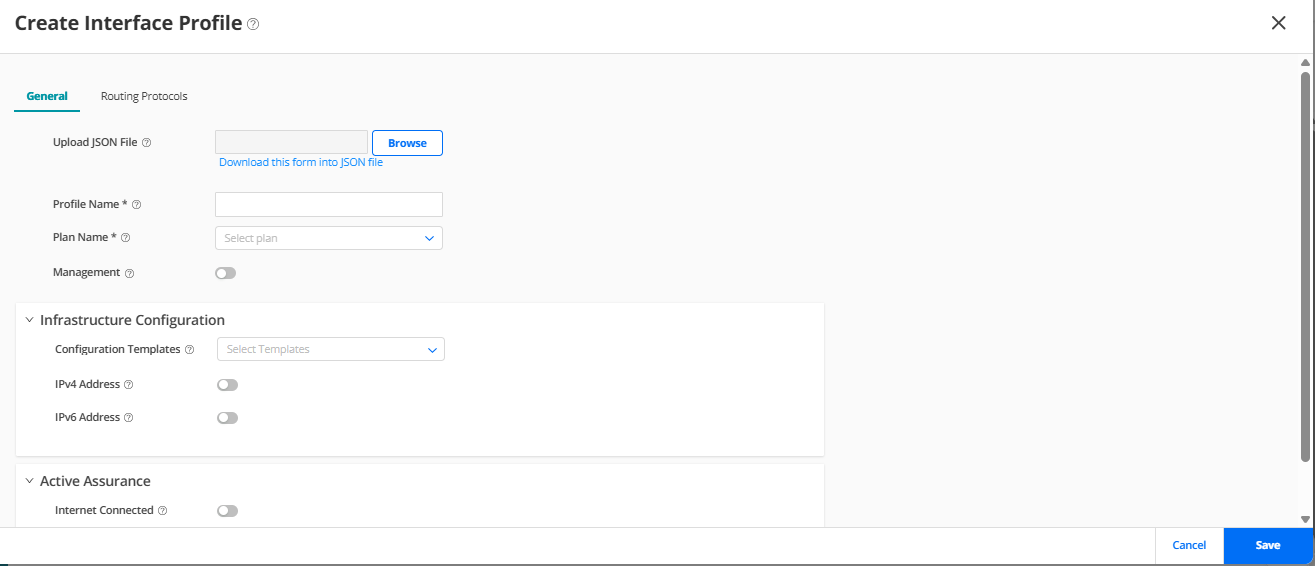
An interface profile defines the configuration for OSPF, IS-IS, LDP, and RSVP protocols for an interface. You create an interface profile based on the role of an interface. For example, core-facing or customer-facing. See Add an Interface Profile for information about adding an interface profile.
Figure 2 shows the Create Interface Profile page.
You assign the profiles to a network implementation plan. In the network implementation plan, you can specify the profile that must be applied to all the devices or ports or specific devices or ports. Routing Director commits the configurations defined in the profiles and in the plan during device onboarding so that the device is ready for service soon after you onboard the device. You can also use the profiles to modify the configurations after a device is onboarded and in service. See Network Implementation Plan Overview for details about the network implementation plan.
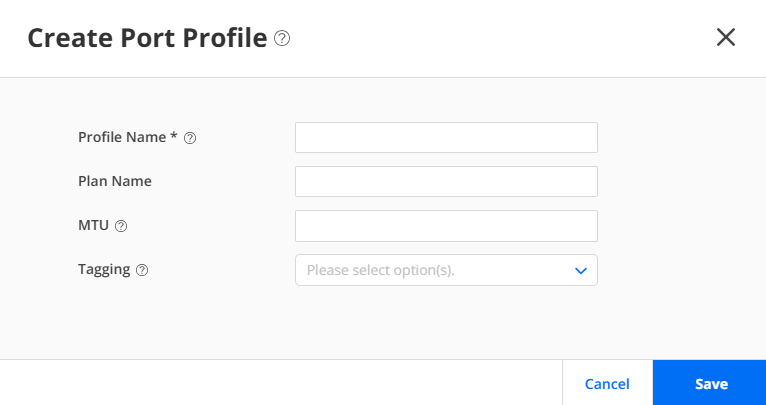
In addition to device profiles and interface profiles, you can create port profiles for configuring aggregated Ethernet interfaces on a device. In a port profile, you can specify the MTU and specify whether the port would be VLAN tagged (trunk port) or untagged (access port). When you assign a port profile to a device's aggregated Ethernet interface port, the MTU and port type is configured on the aggregated Ethernet interfaces of the device to which the port profile is assigned when the device is onboarded to Routing Director. Later, to modify the MTU and the port type of the assigned aggregated Ethernet interface, you can modify the port profile. Figure 3 shows the Create Port Profile page. For information about adding a port profile, see Add a Port Profile.