|
Upload JSON File
|
Click Browse to upload a preconfigured JSON file.
You see a message that the file is successfully imported. The values
specified in the file are automatically populated in the corresponding UI
fields.
Note:
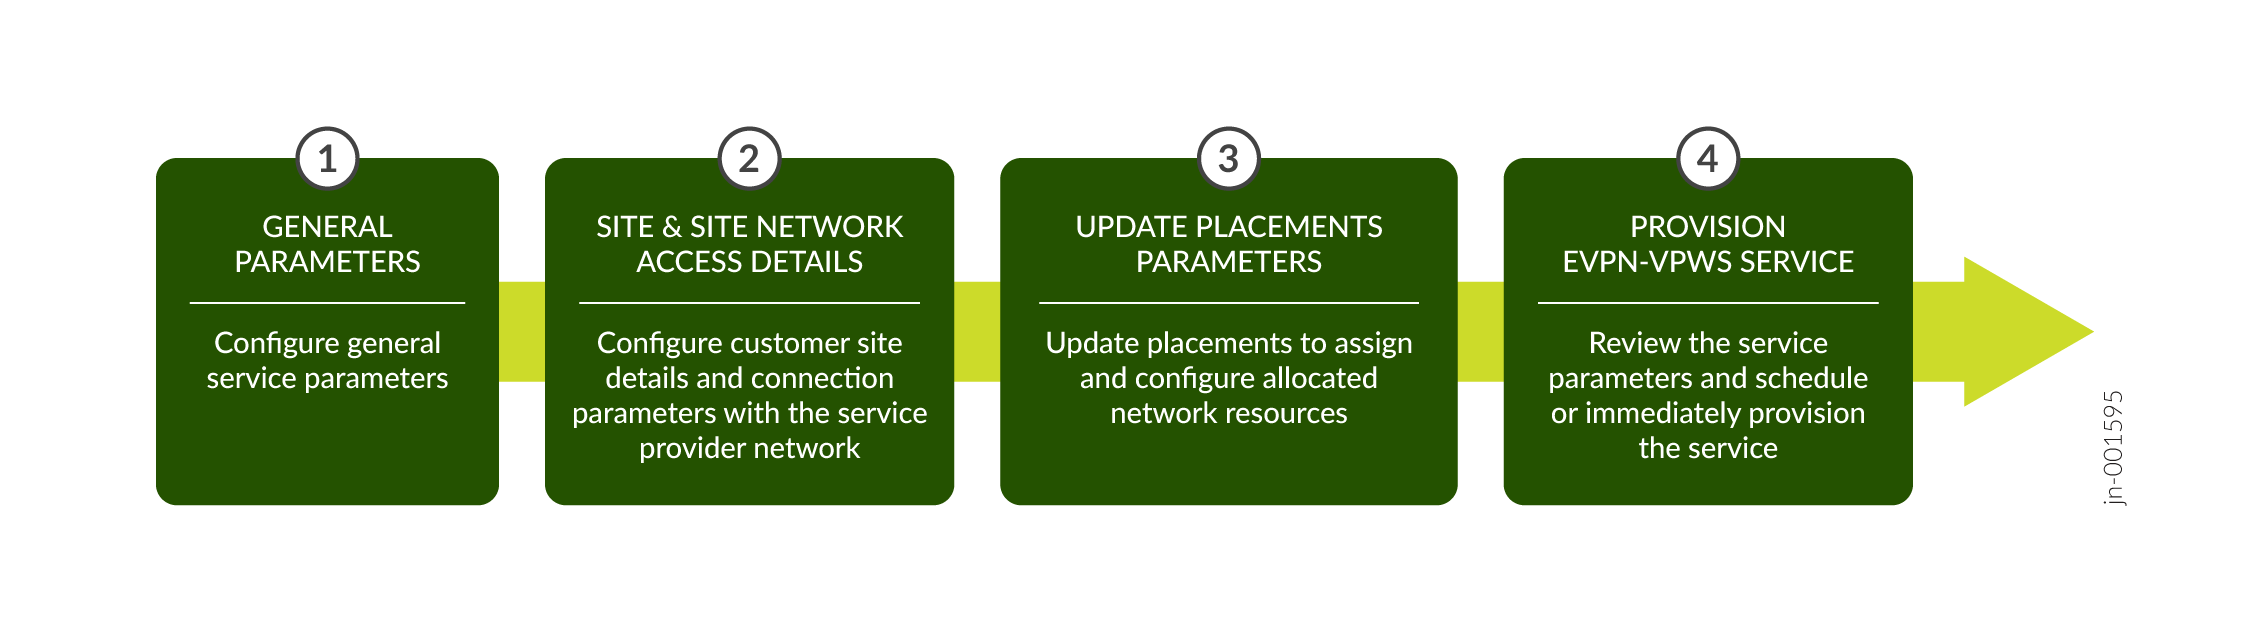
If you are uploading a preconfigured JSON file to create an EVPN-VPWS
service instance, you must clear the placement section in the file before
you provision the service order.
|
|
Customer*
|
Enter the name of the customer for whom you are provisioning the service:
-
If you already added the customer name by using the Customer Inventory
page (Orchestration >
Service > Customers),
click the Customer field to see a drop-down with the customer names that
you added. Select the customer name from the drop-down list.
-
Alternatively, click the Add Customer link to
create a new customer. See Add a Customer.
The customer name must be unique within an organization. For example,
network-operator.
|
|
Instance Name*
|
Enter a name for the service instance. For example, evpn-vpws1.
The instance name can be a set of alphanumeric characters and the special
character hyphen (-). The maximum number of characters allowed is 64.
|
|
Pinned Reservation
Configure the service to use reserved resources (pinned resources).
|
|
Brownfield
|
Enable this flag if this is a brownfield service. When enabled, this service
would be provisioned by using resources reserved for migrating brownfield
services to Routing Director.
|
|
Customer
|
Enable this flag to allow the service to be provisioned by using resources
that are exclusively reserved for the customer associated with this service.
|
|
Instance
|
Enable this flag to allow the service to be provisioned by using resources
exclusively reserved for this service.
|
|
Service Settings
Enter common settings applicable for the service.
|
|
Use instance name instead of UUID in device configuration.
|
Toggle to True to use the service instance name, instead of UUID, in
the device configurations. The specified name is used in configuration such as
routing instance name, filter name, policer name, community name, policy
statement name, and so on. The instance name must be unique across customers
and can be a maximum of 32 characters long.
Disable it to set it to False, so that the service instance name is
auto-converted to a UUID and used in the device configuration. The UUID is a
system generated alphanumeric value.
This option is disabled, by default.
|