
Link Local Account to Global Account
-
Ensure you have a local account in Juniper Routing Assurance, HPE Mist Networking Data Center Assurance, or Juniper Support Insights (JSI).
-
Select a preferred portal. The preferred portal setting allows you to specify the primary application portal that users are directed to when accessing an organization from the Global Cloud Portal. See, Set a Preferred Portal for an Organization.
Linking your account to a global account allows you to access organizations created across multiple cloud regions and applications from a centralized dashboard. Alternatively, you can create a global account directly and if the same email address is used as that of your local account, your accounts will be automatically linked. See, Create a Global Account.
Keep the following points in mind while linking accounts:
-
The e-mail address is the unique identifier used to associate local and global account.
Use the same e-mail address for your local and global account.
-
Local and global accounts are designed to function independently but can coexist. A global account is not automatically created when you have a local account. You must manually link your local account to global.
-
When a global account is created using an e-mail that already exists for a local account, the accounts are automatically linked.
-
Passwords are managed independently for security reasons and are not shared between accounts.
You must create unique passwords for each account.
-
Linking the accounts does not remove your existing access to your local account. In case you cannot access your global account, you can always use your local account to access an organization.
To link your local and global accounts:
-
In the My Account settings, navigate to the Link to Global
Account tile and click LINK.
Figure 1: Link To Global Account
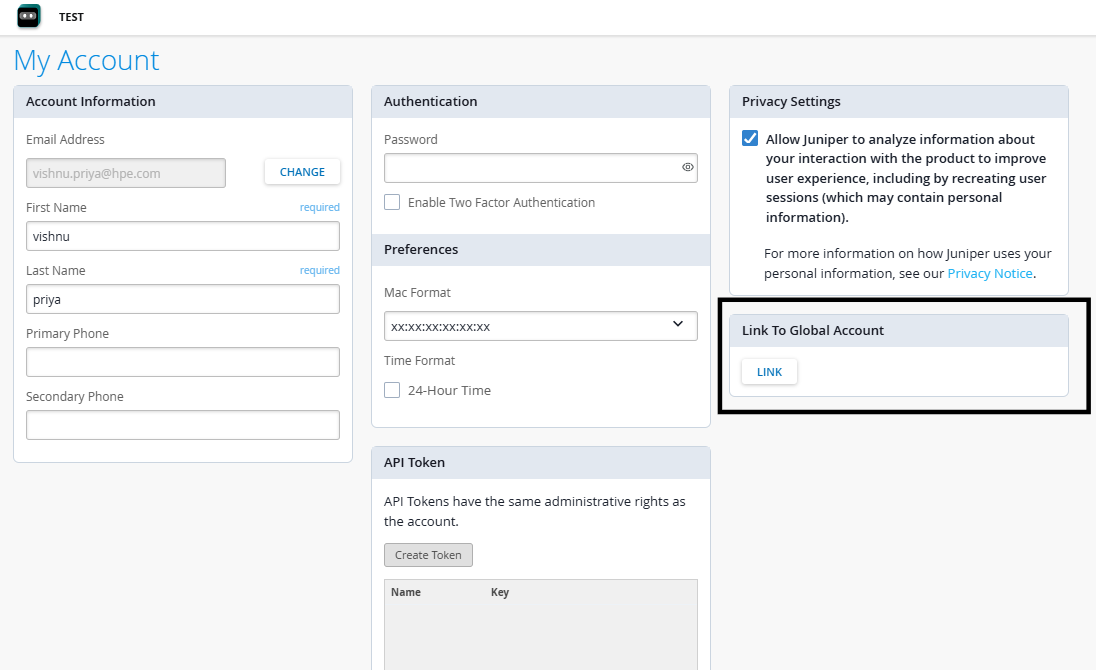
A confirmation message appears indicating that the request was successful, and an email is sent to your inbox.
-
In the email, click Link my account.
Figure 2: E-mail to Link Account
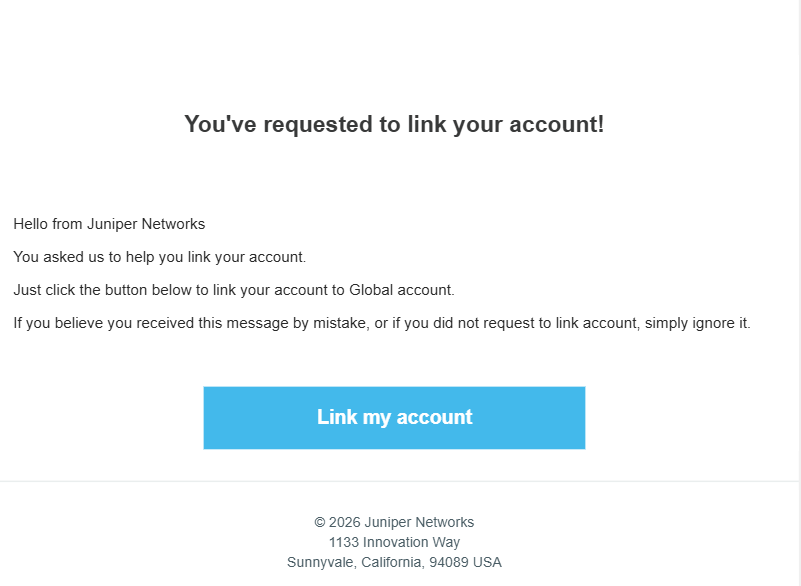 You are redirected to the application portal.
 -
Click Continue.
A second email is sent to your inbox to set a password for your global account.Figure 3: E-mail to Set Global Password
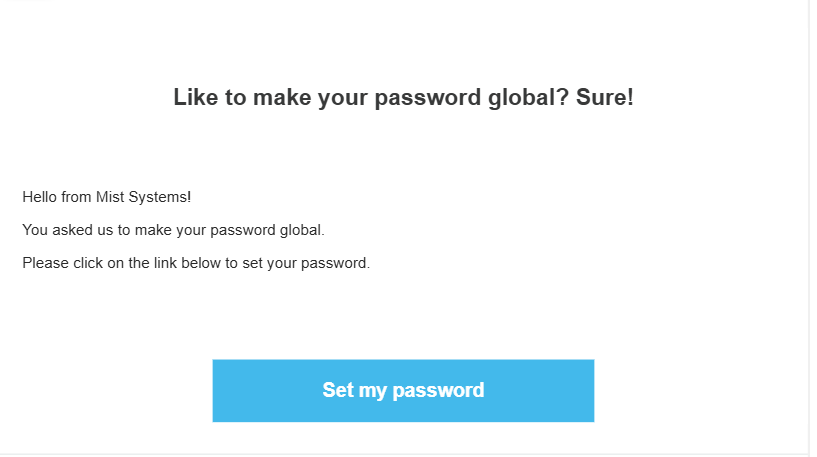
-
Enter a password for your global account and click Change
Password.
Figure 4: Change Password
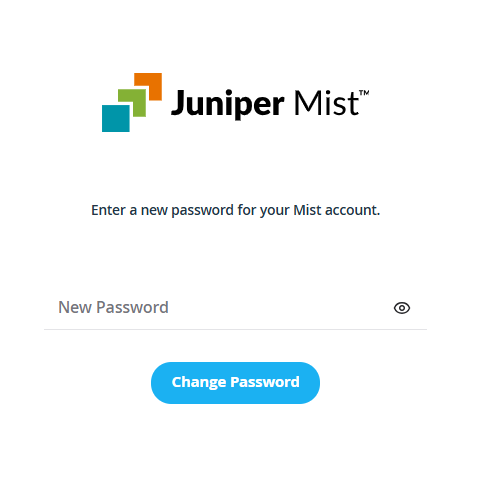 Once the password is set, you are automatically logged out.