Integrate Your Juniper Support Resources to Your Organization
To enable the correlation of device information maintained within Juniper’s support databases with your Juniper Support Insights experience, you must associate your Juniper support resources with your organization. Use your Juniper Support credentials (created through the Juniper Support Portal) to link the Juniper account and integrate your support resources to your organization. Once the account is successfully linked to the organization, the Installed Base (Organization > Inventory > Installed Base) page is populated with support resources for the devices associated with the account.
When you link your Juniper-registered account to an organization, all primary and secondary assets associated with the account and covered by an active service contract are integrated with the organization.
If the Juniper account is linked to multiple organizations, a device onboarded to one organization is automatically removed from the Installed Base page of the other organizations. However, once the device is offboarded from the organization, the device reappears on the Installed Base page of all the organizations.
For more information on device specific details collected from the cloud-connected devices, see About the Inventory Page.
To integrate your Juniper support resources to your organization:
-
Click Organization > Settings
to open the Organization Settings page.
Note:
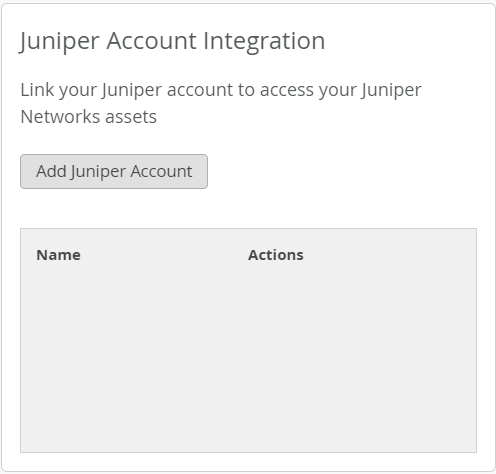
If no Juniper account is currently associated with the organization, the Installed Base tab on the Inventory page will display a link to add a Juniper account. Click Add Juniper Account to link the Juniper-maintained asset information you are authorized to access with your organization.
You can associate multiple Juniper accounts with your organization. This allows you to view a consolidated list of devices associated with multiple accounts in one place.
The Add Juniper Account pop-up also displays the list of primary accounts that are currently linked to the organization.
Locate the Juniper Account Integration tile.