Help us improve your experience.

Let us know what you think.

Do you have time for a two-minute survey?


Installing JSA 7.5.0 Update Package 4 qcow2 on the KVM

The size of the qcow2 image is 17 GB when compressed and it is 512 GB when it is uncompressed. We recommend that you increase the amount of storage allocated to a particular partition on the disk image to accommodate the qcow2 image. See Prerequisites for Installing JSA 7.5.0 Update Package 4 qcow2 for more information.

To install JSA 7.5.0 Update Package 4 qcow2 on the KVM:

  1. Copy the JSA 7.5.0 Update Package 4 qcow2 image to a safe location on the virtualization host.
  2. Clone the image using the following command.
  3. (Recommended) Provide the full disk allocation by using the following command.
  4. Install the virtual KVM device using the virt-install command. This command prints the XML necessary to define the VM in the KVM.
  5. Print the command output to a file, and then edit the file to complete the static CPU pinning by adding the following information to the XML file.
  6. Define the VM using the following command.

    The following is an example of the command output:

  7. Start the VM and start the console into the VM by using the following commands.
  8. Log in as the root user.
    Note:

    A password is not required.

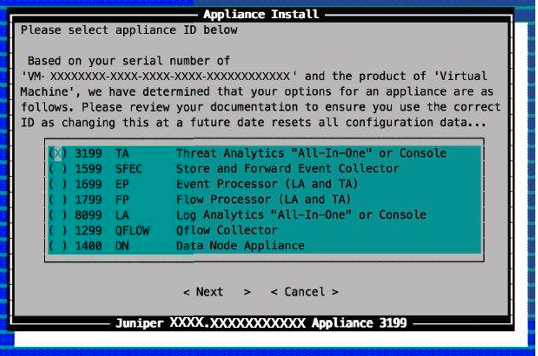
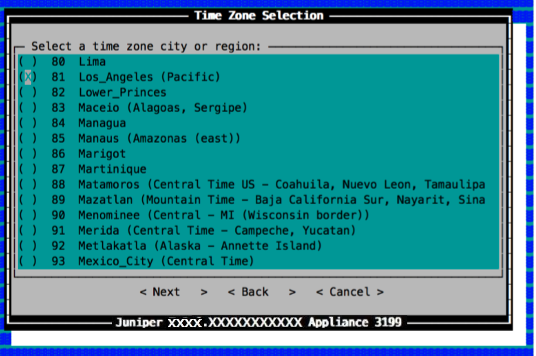
  9. Follow the step in the installation wizard for the virtual appliance type you are creating, in this case a Threat Analytics "All In One" or Console.
    1. Log in as the root user at the prompt (a password is not required). If you are prompted for a p assword, there is some error with the installation. Please contact Juniper Customer Support.
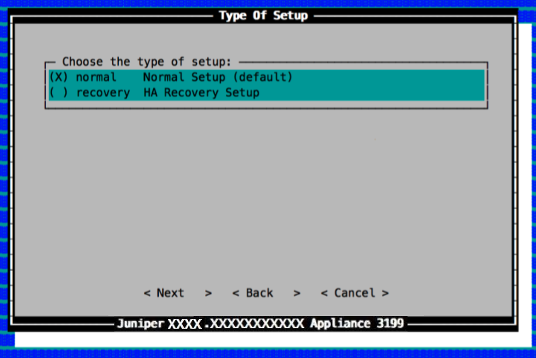
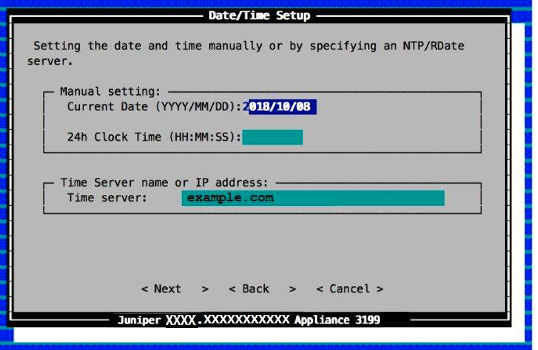
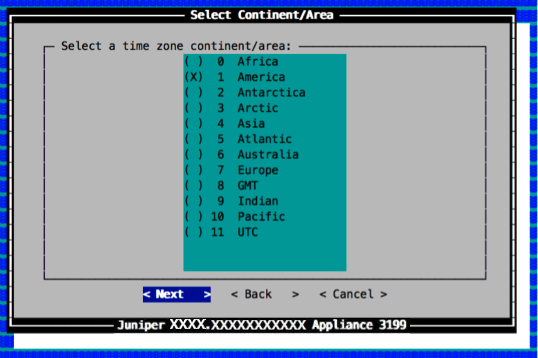
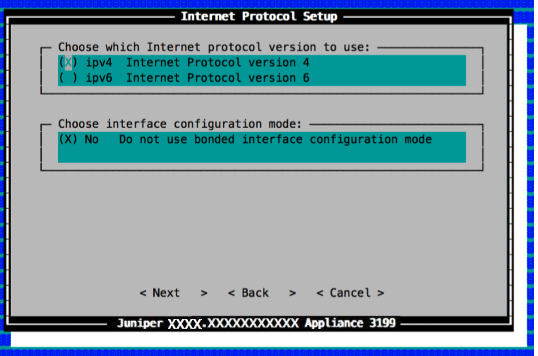
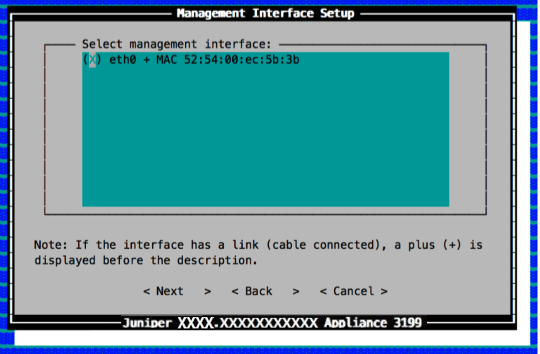
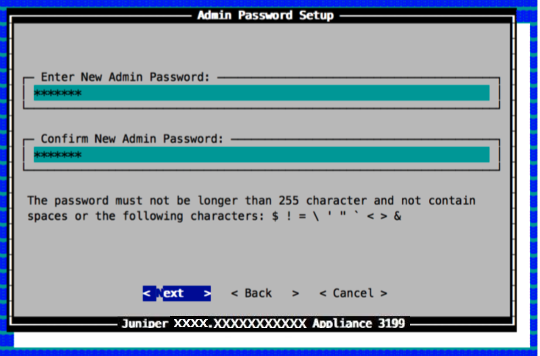
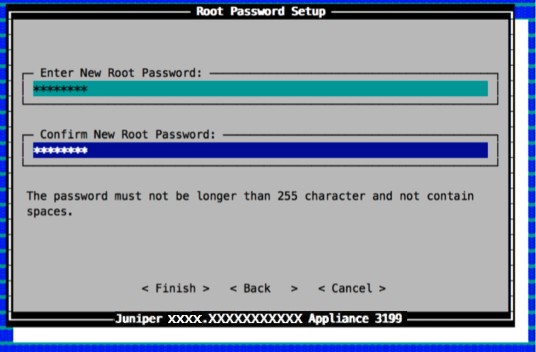
    2. Accept the EULA license and proceed with the installation. Provide information in the installation wizard when prompted. Select appliance ID based on virtual machine serial number and product Virtual Machine. Options include Threat Analytics All-In-One or Console, Store and Forward Event Collector, Event Processor LA and TA, Flow Processor LA and TA, Log Analytics All-In-One or Console, Qflow Collector, Data Node Appliance. Ensure correct ID use as changes reset configuration. Options to proceed with Next, go back, or cancel process. Display shows Juniper appliance 3199.Juniper Appliance 3199 setup screen with Normal Setup selected and HA Recovery Setup unselected. Options: Next, Back, Cancel.Juniper appliance 3199 date and time configuration screen with manual entry and NTP server options.Time zone selection screen with America chosen. Navigation options: Next, Back, Cancel.Configuration screen for selecting a time zone on a Juniper appliance with Los Angeles Pacific highlighted and navigation options Next Back Cancel.Juniper model 3199 IP settings screen with IPv4 selected, bonded interface mode off, and navigation options Next, Back, Cancel.Management Interface Setup screen on Juniper appliance, select interface eth0 with MAC 52:54:00:ec:5b:3b. Cable connected. Options Next, Back, Cancel.Network Information Setup screen with fields for Hostname: vjsa-tacon.device.example.com, IP Address: 192.0.2.0, Network Mask: 255.255.255.0, Gateway: 10.102.31.254, Primary DNS: 10.155.191.252, and Email Server: localhost. Navigation options: Back, Cancel, Next. Juniper appliance interface.Password setup screen for admin account on Juniper appliance model 3199. Enter and confirm new password, max 255 characters, no spaces or special characters: $, !, =, \, <, >. Options: Next, Back, Cancel.Root Password Setup screen prompting for new root password entry and confirmation; password must not exceed 255 characters or contain spaces.
    3. When you select Finish, the installation is started. This process can take up to 6 hours depending on the speed of your system. Although it might appear as if the system is not responding at times, wait for the installation to complete.

      The following output indicates a successful installation of a console: