Creating a Floating IP Address Pool
A floating IP address is an IP address (typically public) that can be dynamically assigned to a running virtual instance.
To configure floating IP address pools in project networks in Contrail, then allocate floating IP addresses from the pool to virtual machine instances in other virtual networks:
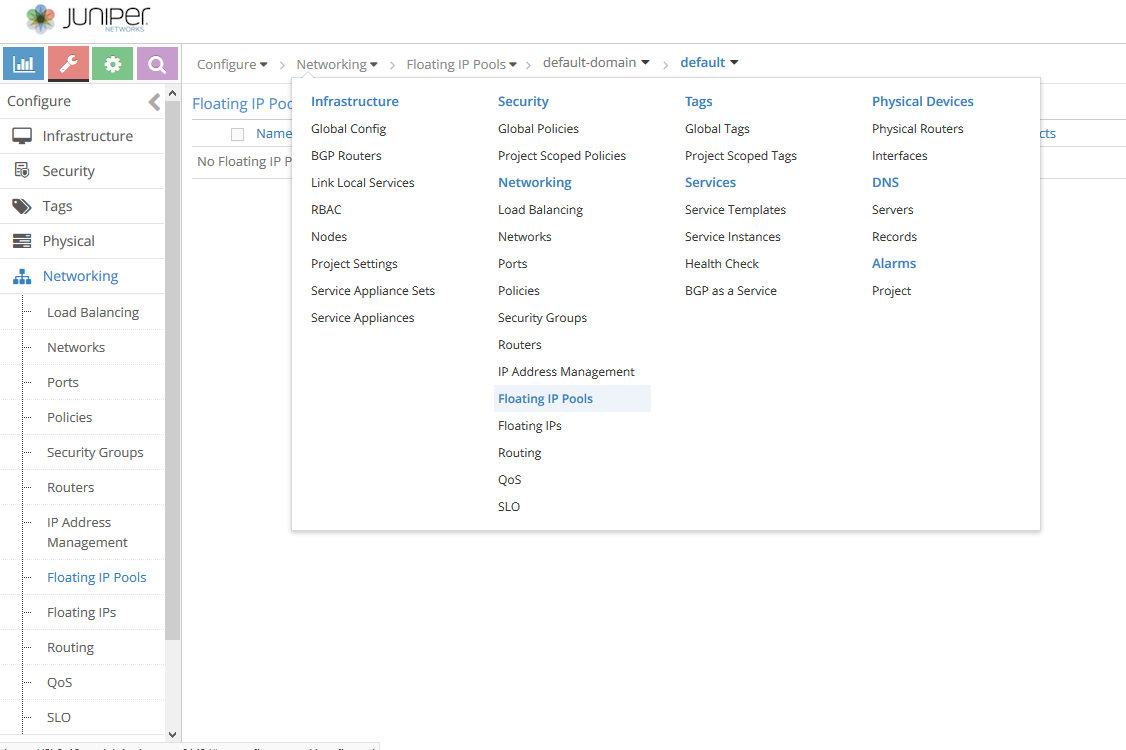
- Select Configure > Networking > Floating IP Pools.Figure 1: Floating IP Pools Selection
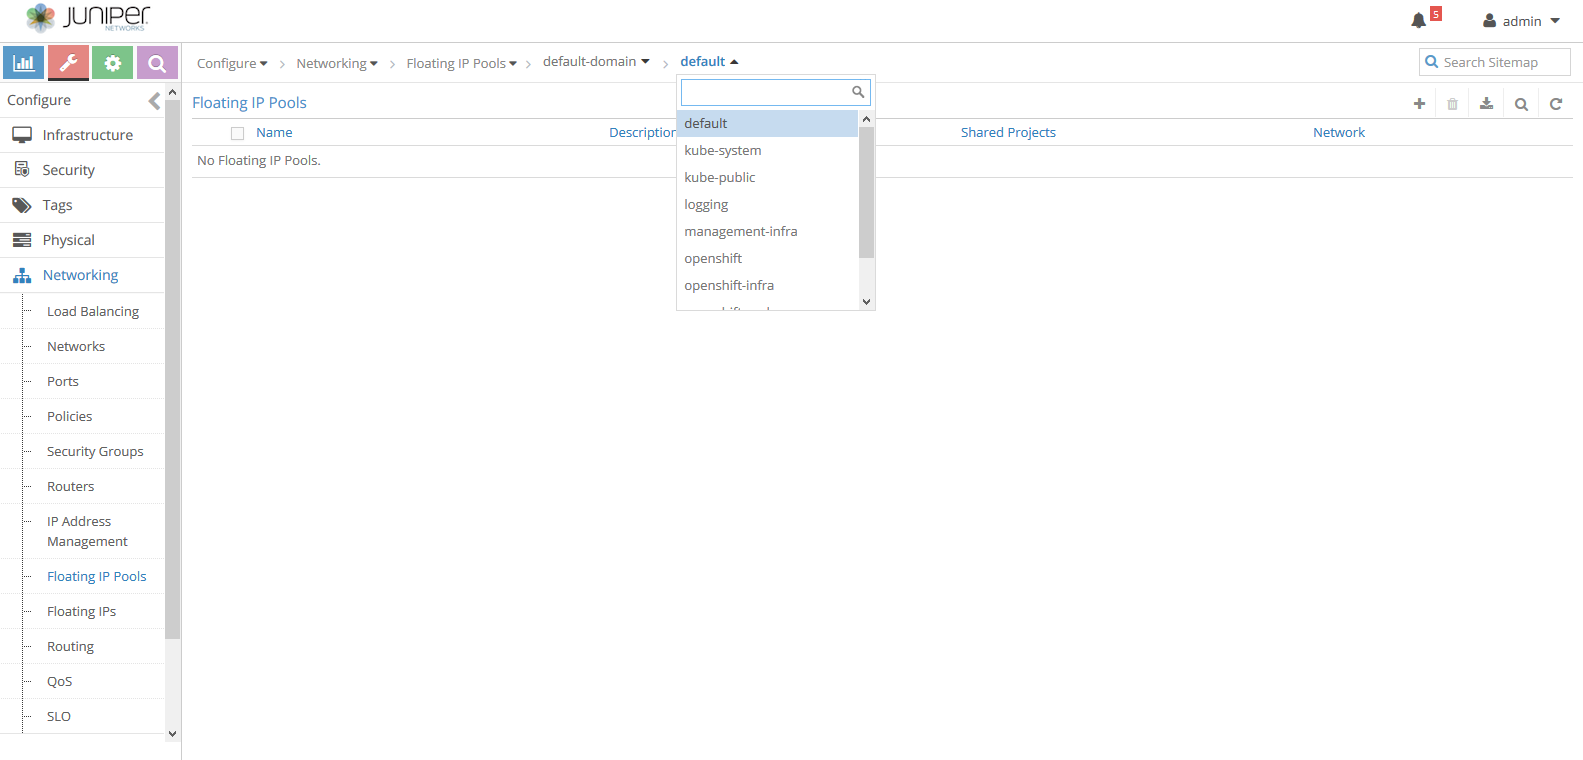
- Select the network you want to associate with a floating
IP pool.Figure 2: Network Selection
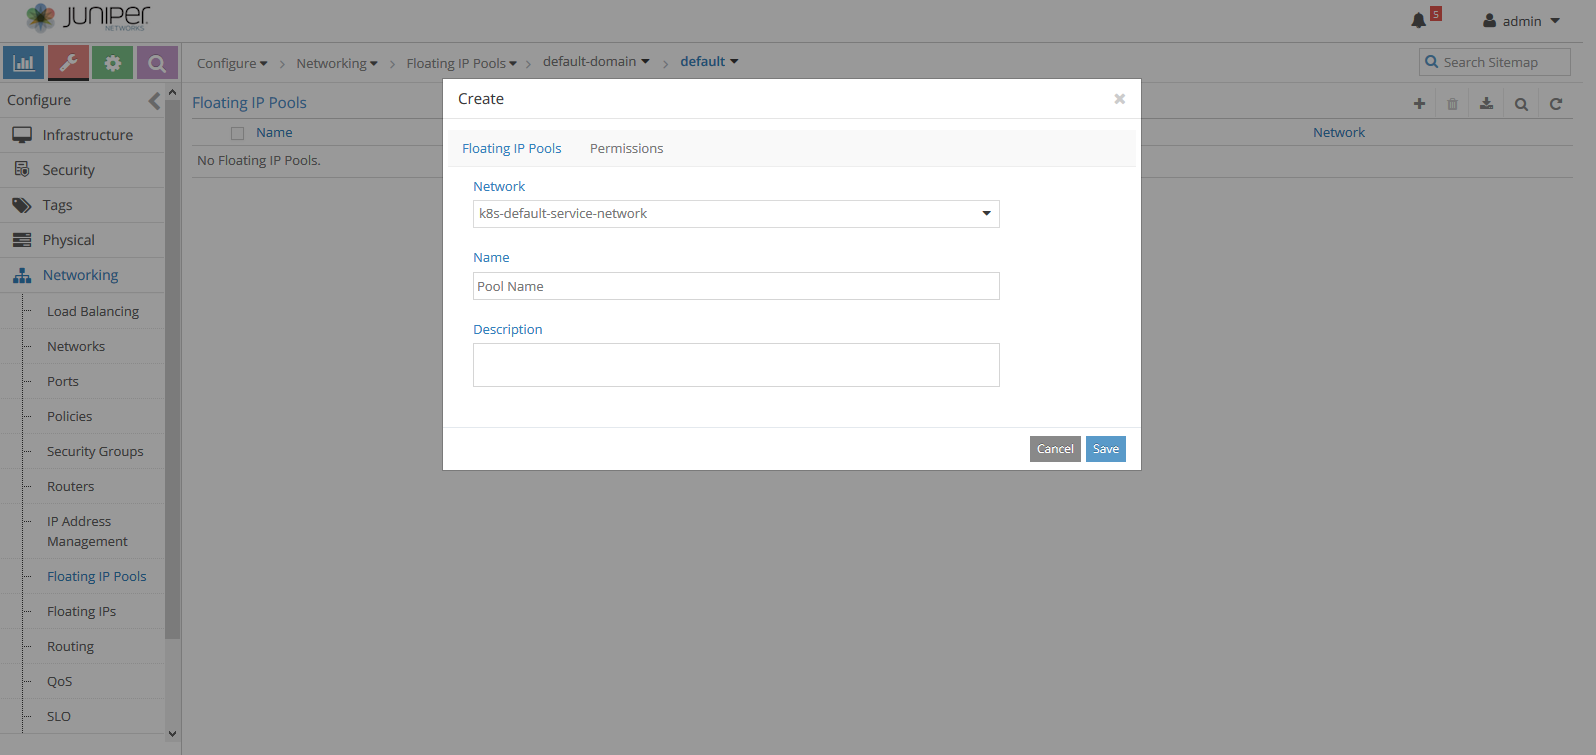
- Add a Name and Description in the Floating IP Pools tab.
Click the Permissions tab to set Owner Permissions and Global Share Permissions for the floating IP pool. To associate the floating IP pool with multiple projects, click the add icon (+) in the Share List.
Figure 3: Create the Floating IP Pool