VNIs
VNIs
Virtual network identifiers (VNIs) are used in VXLAN encapsulation to provide Layer 2 separation for the overlay traffic in your data center fabric. (For more information about VNI usage, see Virtual Networks.
You'll create VNI pools in the Resources section, then when you create virtual networks and routing zones you'll assign those pools. Resources from the pool are automatically pulled, as needed.
If you need to assign a specific VNI, you can assign it manually
VNI Pool Details
VNI pools include the following details:
| Pool Name | A unique name to identify the resource pool |
| Total Usage | Percentage of VNIs in use for all ranges in the resource pool. (Hover over the status bar to see the number of VNIs in use and the total number of VNIs in the pool.) |
| Range Usage | The VNIs included in the range and the percentage that are in use. (Hover over the status bar to see the number of VNIs in use and the total number of VNIs in that range.) |
| Status | Indicates if the pool is in use |
VNI Pools Using the GUI
From the left navigation menu, navigate to Resources > VNI Pools to go to the VNI Pools page where you can create (clone), update and delete VNI pools.
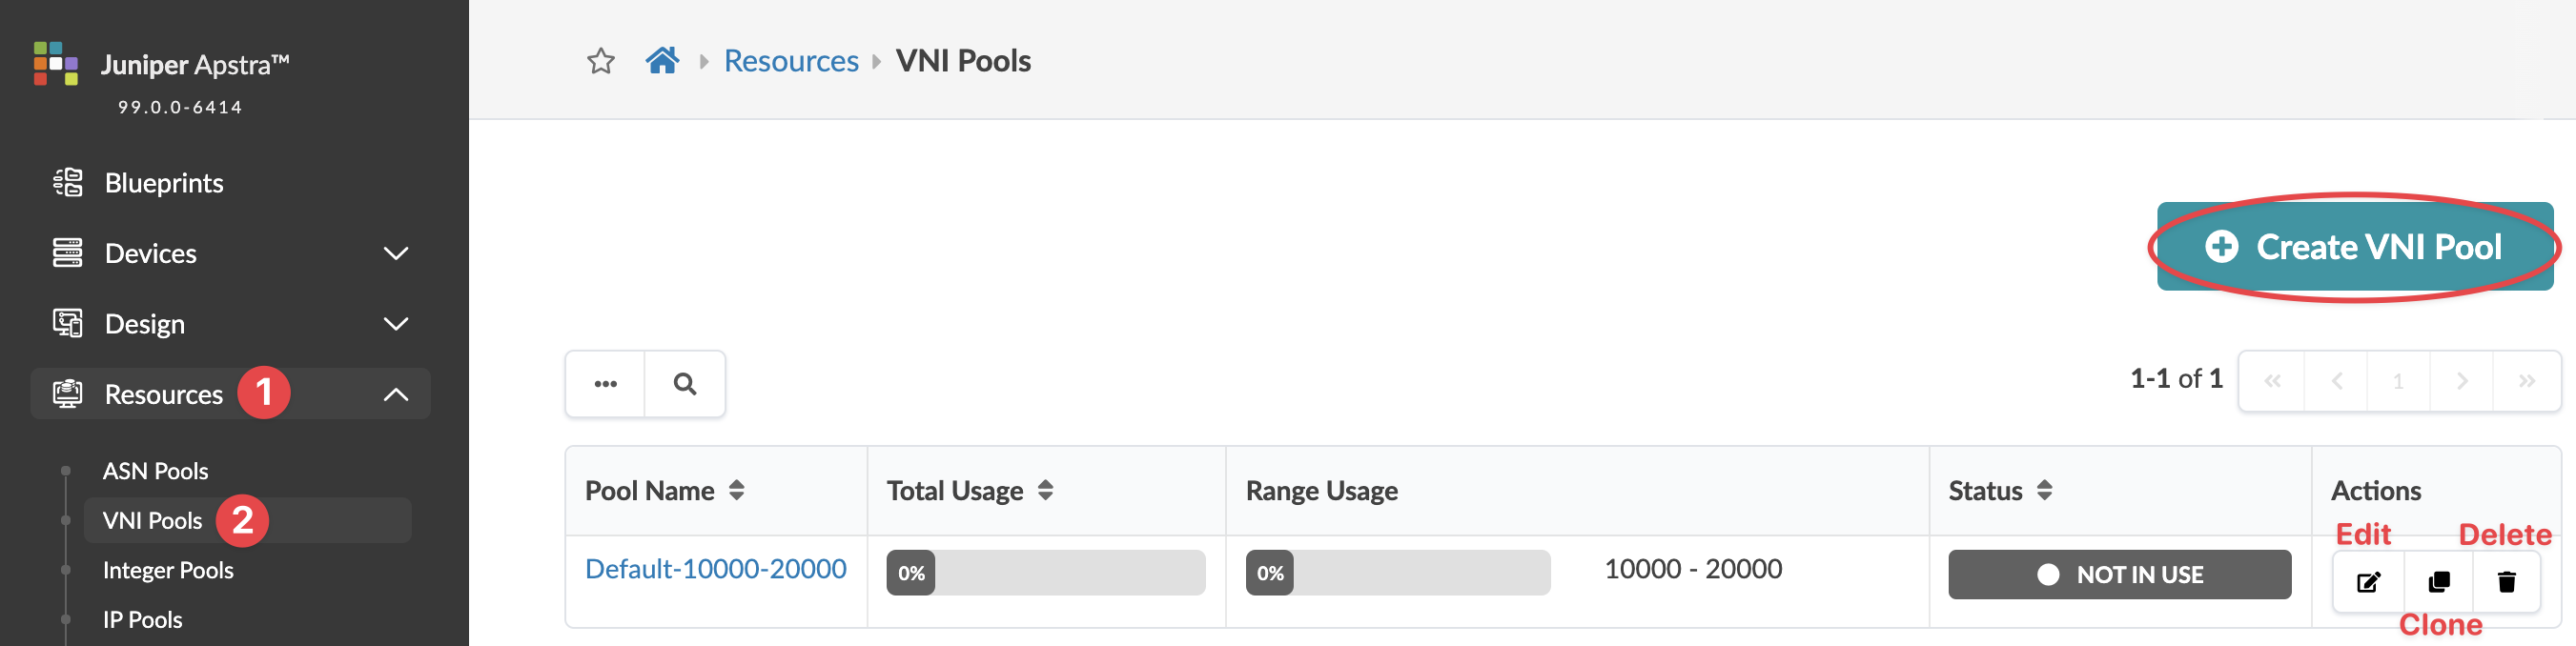
Create VNI Pool
Update VNI Pool
Delete VNI Pool
- From the left navigation menu, navigate to Resources > VNI Pools and click the Delete button in the Actions panel for the pool to delete.
- Click Delete.