Help us improve your experience.

Let us know what you think.

Do you have time for a two-minute survey?


Install Apstra on Hyper-V

These instructions are for installing Apstra software on a Microsoft Hyper-V hypervisor. For information about using Hyper-V in general, refer to Microsoft's Hyper-V documentation.

  1. Confirm that you're running one of the Supported Hypervisors and Versions.
  2. Make sure that you allocate enough resources for your network. For example, if you're using more than 25 offbox agents, you'll need to add another VM. See Required Server Resources for more details.
    CAUTION:

    If you allocate insufficient CPU and RAM allocations for your network you'll probably experience issues such as slow response times, system errors and a critical "segmentation fault" (core dump). If this happens, you'll need to delete the VM and redeploy it with additional resources.

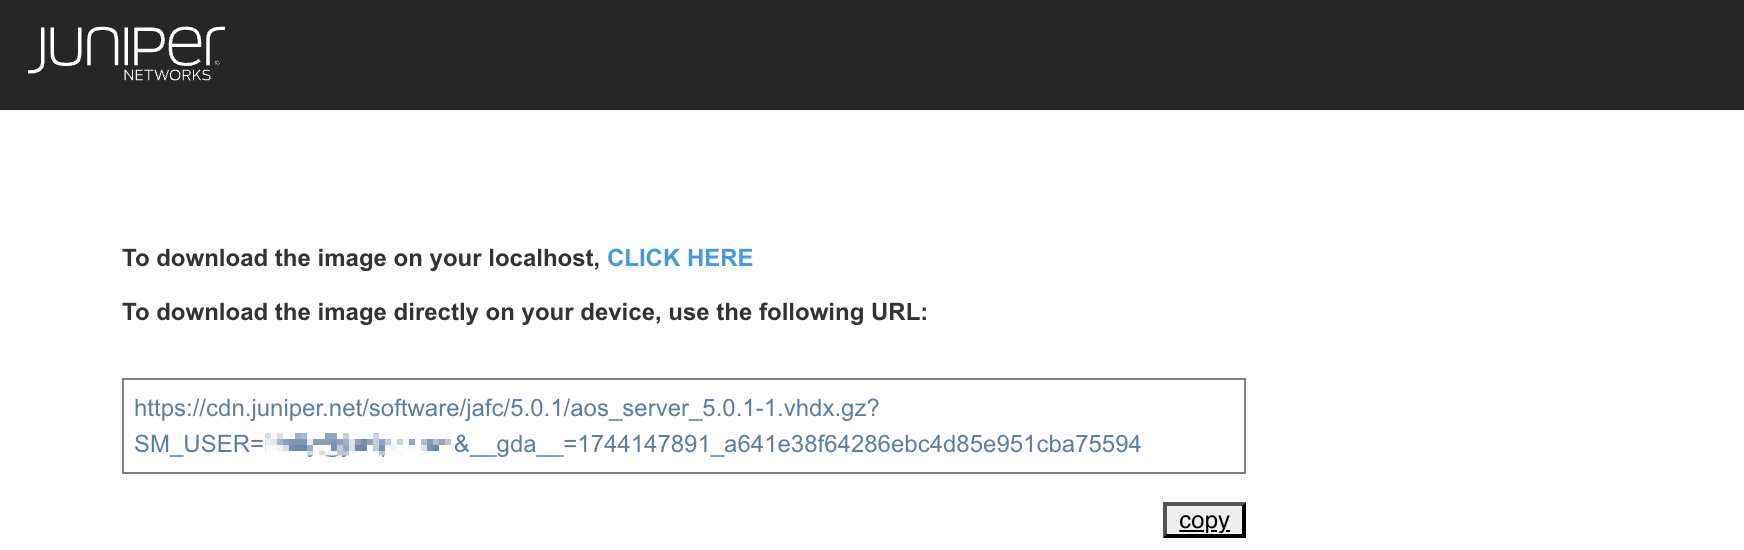
  3. Apstra software is delivered pre-installed on a single VM. The same Apstra VM image is used for installing both the Apstra controller and Apstra workers. As a registered support user, download the Apstra VM VHDX Image for Microsoft Hyper-V from Juniper Support Downloads.
    Juniper Networks download instructions for aos_server_5.0.1-1.vhdx.gz with options for localhost or direct URL download.
  4. Uncompress the disk image and move it to where it will run.
  5. Start Hyper-V Manager, select the server for the VM and navigate to Actions > New > Virtual Machine. The New Virtual Machine Wizard opens.
    Hyper-V Manager interface with Action menu open, New submenu expanded showing options to create Virtual Machine, Hard Disk, Floppy Disk. No virtual machines found on server.
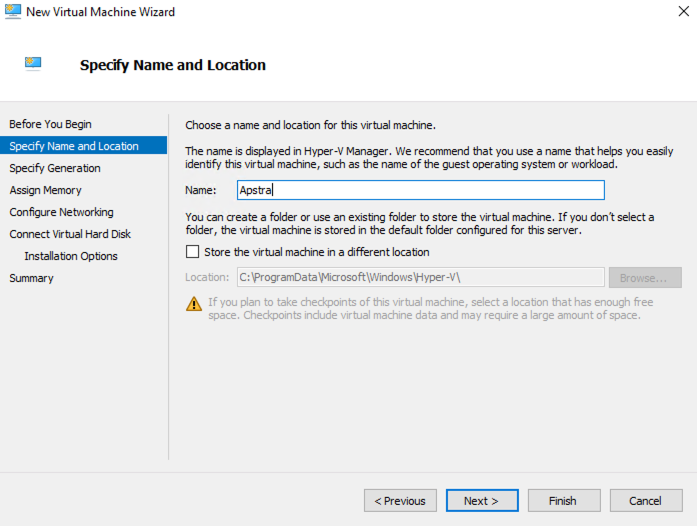
  6. Specify a VM name and location, then click Next.
    New Virtual Machine Wizard in Hyper-V Manager specifying name Apstra and default location C:\ProgramData\Microsoft\Windows\Hyper-V\ with navigation buttons.
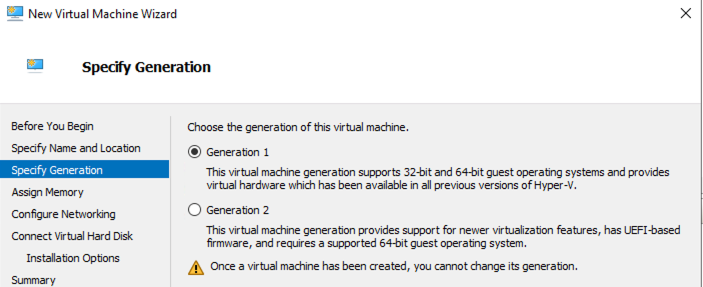
  7. Specify Generation 1, then click Next.
    New Virtual Machine Wizard in Hyper-V Manager specifying generation step with options for Generation 1 and Generation 2.
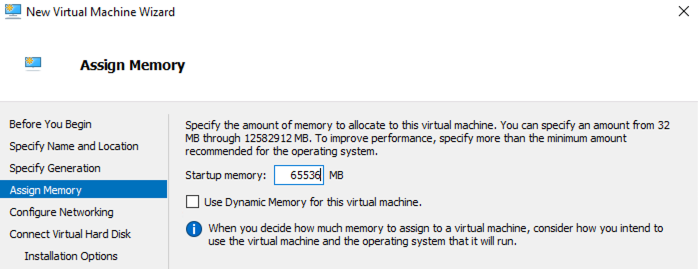
  8. Specify required memory based on your environment, then click Next.
    Assign Memory step in New Virtual Machine Wizard, 65536 MB startup memory set, dynamic memory option unchecked, step 4 of 7 steps.
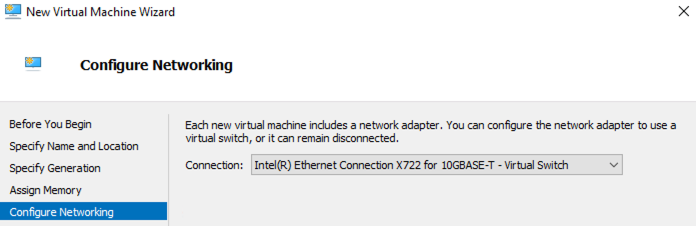
  9. Configure the virtual switch as required for your deployment environment, then click Next.
    New Virtual Machine Wizard in Hyper-V Manager at Configure Networking step with selected Intel Ethernet Connection X722 for 10GBASE-T Virtual Switch.
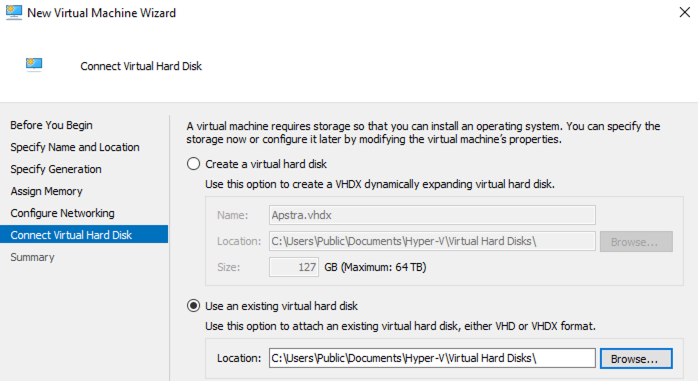
  10. Select Use an existing virtual hard disk and browse to the extracted file, then click Finish.
    New Virtual Machine Wizard in Hyper-V Manager at Connect Virtual Hard Disk step with Use an existing virtual hard disk selected and path shown.
  11. Click Settings (right panel), click Processor (left panel), specify the number of virtual processors based on required VM resources, then click OK.
    Virtual machine "Apstra" settings in Hyper-V, focusing on processor configuration with 8 virtual processors allocated.

You're ready to configure the Apstra server. (When the Apstra server is configured, the Docker daemon runs properly.)