ON THIS PAGE
Step 1: Begin
In this guide, we provide a simple, three-step path, to quickly get you up and running with your new EX4600. We’ve simplified and shortened the installation and configuration steps, and included how-to videos. You’ll learn how to install an AC-powered EX4600, power it up, and configure basic settings.
Are you interested in getting hands-on experience with the topics and operations covered in this guide? Visit Juniper Networks Virtual Labs and reserve your free sandbox today! You’ll find the Junos Day One Experience sandbox in the stand alone category. EX switches are not virtualized. In the demonstration, focus on the virtual QFX device. Both the EX and QFX switches are configured with the same Junos commands.
Meet the EX4600
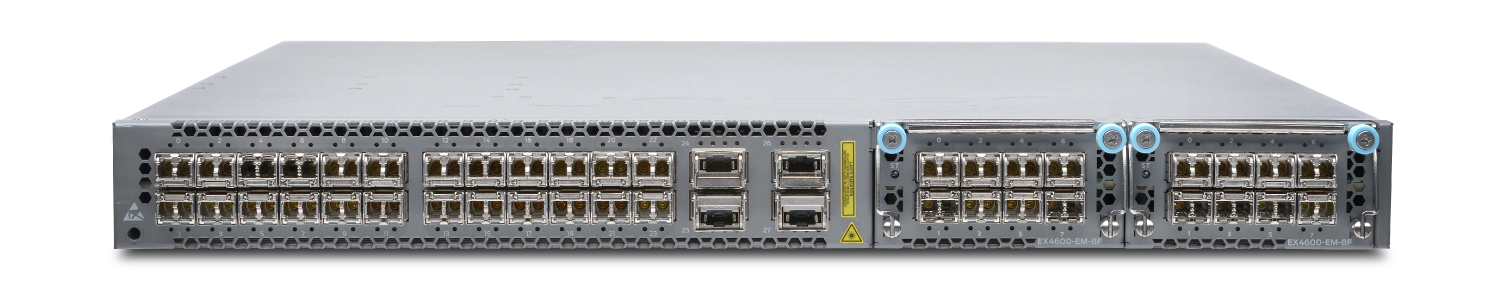
The Juniper Networks® EX4600 offers a compact, highly scalable, high-performance 10GbE solution for enterprise campus distribution deployments as well as low-density data center top-of-rack environments. A single EX4600 can support up to 72 10GbE ports (using 10GbE breakout cables on 40GbE fixed ports) at line rate. In addition, Virtual Chassis technology makes it easy to scale the network while reducing management complexity. By adding switches to a Virtual Chassis configuration, you can grow the number of switch ports without increasing the number of devices to manage.
The base EX4600 model has:
24 fixed small form-factor pluggable (SFP) or SFP+ access ports
Four fixed quad SFP+ (QSFP+) high-speed uplinks
Two power supplies
Five fan modules
Management interface ports: RJ-45 console (CON) port, RJ-45 management Ethernet port (CO), SFP management Ethernet port (C1), and a USB port
Two expansion slots for optional expansion modules
The EX4600 is available in AC-powered or DC-powered models with air-flow in or air-flow out cooling. You can install the switch in a four-post rack. In this guide, we show you how to install an AC-powered EX4600 in a four-post rack. If you need instructions for installing a DC-powered EX4600, see the EX4600 Ethernet Switch Hardware Guide.
Install the EX4600
Let’s get going and install the EX4600 in a four-post rack.
What’s in the Box?
EX4600 switch with two power supplies and five fan modules pre-installed
Two power cords appropriate for your geographic location
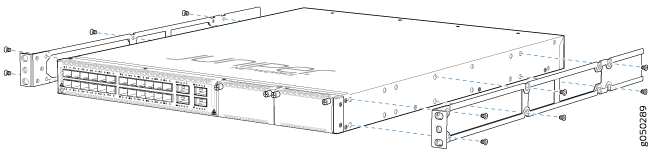
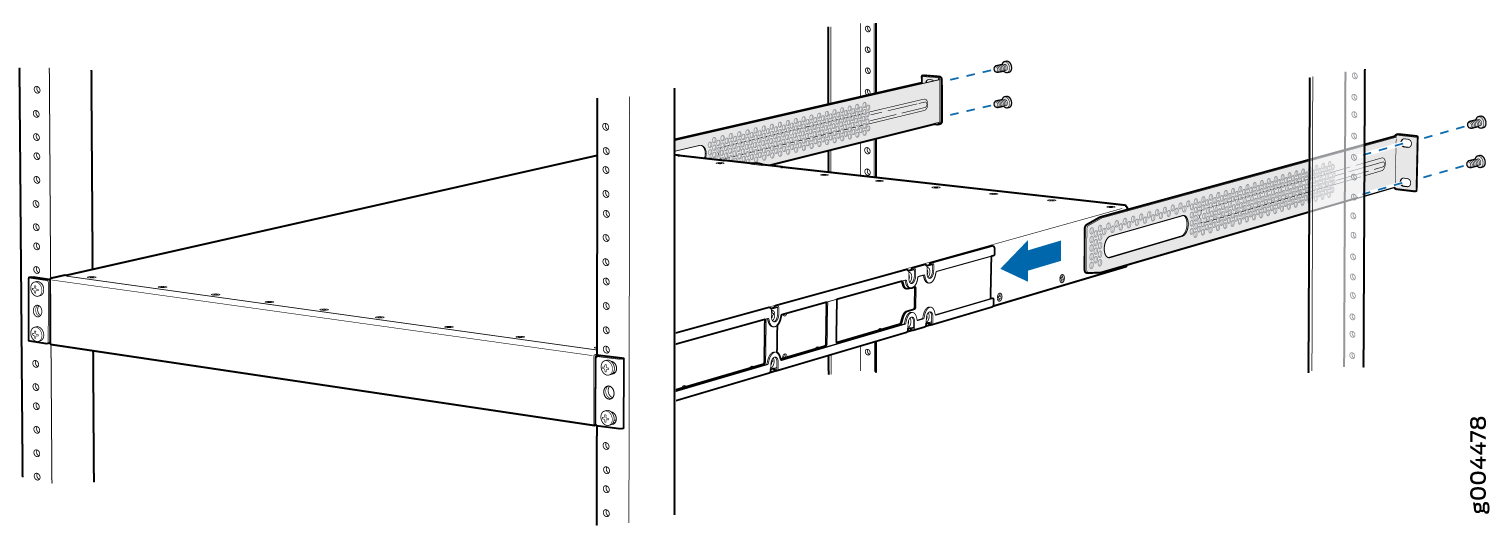
Rack mount kit
The rack mount kit contains one pair of mounting rails, one pair of mounting blades, and 12 flat-head Phillips mounting screws.
What Else Do I Need?
Someone to help you secure the switch to the rack
A number two Phillips (+) screwdriver
Eight rack mount screws
Cage nuts and washers, if your rack requires them
Grounding lug and attached cable
Two 10-32 x 0.25 screws with #10 split-lock washers
An electrostatic discharge (ESD) grounding strap
Management host, such as a laptop or desktop PC
Serial-to-USB adapter (if your laptop or desktop PC doesn’t have a serial port)
An Ethernet cable with RJ-45 connectors attached and an RJ-45 to DB-9 serial port adapter
Note:We no longer include the RJ-45 console cable with the DB-9 adapter as part of the device package. If the console cable and adapter are not included in your device package, or if you need a different type of adapter, you can order the following separately:
-
RJ-45 to DB-9 adapter (JNP-CBL-RJ45-DB9)
-
RJ-45 to USB-A adapter (JNP-CBL-RJ45-USBA)
-
RJ-45 to USB-C adapter (JNP-CBL-RJ45-USBC)
If you want to use RJ-45 to USB-A or RJ-45 to USB-C adapter you must have X64 (64-Bit) Virtual COM port (VCP) driver installed on your PC. See, https://ftdichip.com/drivers/vcp-drivers/ to download the driver.
-
Rack It
- Attach the mounting rails to each side of the switch using
the supplied flat-head mounting screws.
- While you’re holding the switch in place, have
a second person insert and tighten the rack mount screws to secure
the mounting rails to the rack rails. Make sure they tighten the screws
in the two bottom holes first, and then tighten the screws in the
two top holes.
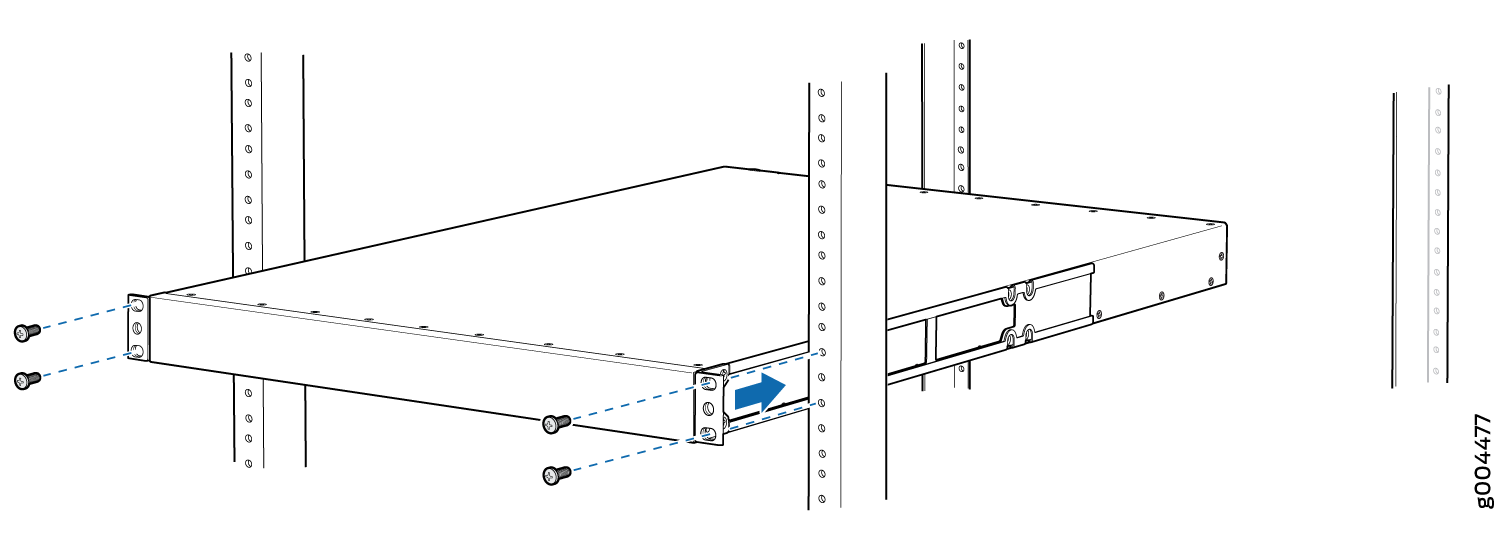
- Screw the mounting blades to the rack using the rack mount
screws (and cage nuts and washers, if your rack requires them).
Power On
Now that you’ve installed your EX4600 in the rack, you’re ready to connect it to power.
- Secure the grounding lug and attached cable to the chassis
using two 10-32 x 0.25 screws with #10 split-lock washers. Attach
the lug to the chassis through the left rail and blade assembly.
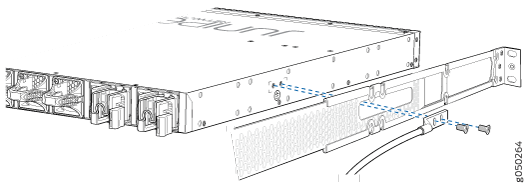
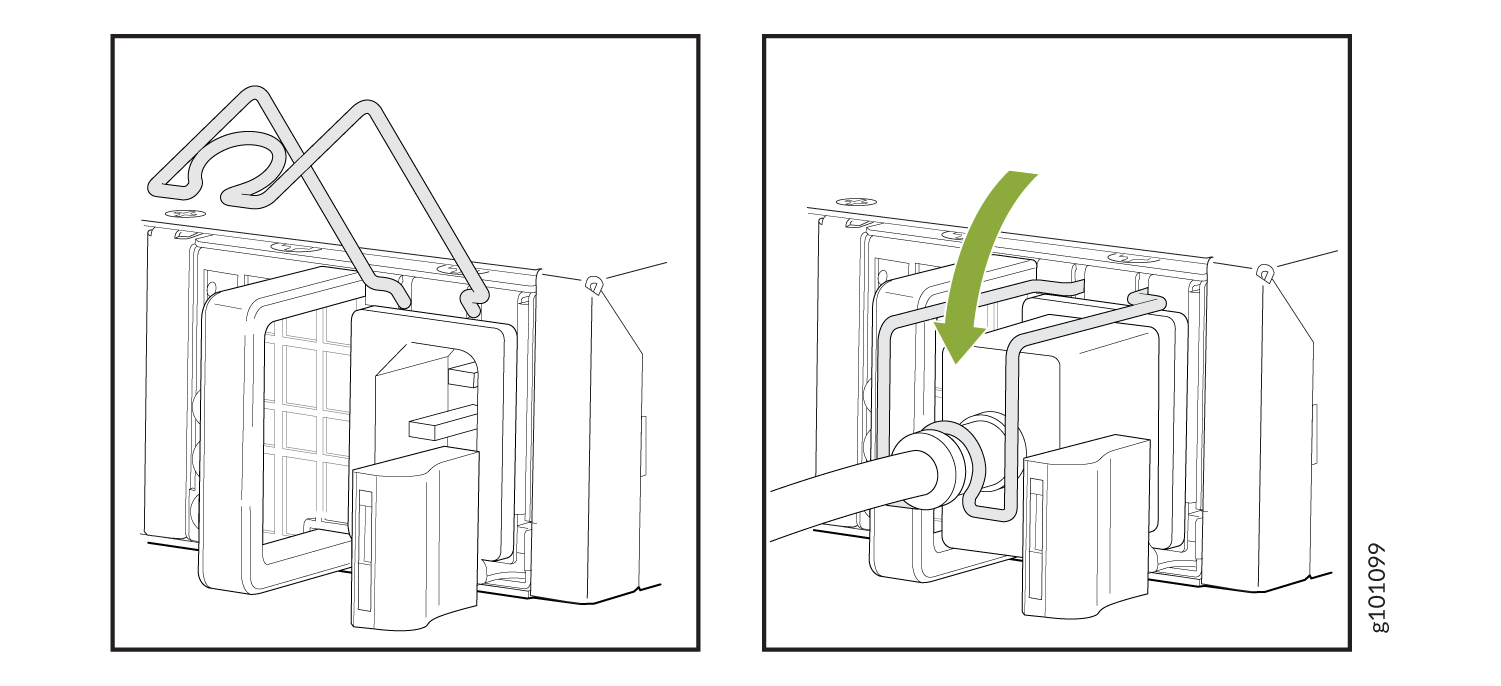
- Push the power cord retainer onto the power cord.