
Connect the PTX10002-60MR to External Devices
This topic guides you on how to connect your PTX10002-60MR to external mangement or timing devices.
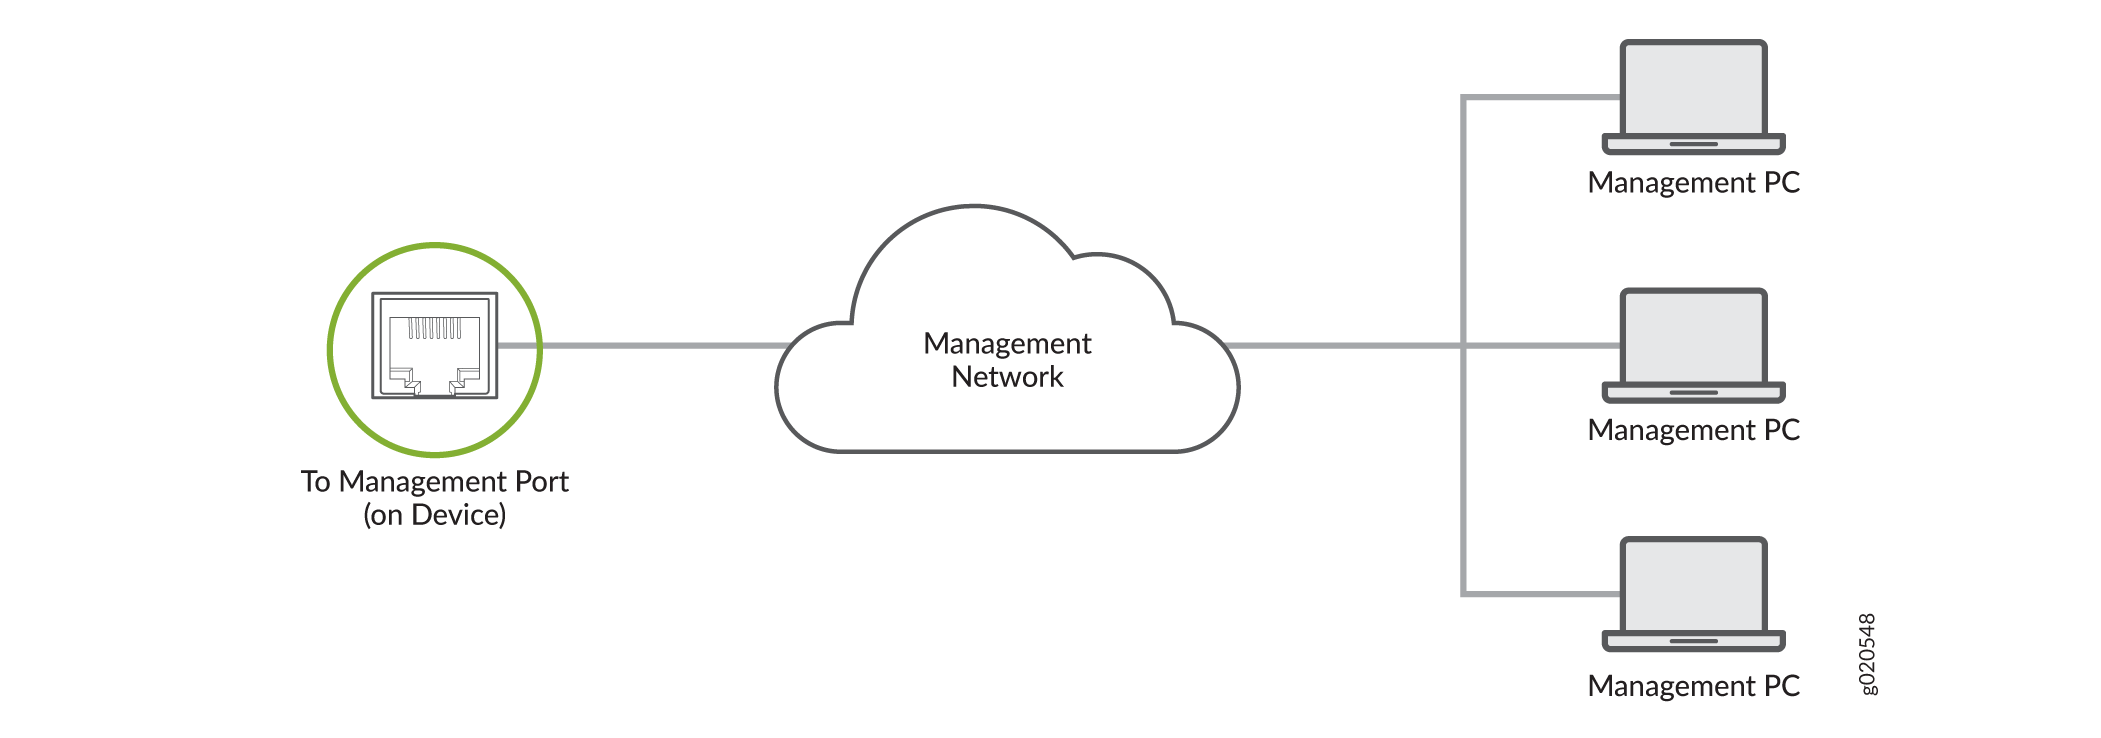
You can monitor and manage the PTX10002-60MR by using a dedicated management channel. Use the management port to connect your device to the management device.
You can also connect the PTX10002-60MR to external clocking and timing devices.
Connect the PTX10002-60MR Switch to a Network for Out-of-Band Management
Ensure that you have an Ethernet cable that has an RJ-45 connector at each end.
To connect a device to a network for out-of-band management (OOBM):
-
Connect the other end of the cable to the management device.
Figure 1: Connect Your Device to a Network for Out-of-Band Management
Connect the PTX10002-60MR Switch to a Management Console Using an RJ-45 Connector
Ensure that you have an Ethernet cable that has an RJ-45 connector at either end. You will also need the appropriate adapter (not provided) depending upon your console server or management console.
You can separately order the following adapters from Juniper Networks:
-
RJ-45 to DB-9 adapter (JNP-CBL-RJ45-DB9)
-
RJ-45 to USB-A adapter (JNP-CBL-RJ45-USBA)
-
RJ-45 to USB-C adapter (JNP-CBL-RJ45-USBC)
If you want to use the RJ-45 to USB-A or RJ-45 to USB-C adapter, you must have X64 (64-Bit) Virtual COM port (VCP) driver installed on your PC. See https://ftdichip.com/drivers/vcp-drivers/ to download the driver.
To connect the device to a management console:
-
Connect the other end of the cable to the console server or PC.
Figure 2: Connect Your Device to a Management Console Through a Console Server
 Figure 3: Connect Your Device Directly to a Management Console
Connect the PTX10002-60MR to External Clocking and Timing Devices
- Connect 1-PPS and 10-MHz Timing Devices
- Connect the PTX10002-60MR to a BITS External Clocking Device
- Connect the PTX10002-60MR to a Time-of-Day Device
Connect 1-PPS and 10-MHz Timing Devices
Your device has GPS clock ports that you can use to connect it to a 1-pulses per second (PPS) and 10-megahertz (MHz) timing device. These ports require 2x1 DIN 1.0/2.3 latching plug connectors.
You can configure your device as a timing primary device or a client device. As a timing primary device, the device receives inputs from the timing device through the input ports and sends outputs to a client device through the output ports. As a timing client device, the device receives inputs from the timing device through the input ports.
To connect your device to a 1-PPS and 10-MHz timing device:
Connect the PTX10002-60MR to a BITS External Clocking Device
You can use the building-integrated timing supply (BITS) port on your device to connect it to a BITS timing device.
To connect your device to a BITS timing device:
- Wrap and fasten one end of the ESD grounding strap around your bare wrist and connect the other end of the strap to one of the ESD points on the chassis.
- Plug one end of an RJ-45 cable into a BITS port.
- Plug the other end of the RJ-45 cable into the BITS external clocking device.
- Verify that the LED for the BITS port is lit steadily green.
- Configure the port.
Connect the PTX10002-60MR to a Time-of-Day Device
You can use the time-of-day (TOD) port on your device to connect it to a TOD timing device.
To connect your device to a TOD timing device: