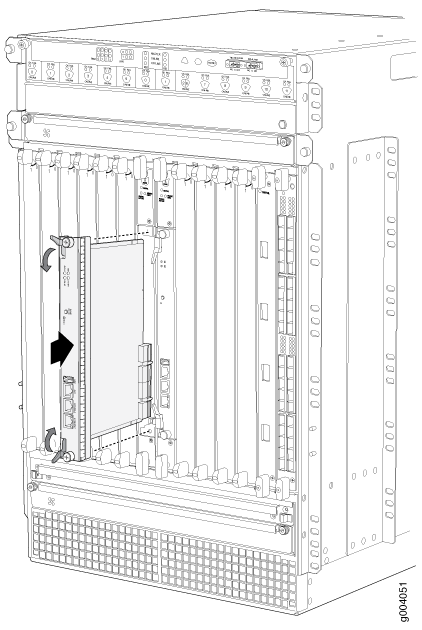
Installing an MX960 Routing Engine
To install a Routing Engine into an SCB (Figure 1):
The Routing Engine might require several minutes to boot.
After the Routing Engine boots, verify that it is installed correctly by checking the FAIL, RE0, and RE1 LEDs on the craft interface. If the router is operational and the Routing Engine is functioning properly, the green ONLINE LED lights steadily. If the red FAIL LED lights steadily instead, remove and install the Routing Engine again. If the red FAIL LED still lights steadily, the Routing Engine is not functioning properly. Contact your customer support representative.
To check the status of the Routing Engine, use the CLI command:
user@host> show chassis routing-engine
Routing Engine status:      Slot 0:     Current state                 Master ...
For more information about using the CLI, see the Junos OS documentation.
If enhanced IP network services is configured on the chassis, all routing engines must be rebooted after synchronizing the routing engines. For more information on synchronizing the routing engines, see Synchronizing Routing Engines.