Help us improve your experience.

Let us know what you think.

Do you have time for a two-minute survey?


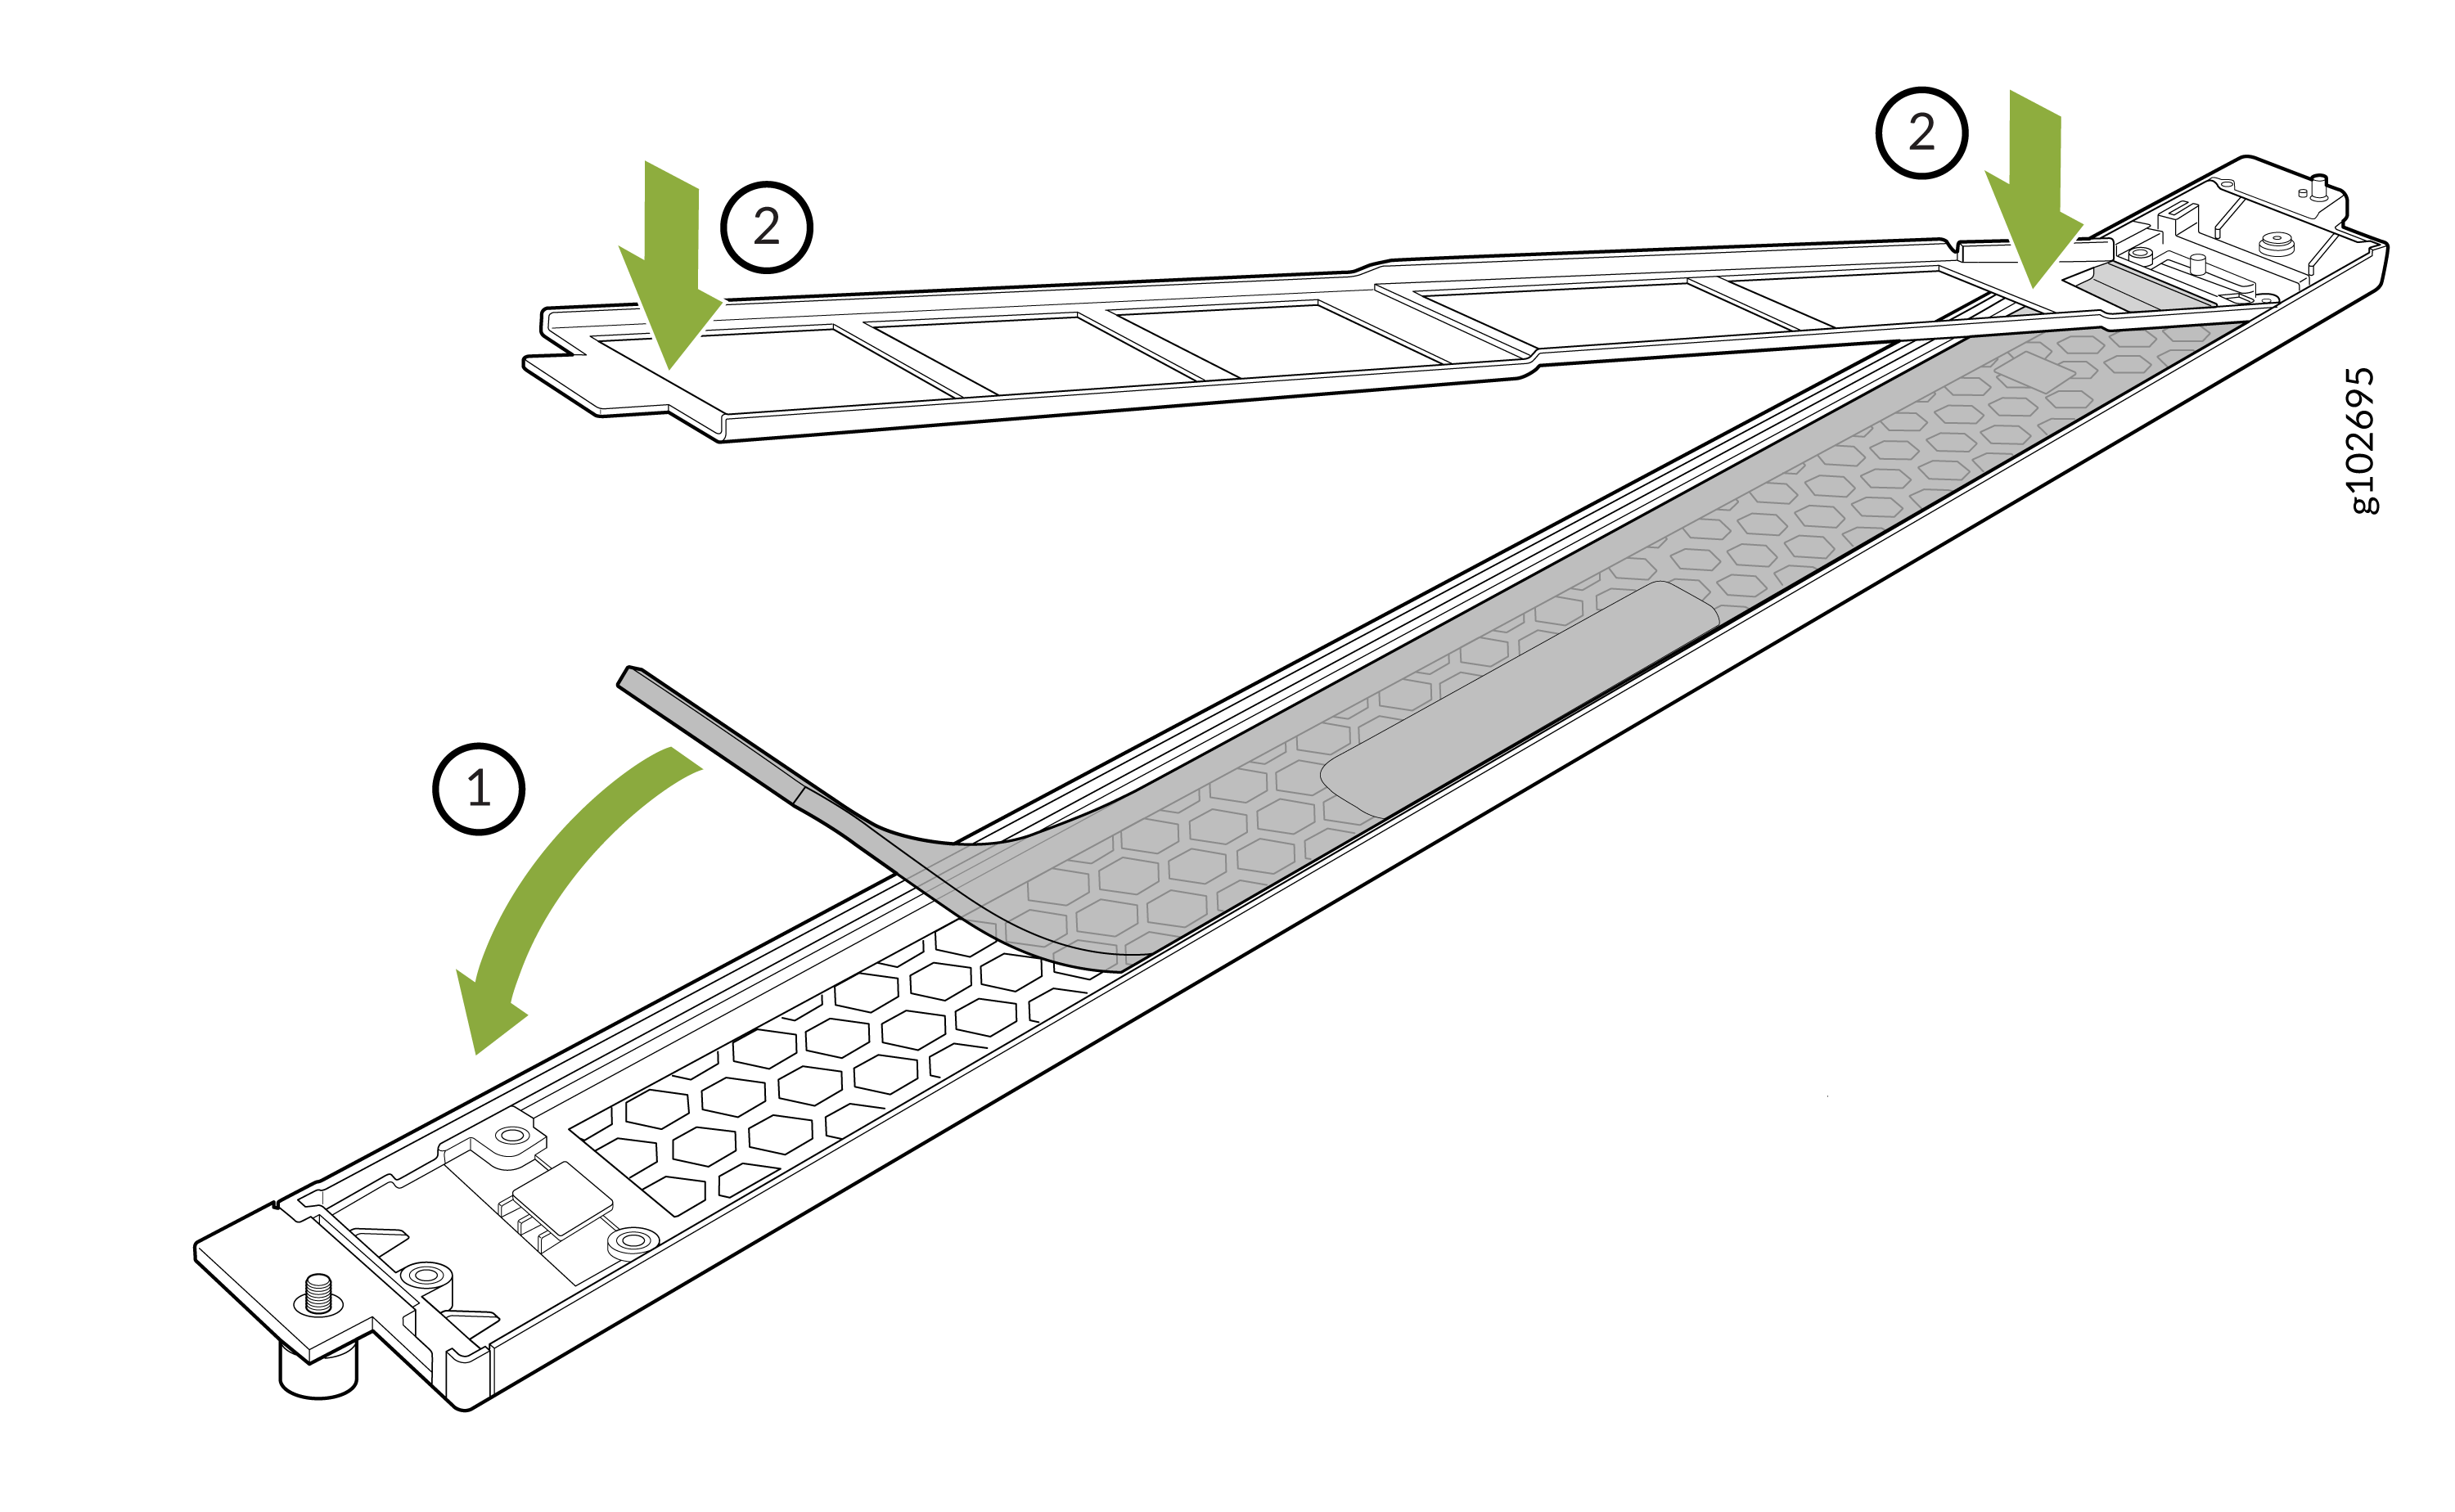
Replace the Front Bezel and Bezel Filter

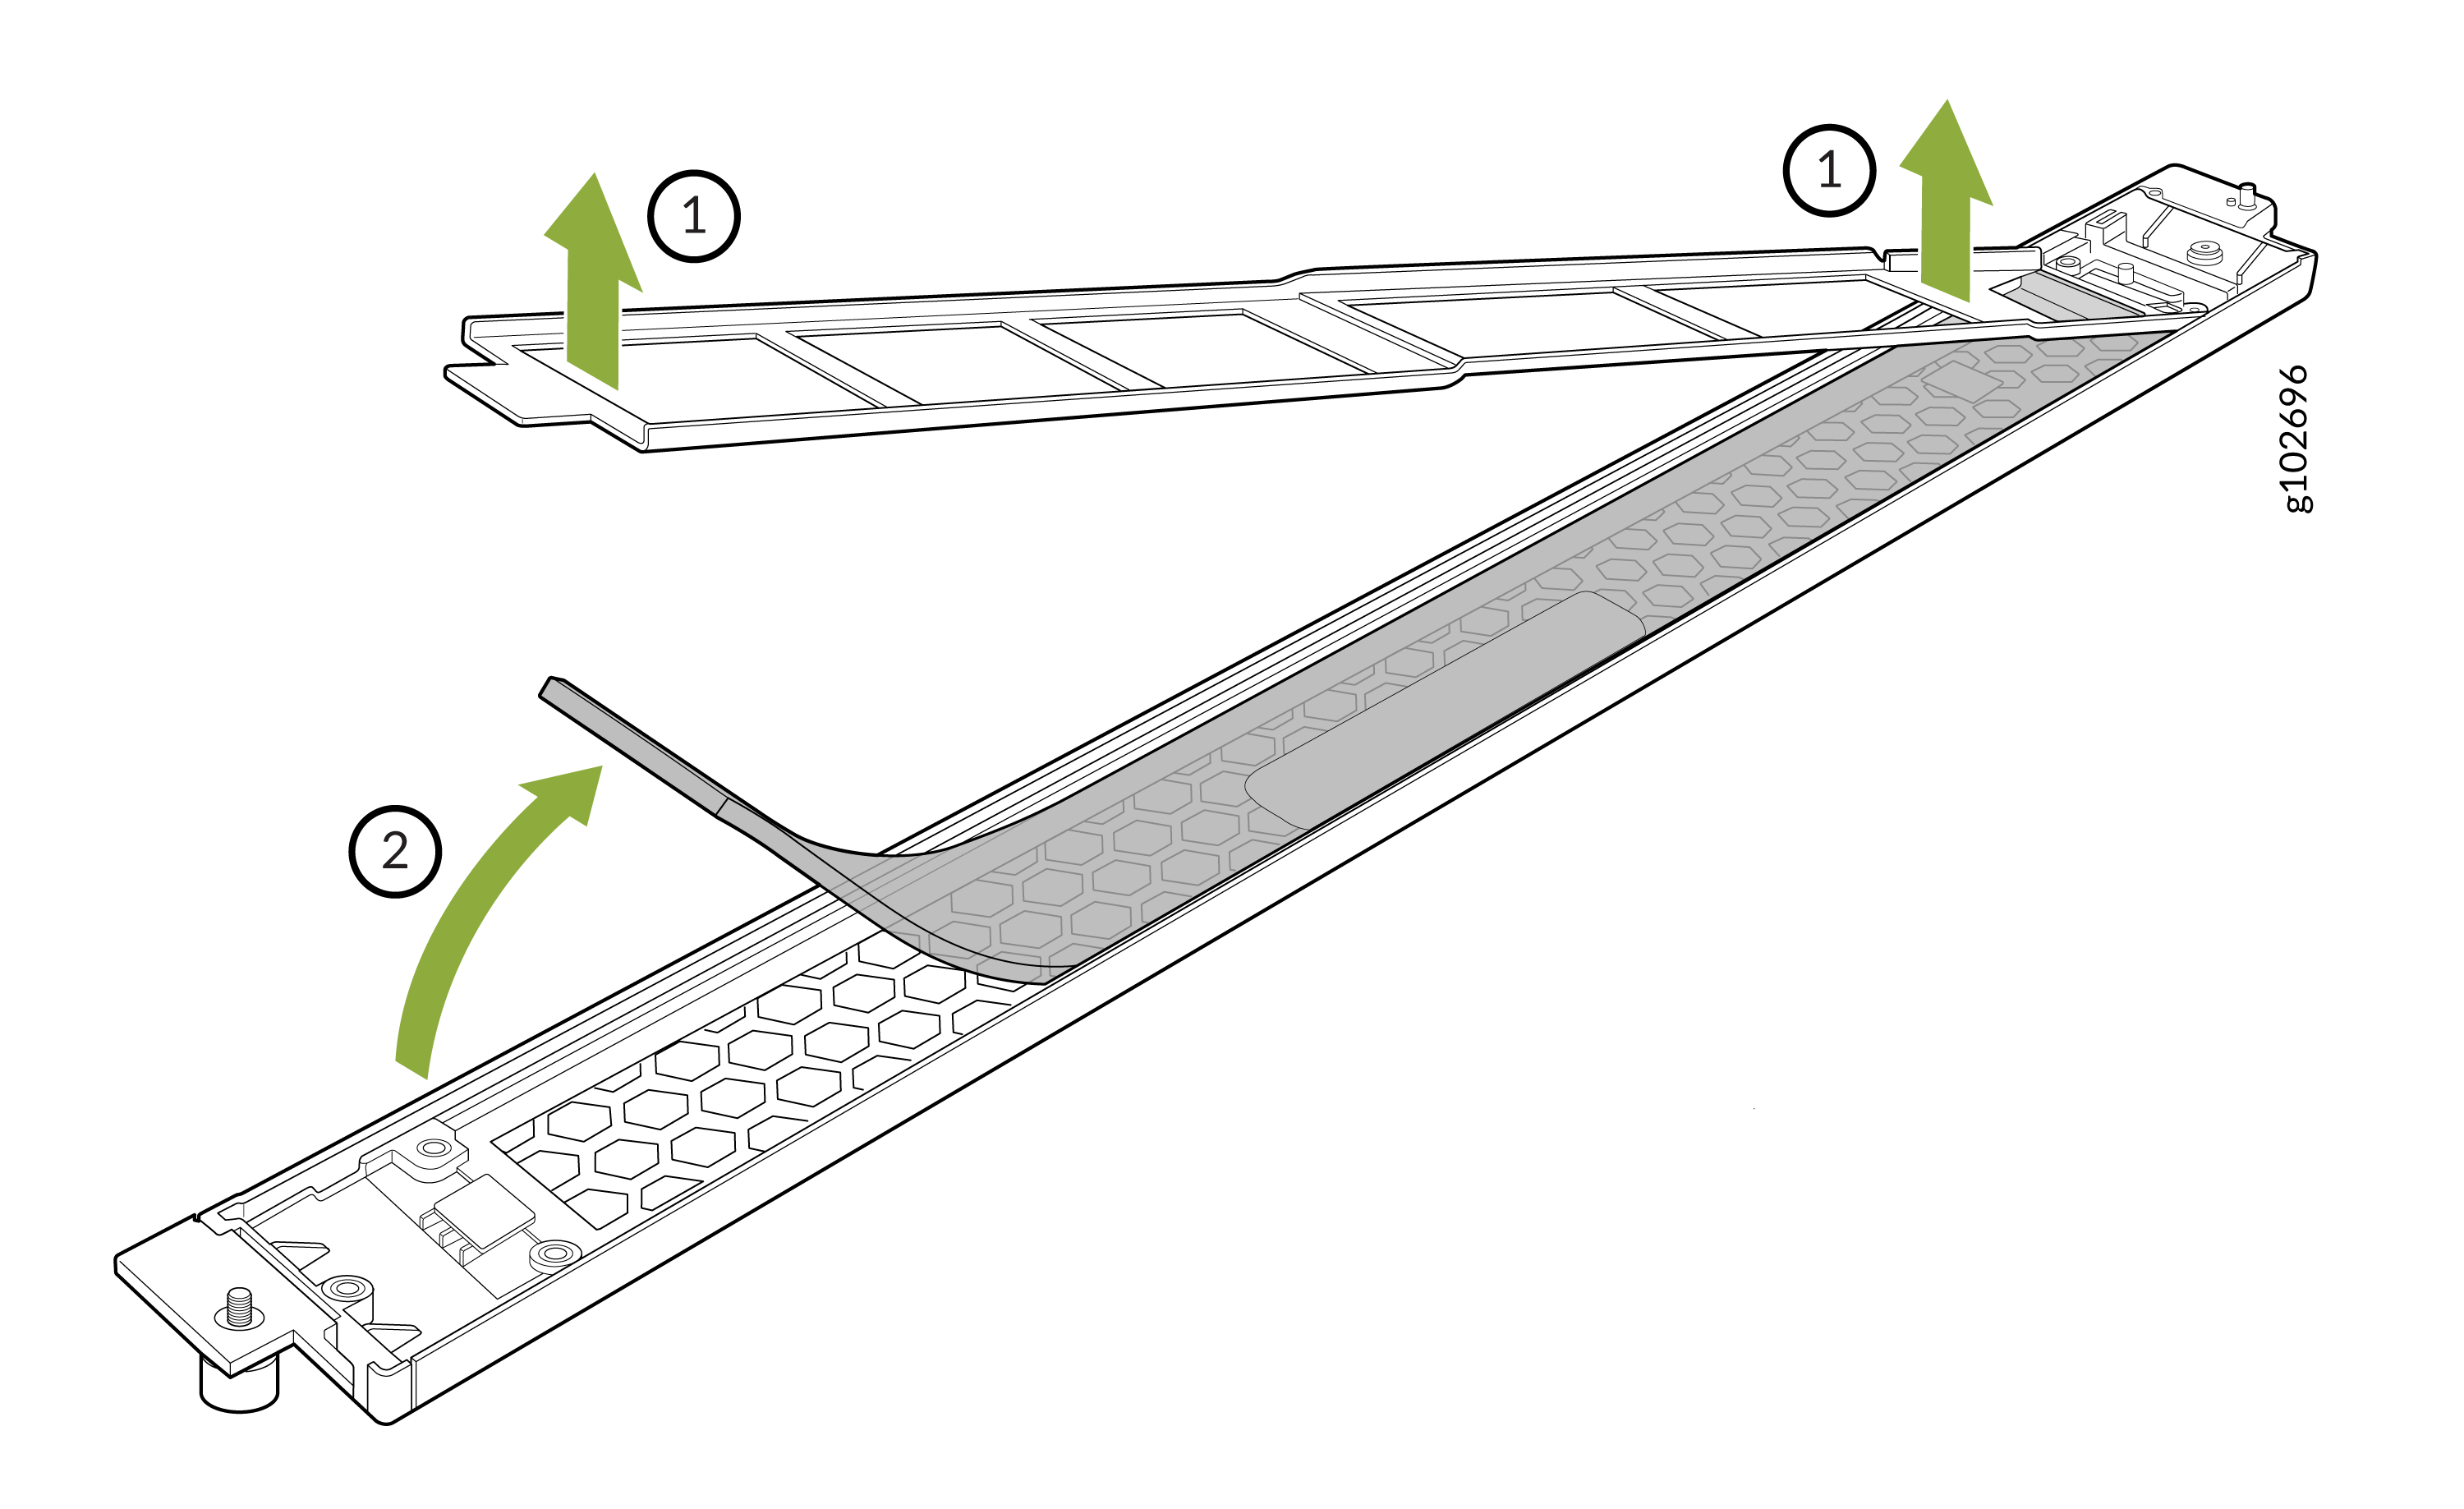
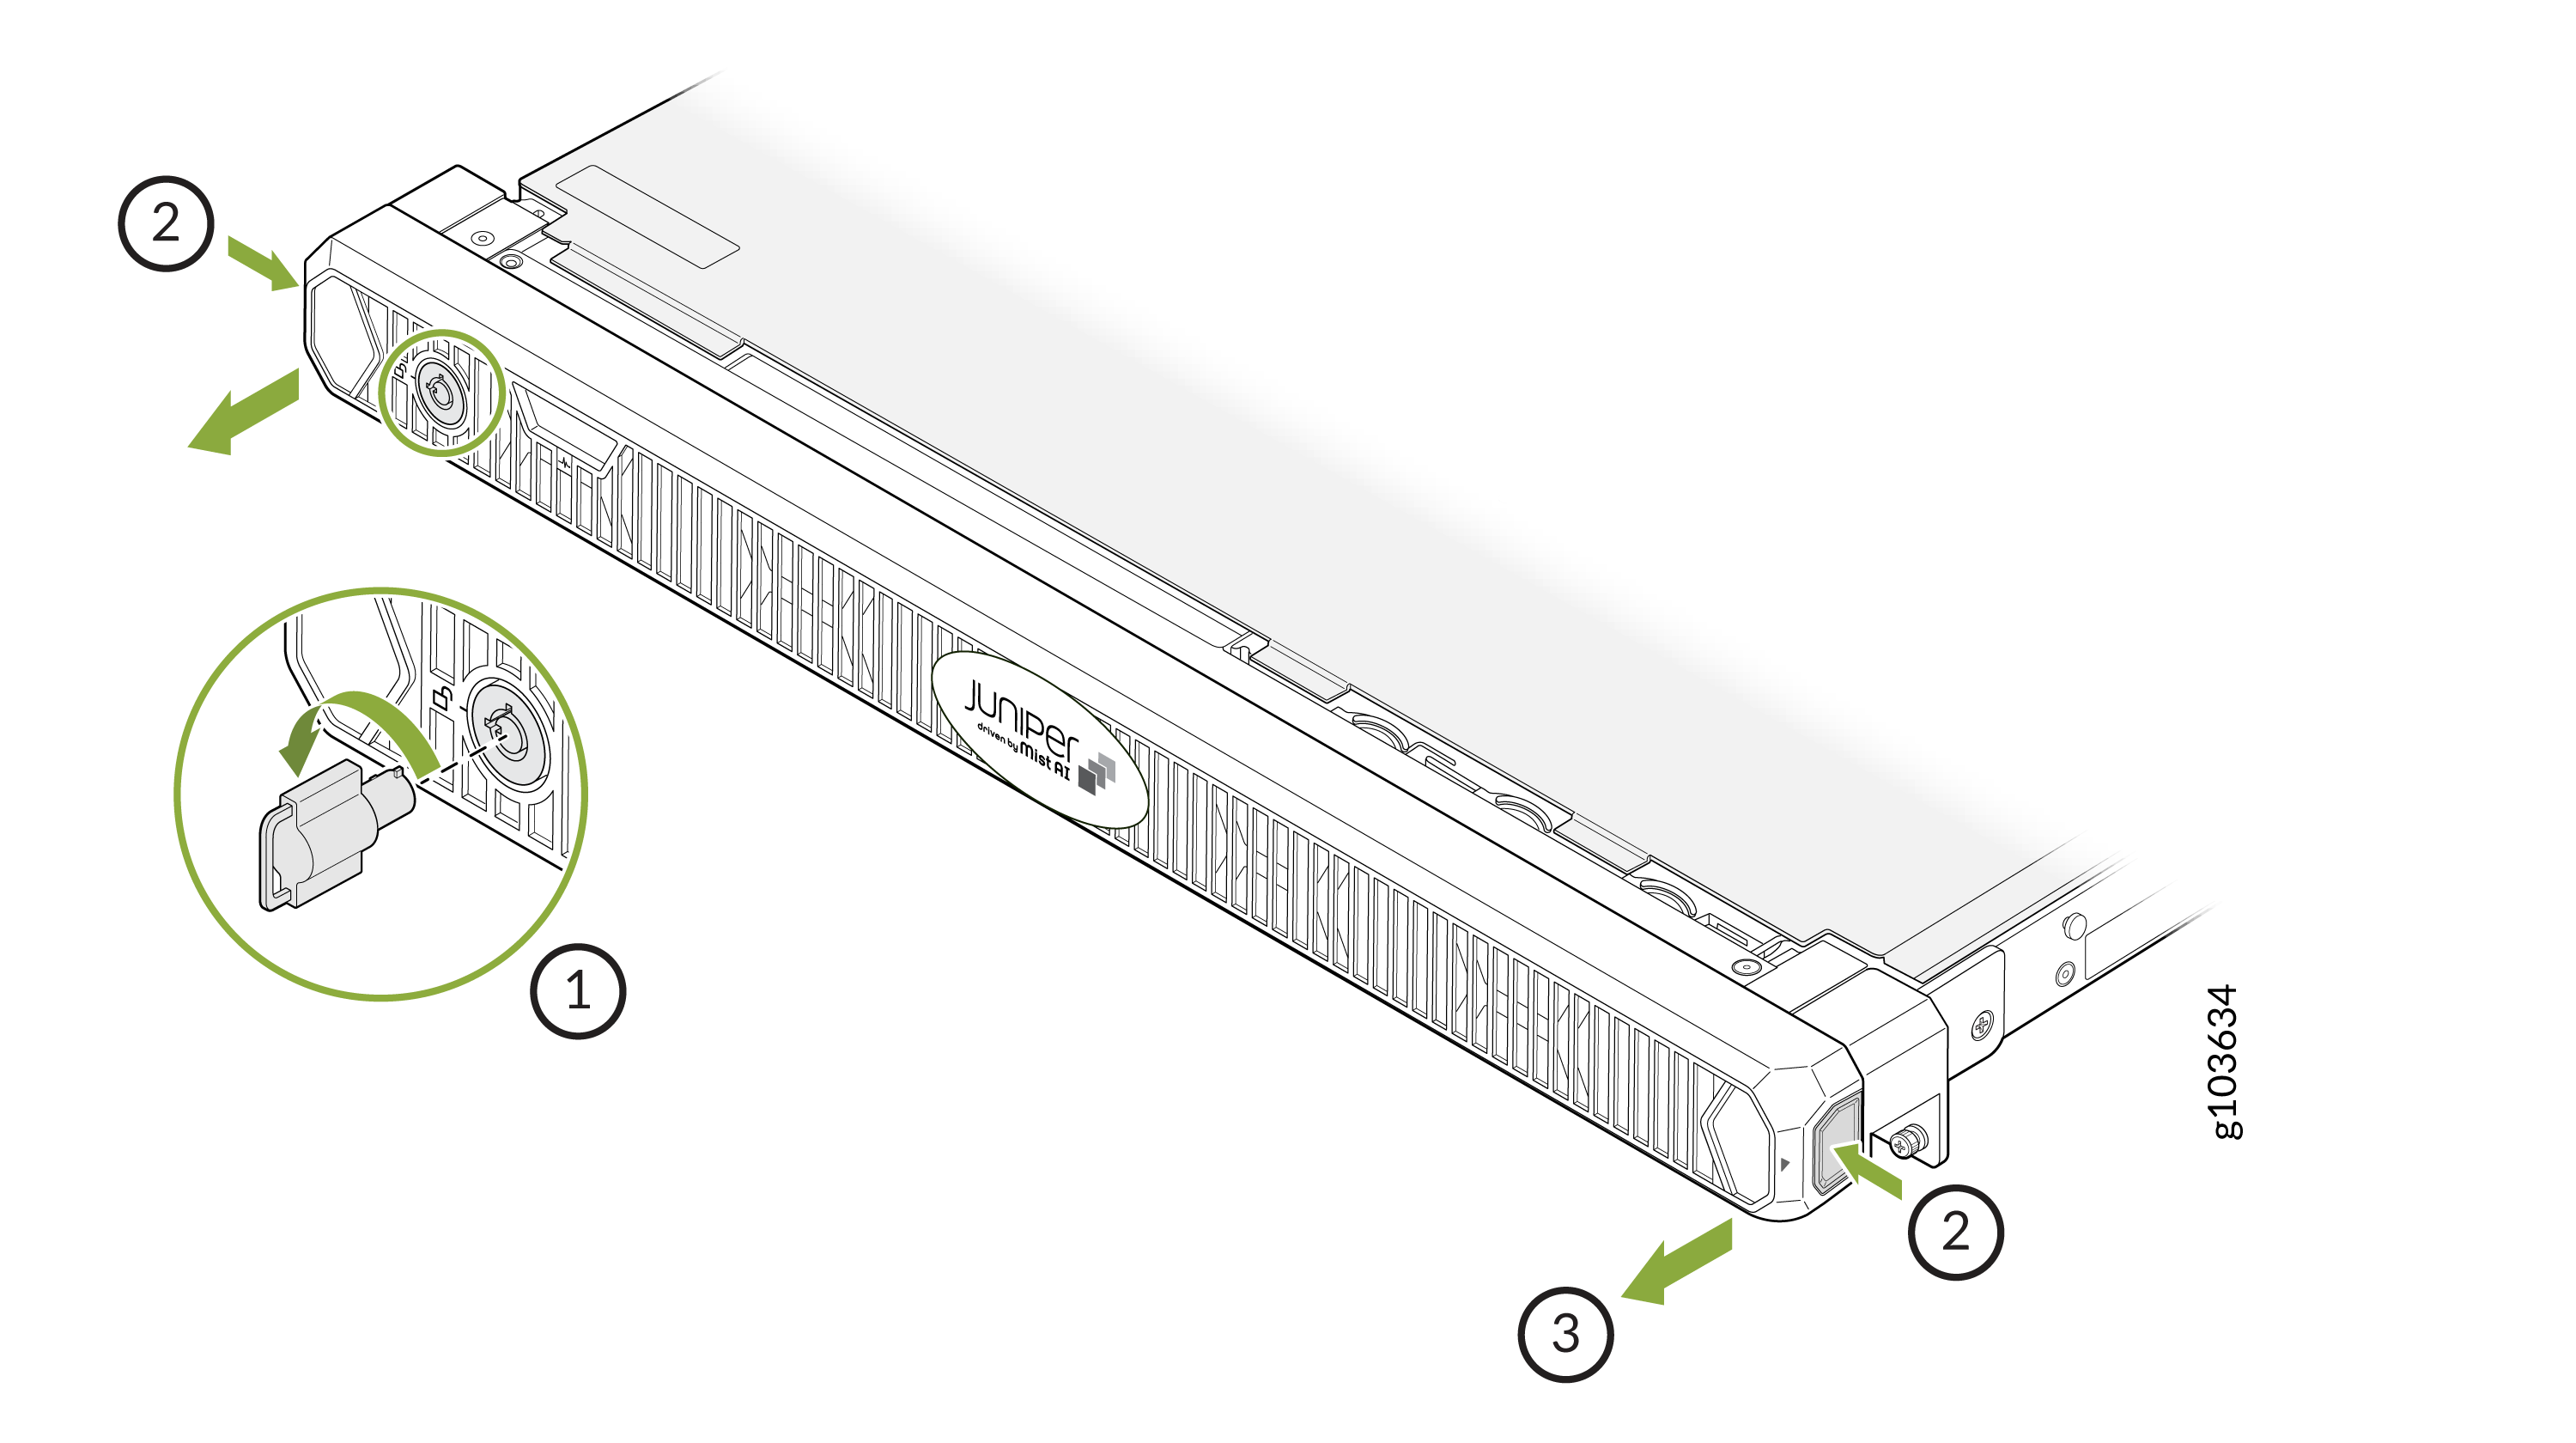
Remove the Front Bezel and Bezel Filter

To remove the front bezel and bezel filter:
  1. Remove the screws on both sides of the front bezel.
  2. Hold the bezel by the edges and remove it.
    Installation of Juniper Networks device in a rack. Securing device with screws and attaching front panel with Juniper logo.
  3. Using the tab marked LIFT, remove the metal filter bracket on the inside of the bezel.
  4. Remove the bezel filter.
    Instructional diagram showing steps to remove or install a filter. Step 1: Lift cover upwards. Step 2: Remove filter from base.

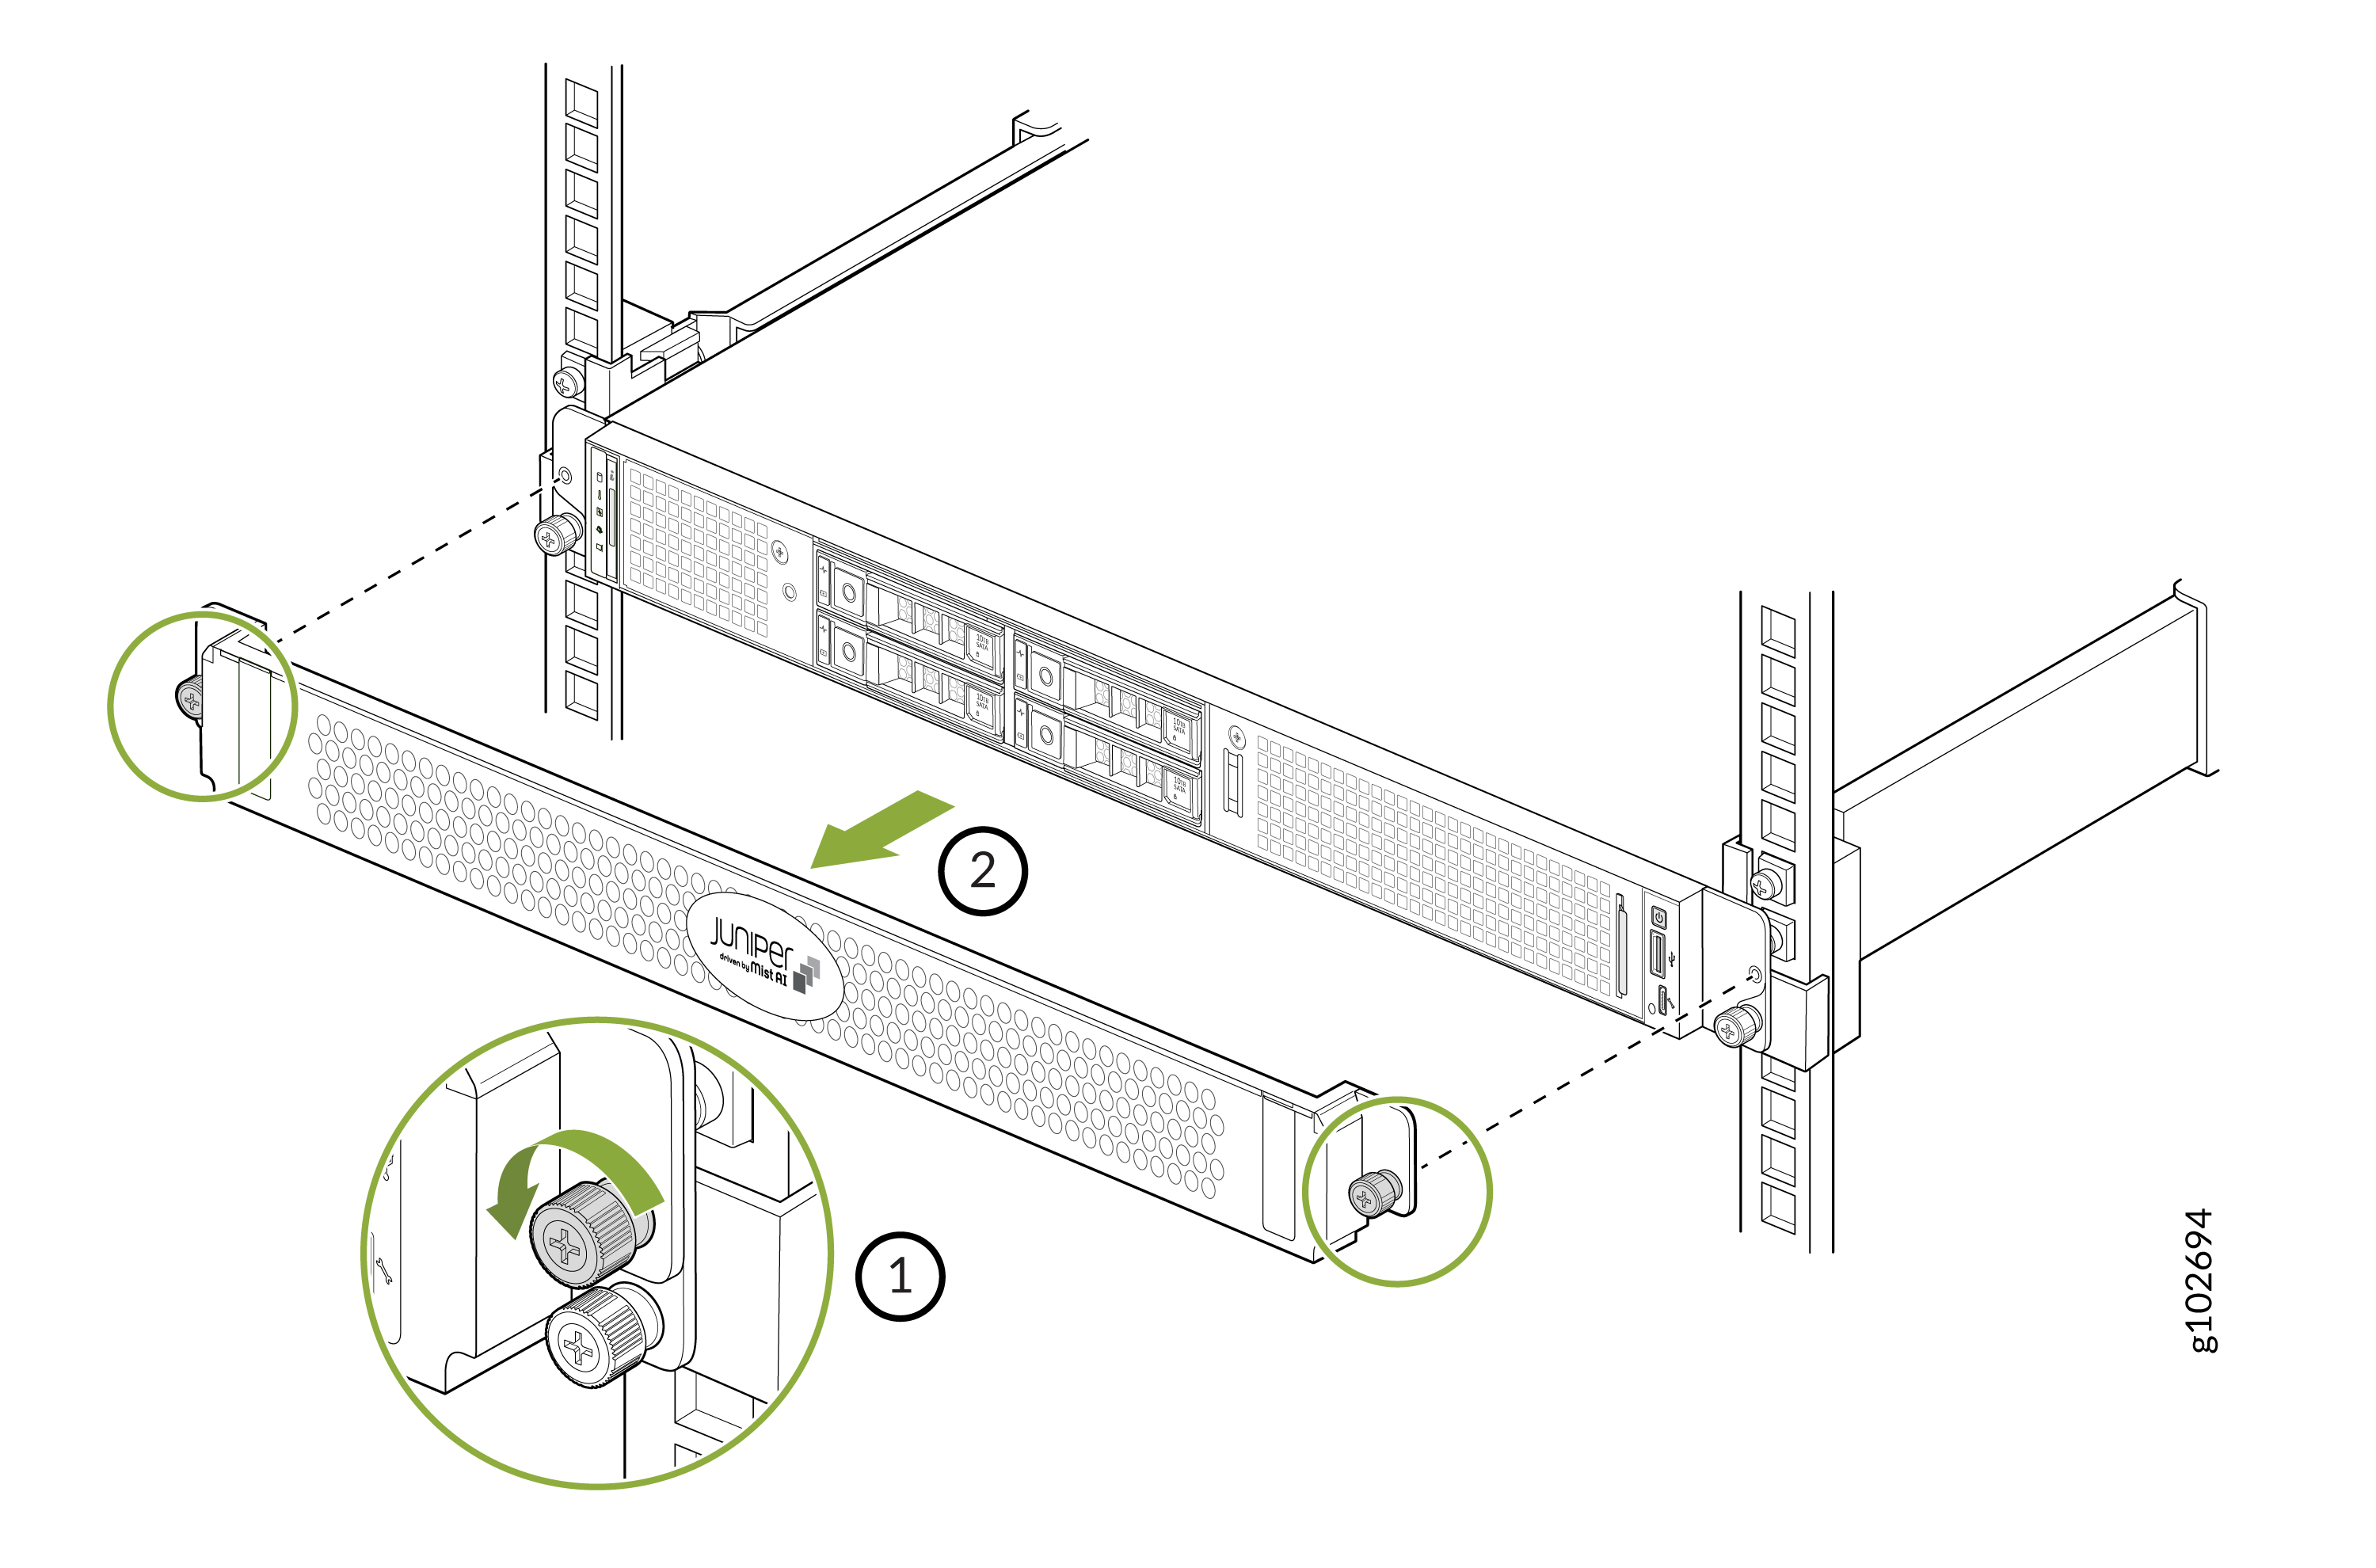
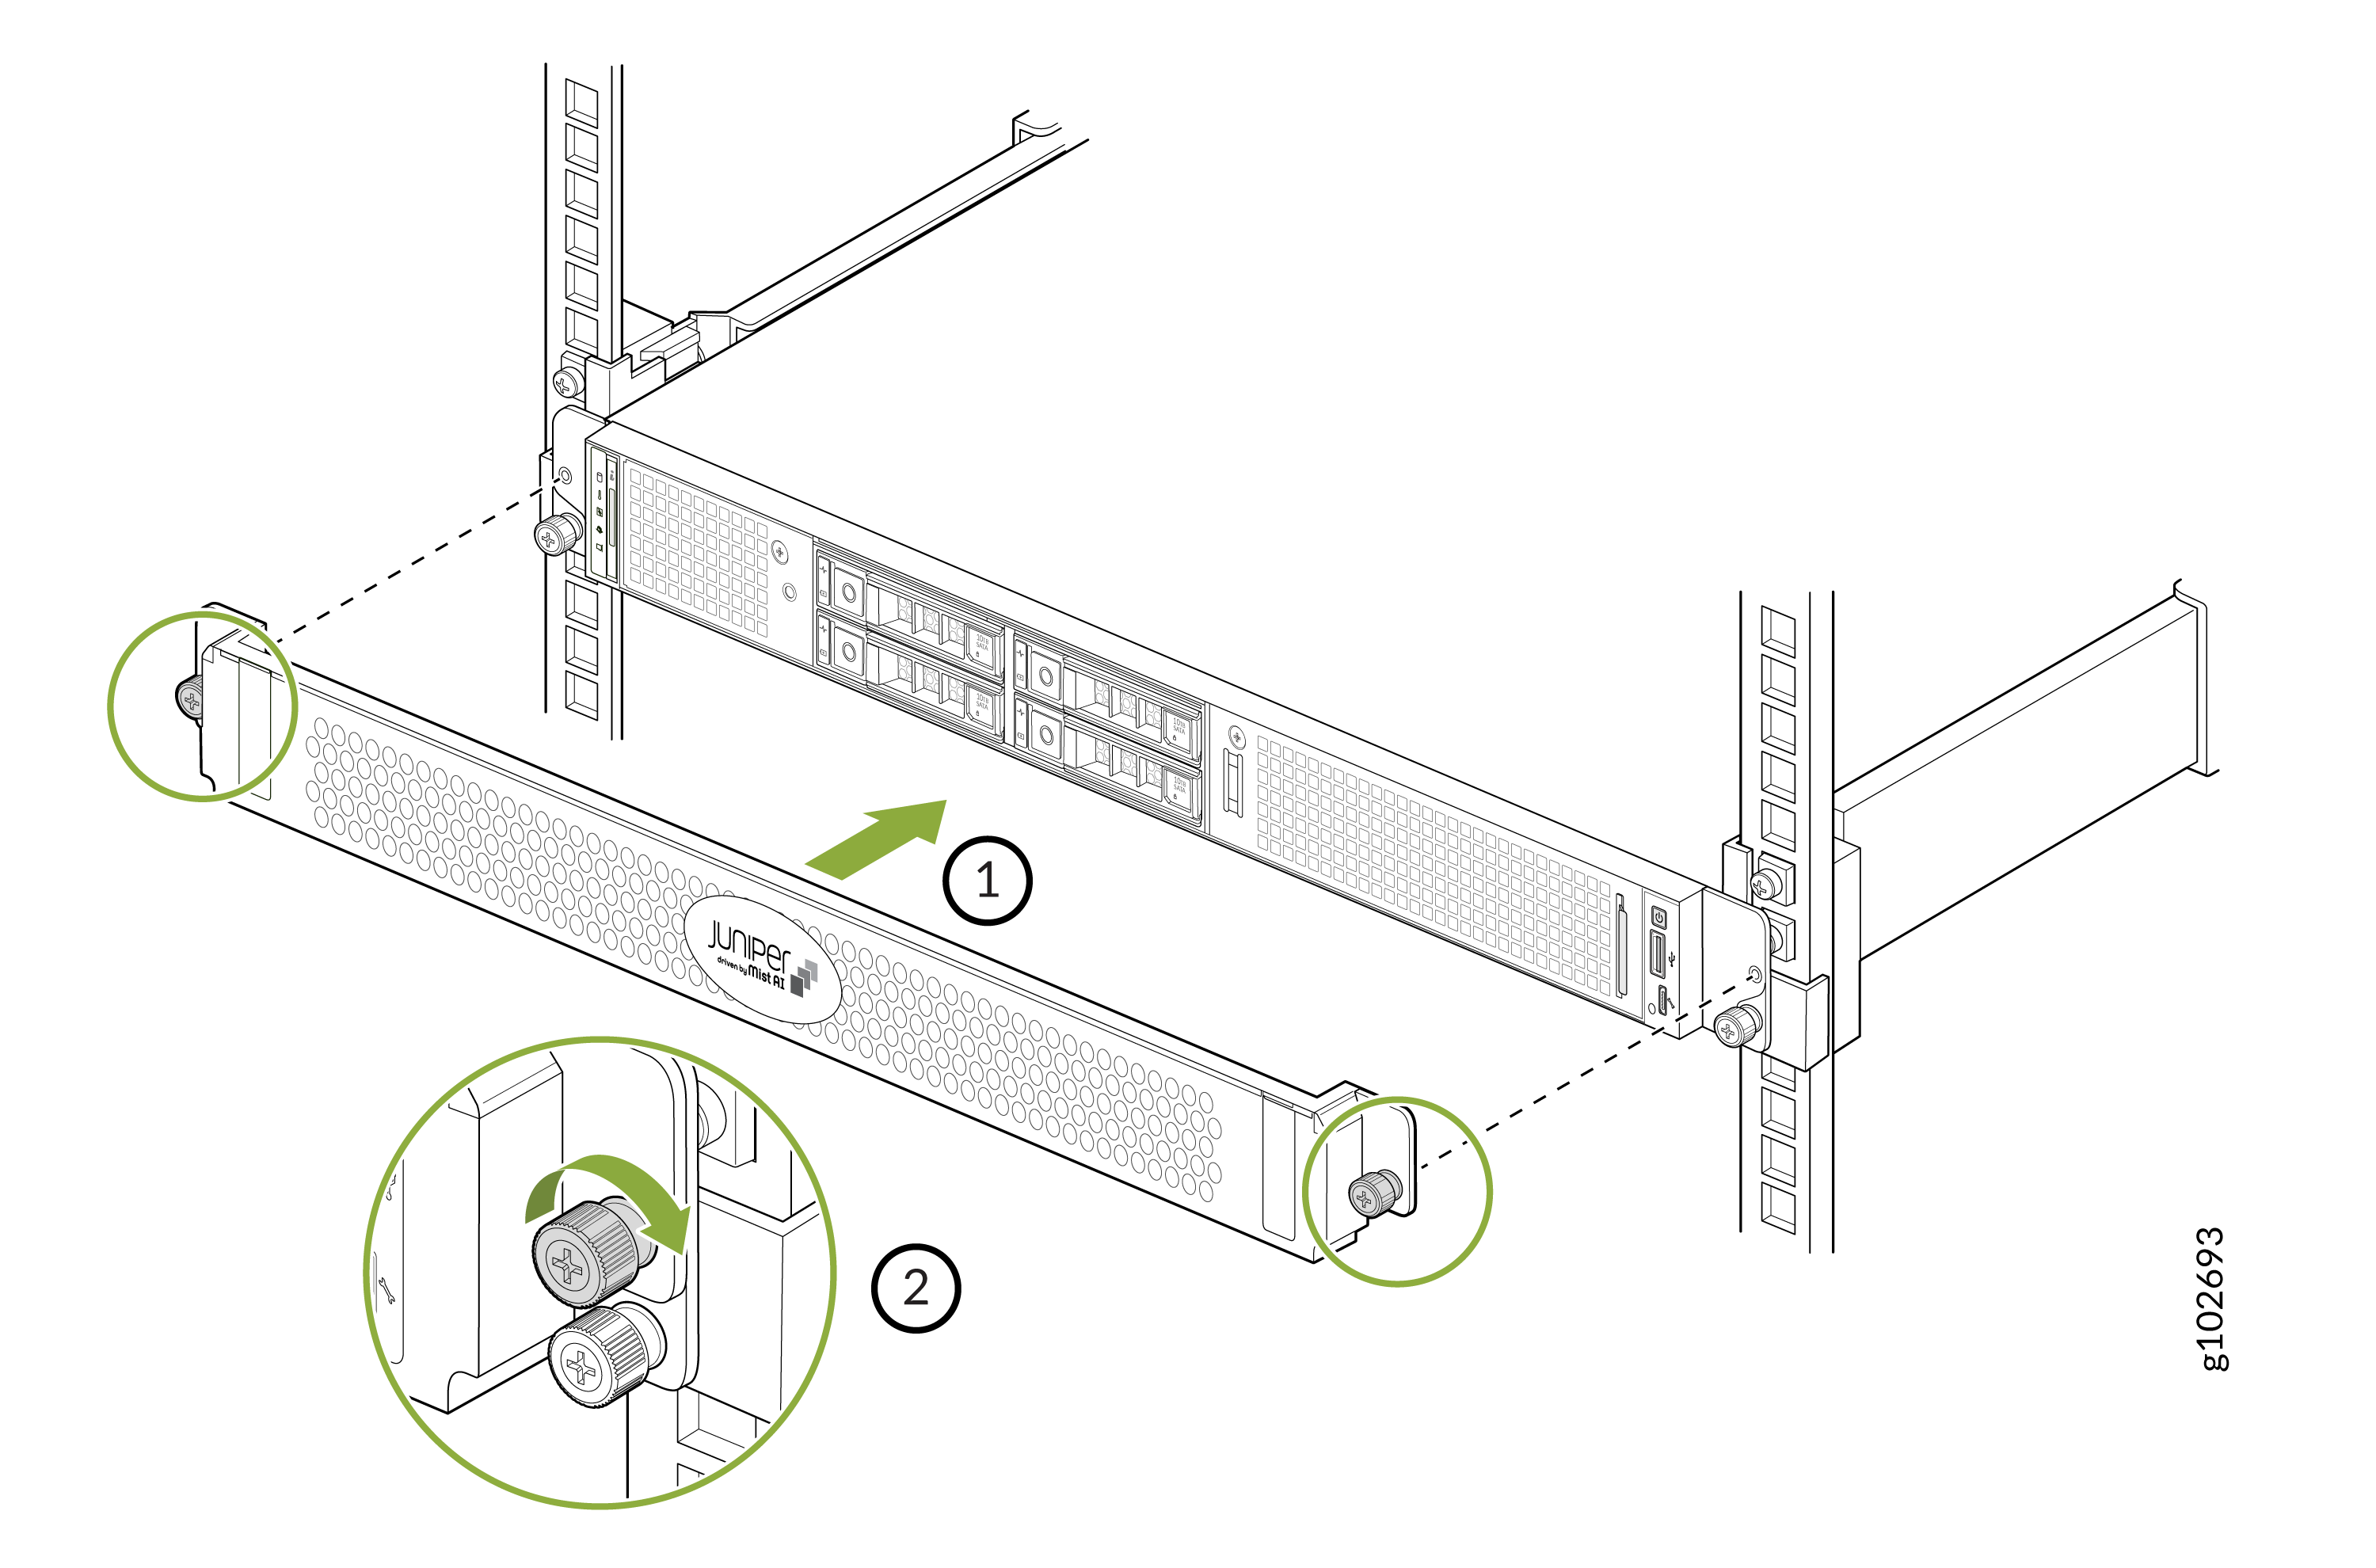
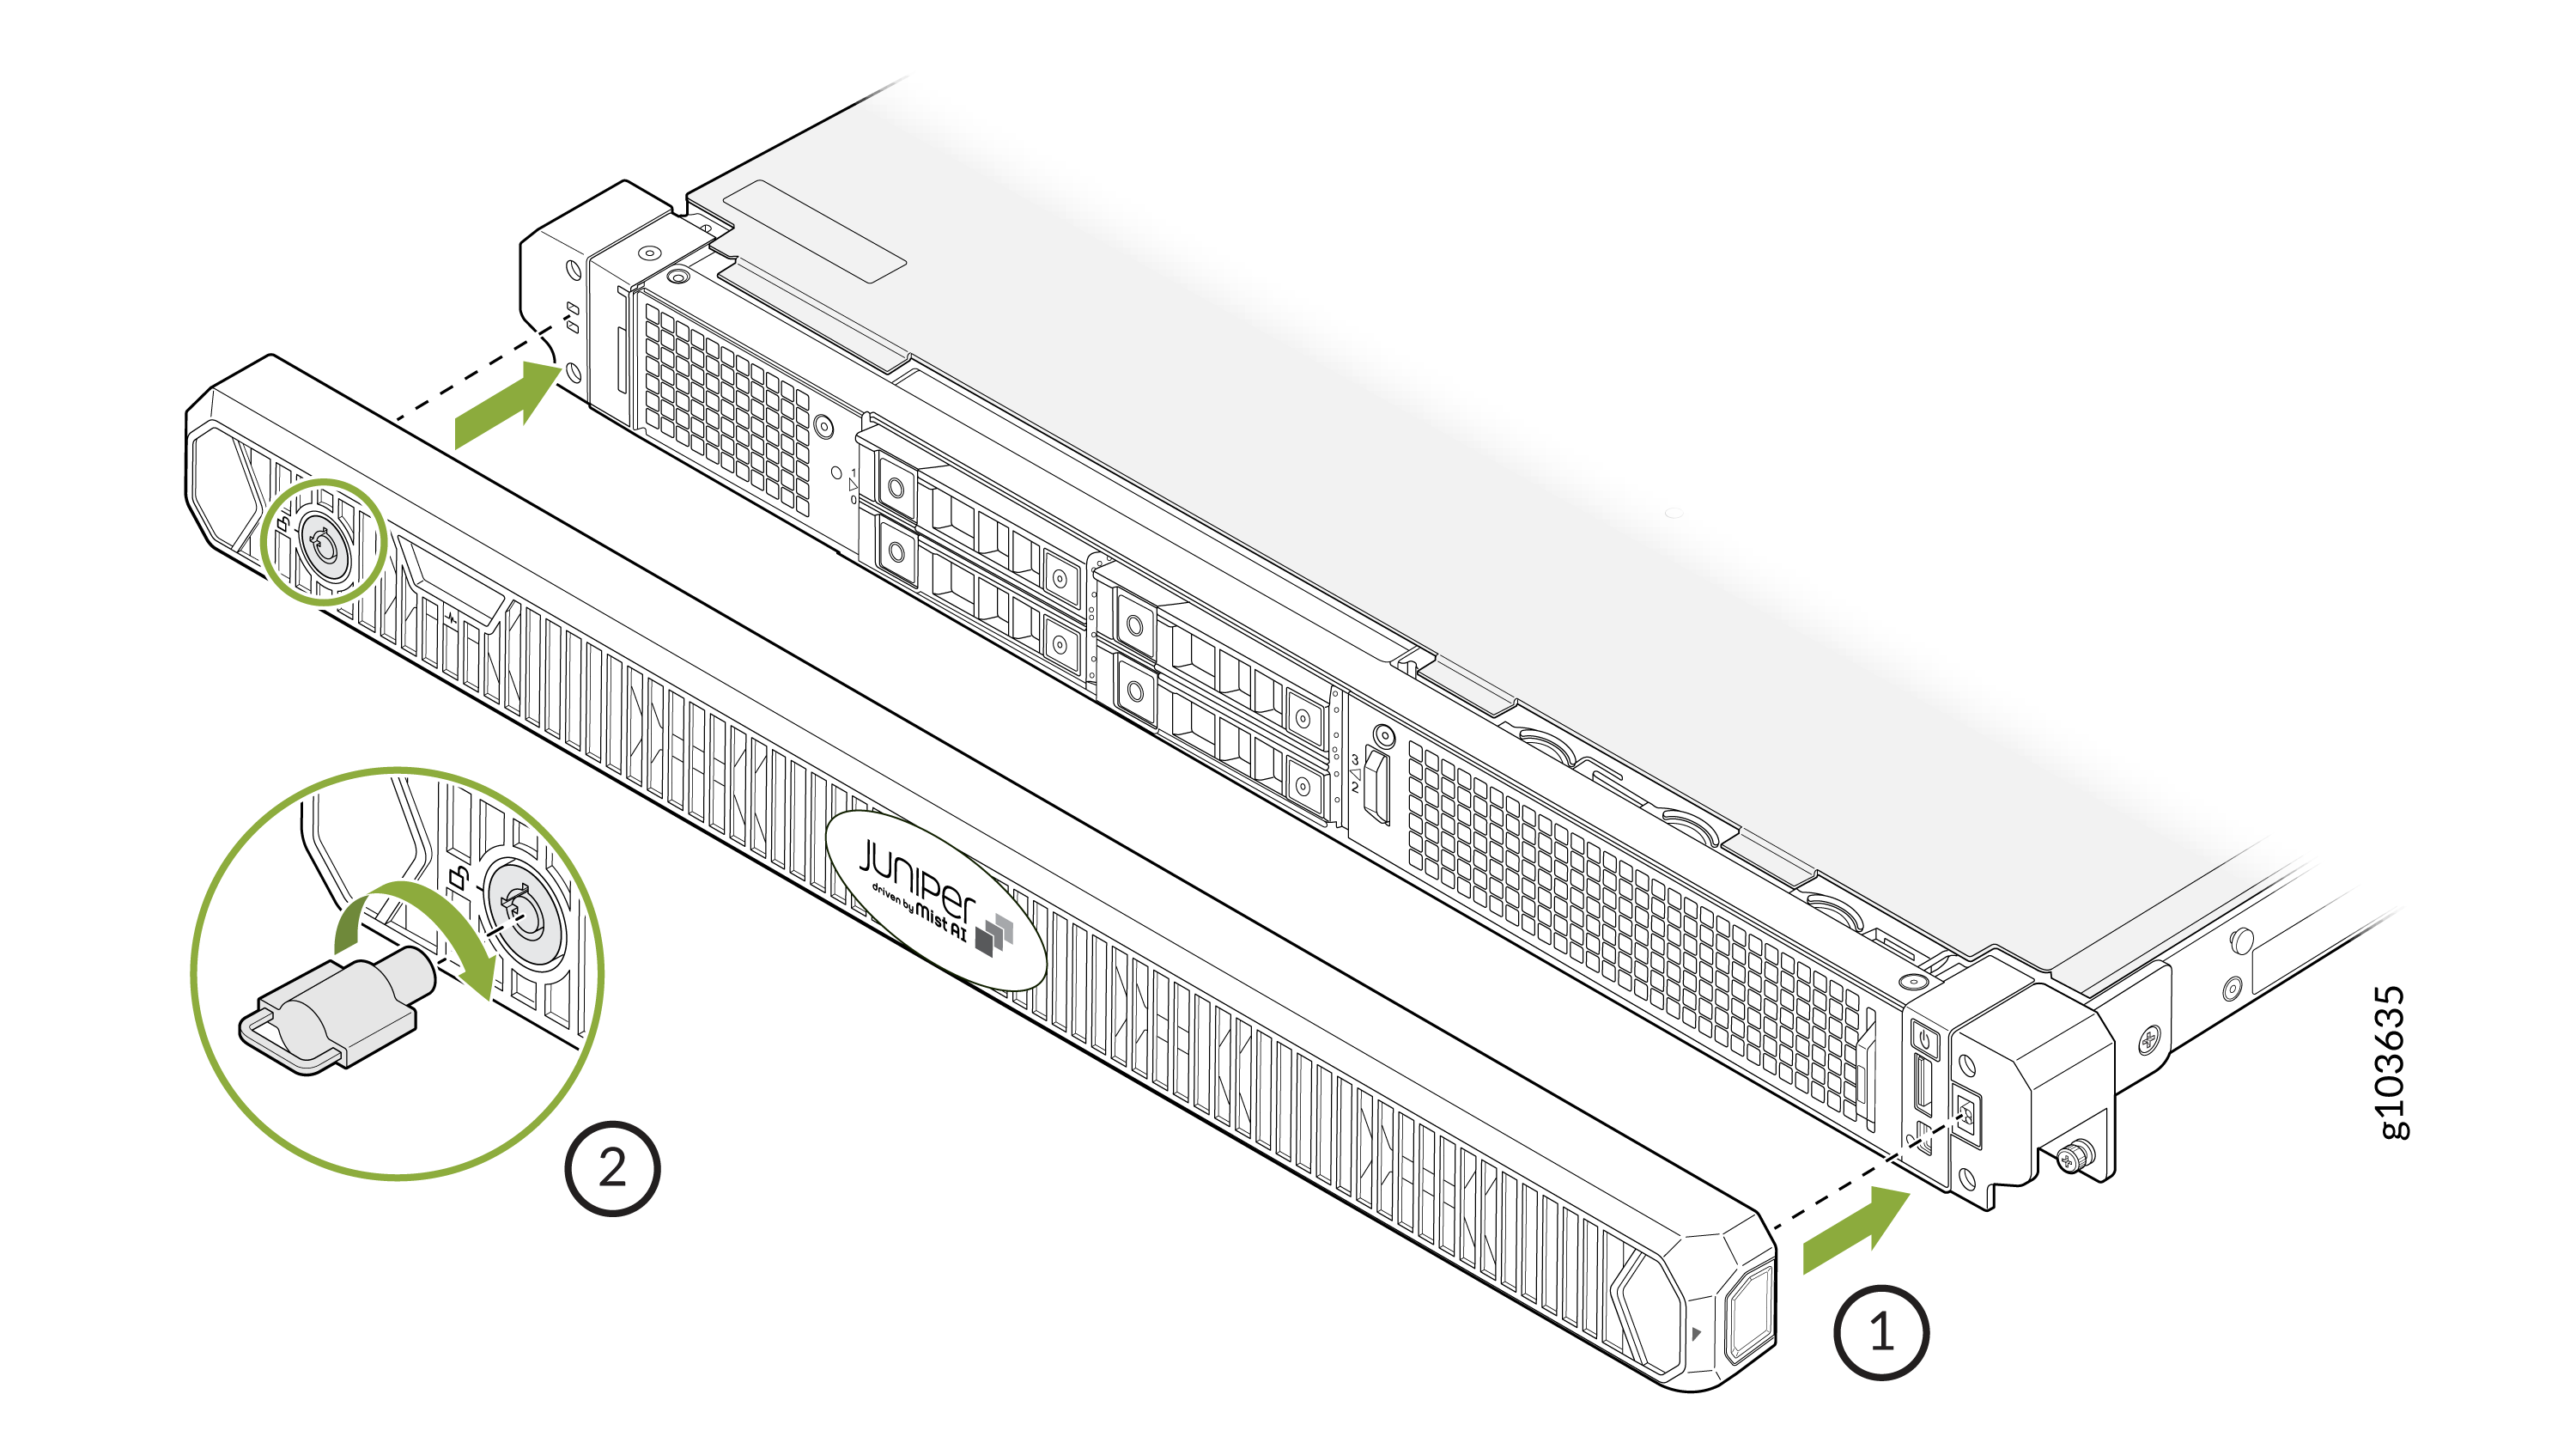
Install the Front Bezel and Bezel Filter

To install the front bezel and bezel filter:
  1. Place the filter in the bezel cavity under the filter bracket. Ensure that the filter is smooth and aligned with the slot.
  2. Align the filter bracket with the guides on the bezel. Ensure that the painted surface of the filter faces the bezel.
  3. Place the bracket on the bezel. Magnets will secure the bracket in place.
    Assembly diagram of a ventilation component with honeycomb pattern showing step 1 folding a flexible strip and step 2 placing a cover.
  4. Align the front bezel with the holes on the left and right flanges of the system.
  5. Tighten the screws to secure the bezel.
    Illustration of installing or removing a front panel on a Juniper Networks rack-mounted device with numbered steps showing direction and screws.